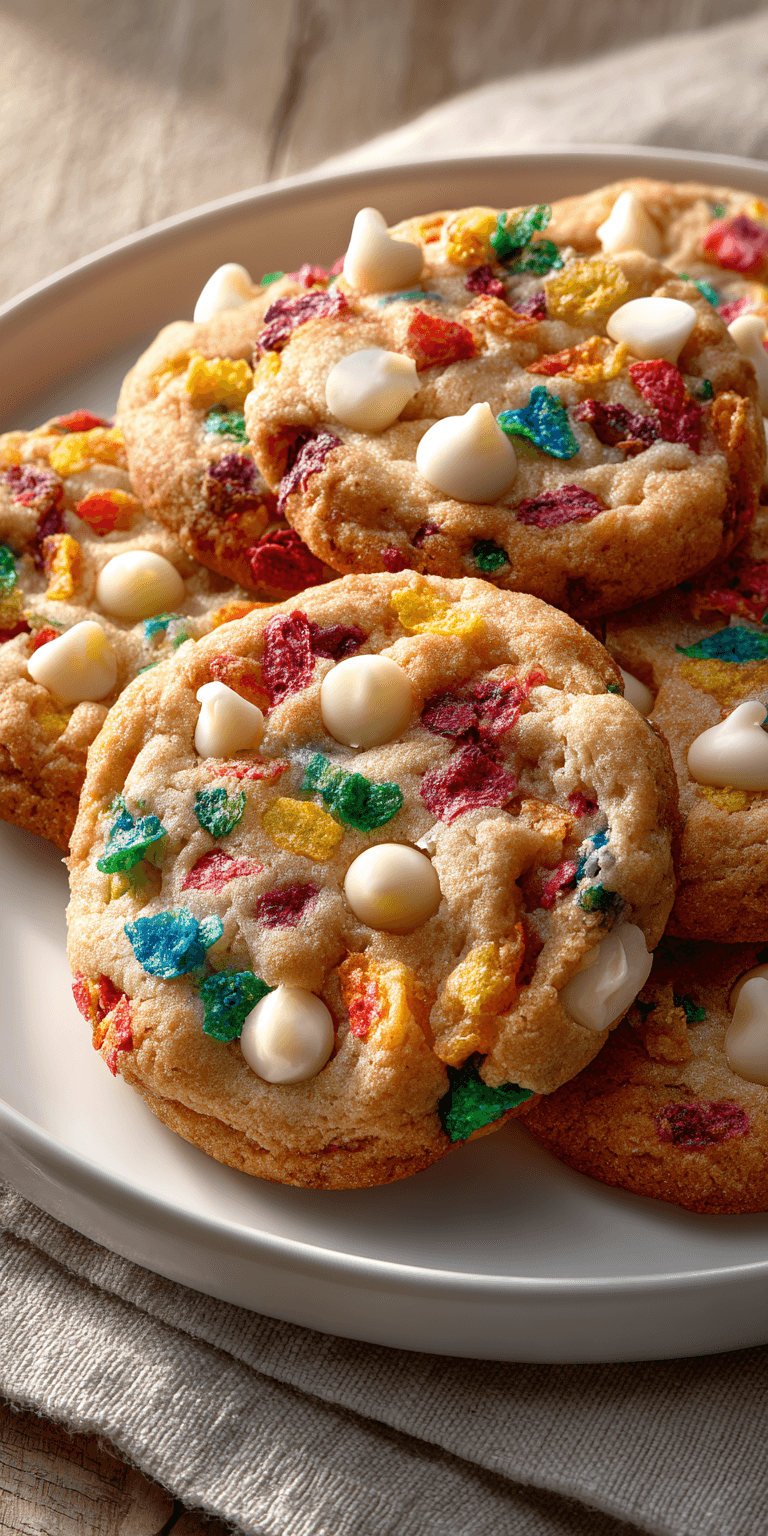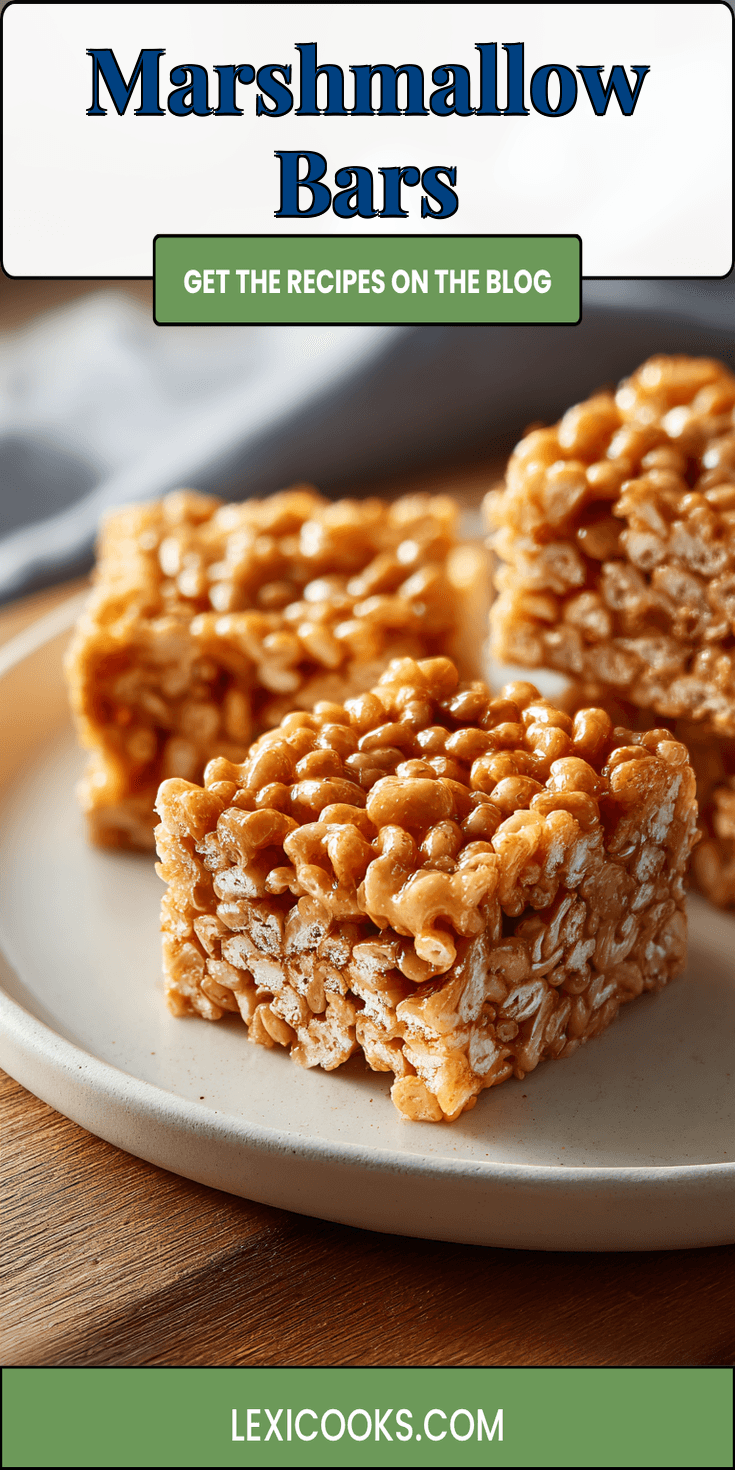
Want a dessert that feels like a party but costs less than a fancy coffee? I live for these moments. My secret weapon is a pan of Marshmallow Bars. They are the ultimate proof that you don’t need expensive ingredients to eat well, and to eat happily.
This recipe is my go-to for last-minute potlucks, hungry kids, or a sudden sweet tooth. It’s the kind of easy dessert that looks like you spent hours, but we know the truth. It’s all about smart, simple ingredients coming together in the most magical way.
Think of this as your new kitchen best friend. It’s a quick dessert that delivers maximum joy with minimal effort and cost. Let’s get into how you can make this treat a regular part of your budget-friendly baking.
Recipe Overview
Here’s the quick look at what you’re making. It’s as straightforward as it gets.
- Cuisine: American
- Category: Dessert, Bar Cookie
- Prep Time: 10 minutes
- Cook Time: 25 minutes
- Total Time: 35 minutes (plus cooling)
- Servings: 16 generous bars
Why This Recipe Saves You Money
I built this recipe with your wallet in mind. Every choice here is about getting the biggest flavor bang for your buck.
Marshmallow Bars Recipe
The Budget-Friendly Ingredient List
How to Make It (Step-by-Step)
Notes
Enjoy your homemade Marshmallow Bars Recipe!
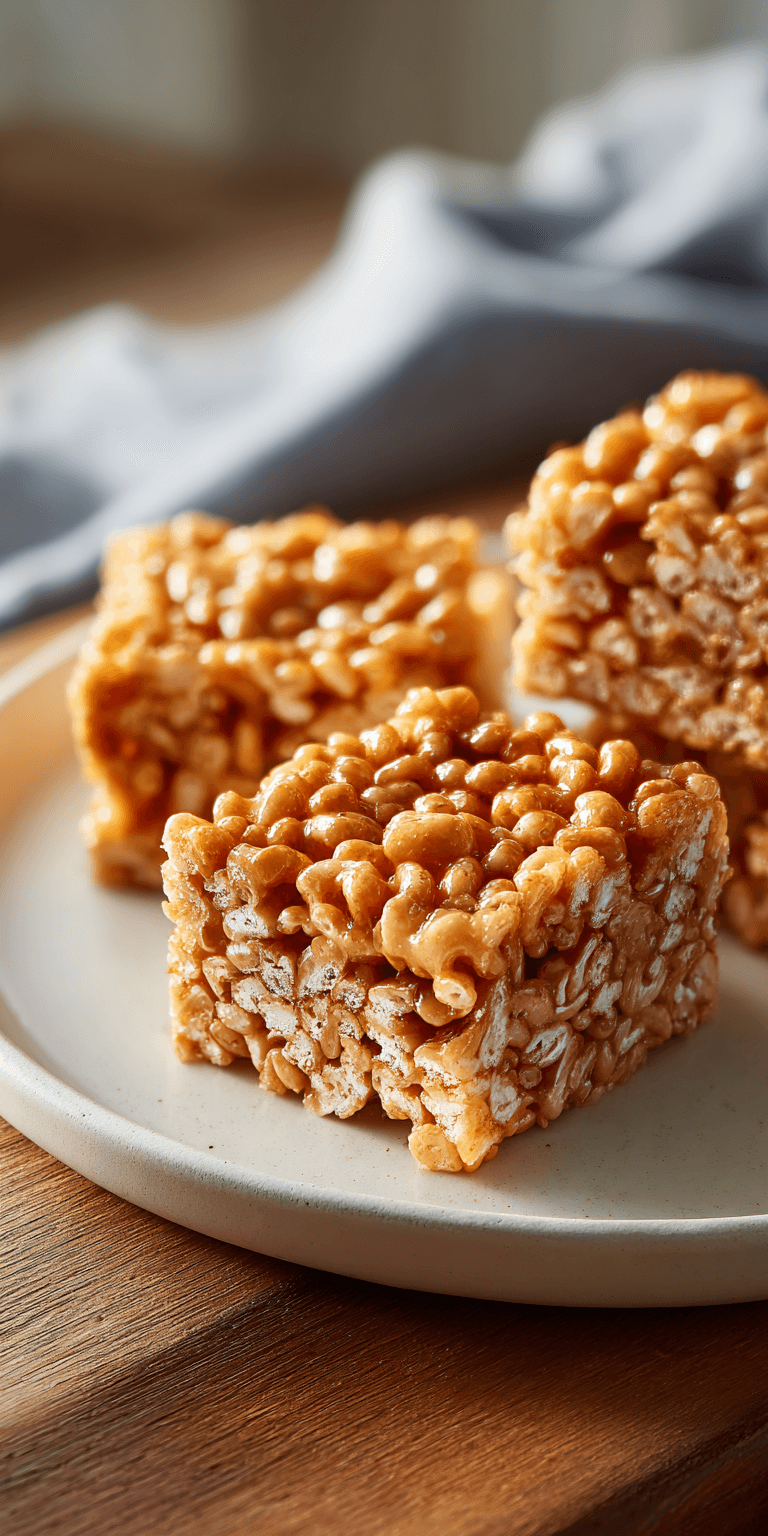
The base uses simple pantry staples like butter, sugar, and flour. The star, the marshmallows, are incredibly cheap per bag. We’re not using rare chocolate or imported nuts. Instead, we’re making a rich, buttery crust and topping it with melted chocolate and cereal for crunch. This combination creates a complex texture and taste from very basic parts.
It also saves you money on store-bought treats. A similar gourmet bar at a bakery could cost $3 or $4 each. This whole pan costs about the same to make. That’s a serious win.
My Tips for Smart Shopping on a Budget
Being a savvy shopper is half the battle. These are my tried-and-true rules for the baking aisle.
First, buy store-brand for everything here. The generic version of crispy rice cereal, marshmallows, and chocolate chips is almost always identical to the name brand. This simple switch can cut your cost by a third.
Stock up on basics like flour, sugar, and vanilla when they are on sale. They have a long shelf life. Buy butter in bulk when it’s priced low and freeze what you won’t use right away. A freezer is a budget cook’s best friend.
Finally, check the “bakings needs” aisle, not just the candy section, for chocolate chips. You’ll often find better prices on the store-brand bags there.
The Budget-Friendly Ingredient List
Here’s everything you need. I bet you have most of it already.
- 1/2 cup (1 stick) unsalted butter
- 1 cup granulated sugar
- 2 large eggs
- 1 teaspoon vanilla extract
- 1 1/4 cups all-purpose flour
- 1/2 teaspoon baking powder
- 1/4 teaspoon salt
- 1 (10 oz) bag of large marshmallows
- 1 1/2 cups semisweet chocolate chips
- 1 cup crispy rice cereal
- 1 tablespoon vegetable oil or shortening (optional, for smoother chocolate)
How to Make It (Step-by-Step)
Follow these steps and you really can’t go wrong. The process is simple but the results are impressive.
- Start by heating your oven to 350°F (175°C). Grease a 9×13 inch baking pan, or line it with parchment paper for super easy cleanup.
- In a large bowl, cream together the softened butter and sugar until it’s light and fluffy. Beat in the eggs, one at a time, then mix in the vanilla.
- In a separate bowl, whisk together the flour, baking powder, and salt. Gradually add this dry mix to your butter mixture, stirring just until a soft dough forms.
- Press this dough evenly into the bottom of your prepared pan. It will be a thin layer. Bake for 12-15 minutes, until the edges are just starting to turn golden.
- Take the pan out of the oven. Quickly place the marshmallows evenly over the hot crust. Return the pan to the oven for 3-4 more minutes, just until the marshmallows are puffy and soft.
- While the marshmallow layer bakes, melt your chocolate chips. You can do this in a microwave in 30-second bursts, stirring between each, or in a double boiler. For a glossier, easier-to-spread topping, stir in the tablespoon of oil.
- Immediately pour the melted chocolate over the puffy marshmallows. Use a spatula to spread it gently into an even layer.
- Right away, sprinkle the crispy rice cereal evenly over the wet chocolate. Press down lightly so it sticks. Let the pan cool completely at room temperature, then chill in the fridge for at least an hour to set the chocolate firmly.
- Cut into bars with a sharp knife. For clean cuts, you can wipe the knife with a hot, damp cloth between slices.
How to Use Up Every Last Bit (No Waste!)
I hate throwing food away. Here’s how to make sure every ingredient in this recipe gets used.
That partial bag of marshmallows? Seal it tightly and use the rest for hot cocoa, or toast a few for a fun ice cream topping. Leftover crispy rice cereal is perfect for a single-serving snack mix or to bread chicken tenders.
If you have extra chocolate chips, they keep forever in the pantry for your next batch of cookies. You can also toss a handful into pancake or waffle batter on the weekend. The goal is to see every ingredient as a future meal or treat, not just a one-time item.
Nutrition Notes
This is a treat, so let’s enjoy it as one. Here’s a general idea of what’s in each bar.
- Calories: ~280
- Total Fat: 12g
- Saturated Fat: 7g
- Carbohydrates: 42g
- Sugars: 30g
- Protein: 3g
Remember, these are estimates. The exact numbers will change based on the specific brands you use. I like to cut my bars smaller sometimes for a portion-controlled sweet bite.
Common Questions About This Recipe
Here are answers to the questions I get asked the most about these bars.
Can I use mini marshmallows instead?
You can, but the result is different. Mini marshmallows will melt more completely into a fluffier layer, while large ones give you those distinct, gooey pockets. If using minis, spread them in an even layer over the hot crust—you’ll need about 5-6 cups to cover it.
My chocolate cracked when I cut the bars. What happened?
This usually means the chocolate set too hard or was cut when too cold. To fix it, let the pan sit at room temperature for 15-20 minutes before cutting. Adding that tablespoon of oil to the chocolate also makes it more flexible and less prone to sharp cracks.
How do I store these, and how long do they last?
Store them in an airtight container at room temperature for up to 3 days. For longer storage, keep them in the fridge for up to a week. The chilled bars have a fantastic, firm texture. You can also freeze them for up to 2 months; just separate layers with parchment paper.
I hope this recipe shows you how incredible budget baking can be. It’s not about missing out. It’s about getting creative and making sweet memories without the stress on your grocery bill.
This dish is a testament to the power of simple, good food. It brings people together and puts a smile on their faces. That’s the real goal, and it doesn’t have to cost a fortune.
I’d love to hear how your Marshmallow Bars turned out! Did you add any personal twists? Let me know your own money-saving tips for this recipe in the comments below! Please leave a rating!