We all know that feeling. The doorbell is about to ring, the table is set, and you want that one dish that makes everyone’s eyes light up. Something warm, fragrant, and utterly comforting. But you also want to be out there with your guests, not stuck over a hot stove. I have the perfect solution for you.
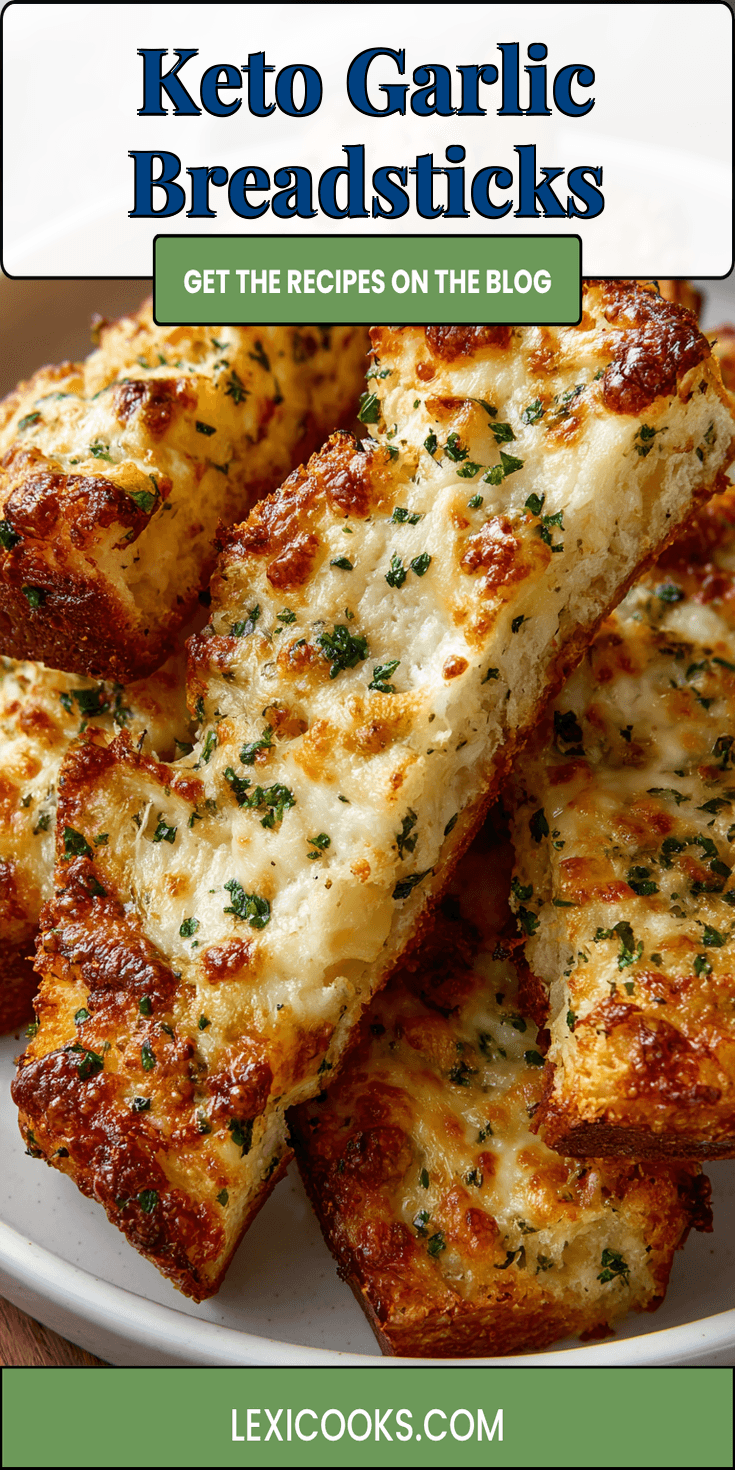
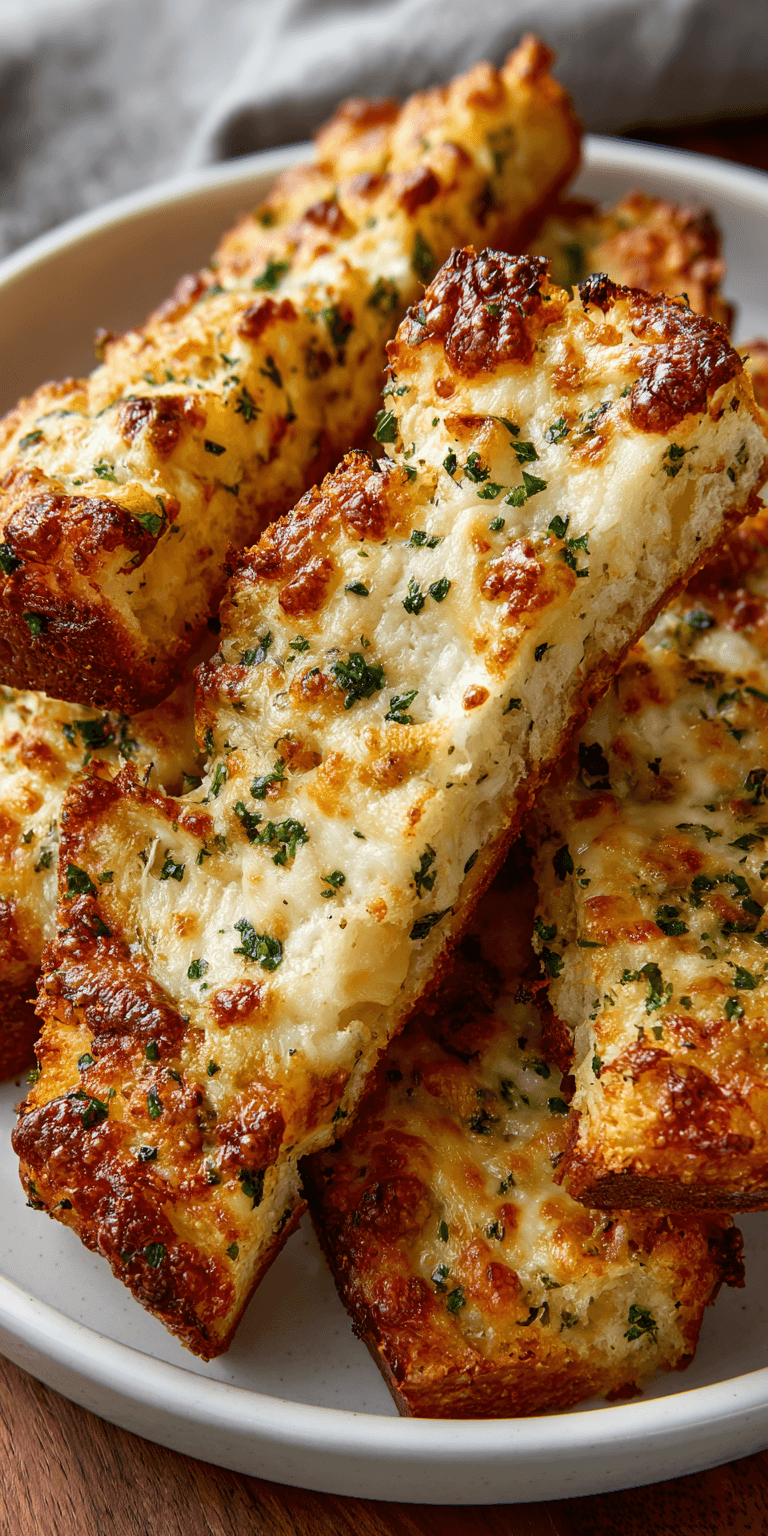
Let me introduce you to my secret weapon: Keto Garlic Breadsticks. They are everything you want in a party appetizer. Golden, buttery, and infused with garlic and herbs. The best part? Your guests will never guess they’re low-carb. This looks so fancy, but I promise it’s incredibly easy.
I’ve served these at countless gatherings, from casual game nights to elegant dinner parties. They always disappear first. Today, I’m sharing my tried-and-true recipe so you can enjoy the same success. Let’s make your next event deliciously simple.
Recipe Overview
Here’s a quick glance at what we’re making. You’ll see how straightforward this really is.
- Cuisine: Keto / Low-Carb
- Category: Appetizer, Side Dish
- Prep Time: 15 minutes
- Cook Time: 15 minutes
- Total Time: 30 minutes
- Servings: 8-10 breadsticks
Why This is My Go-To for Guests
I choose this recipe again and again for good reason. It solves the biggest hosting dilemmas in one go.
Keto Garlic Breadsticks Recipe
The “Wow Factor” Ingredients
How to Prepare Your Dish (Step-by-Step)
Notes
Enjoy your homemade Keto Garlic Breadsticks Recipe!
First, it has universal appeal. Whether your friends are following a keto lifestyle or not, everyone loves warm garlic bread. It’s a familiar, welcoming taste. Second, the process is remarkably simple. The dough comes together in minutes with no yeast or rising time. This means zero stress and maximum reward.
Finally, the presentation is beautiful. Twisted, golden breadsticks on a platter look like you spent hours. They create that instant, welcoming aroma the moment you bring them out. It’s a little trick that makes a big impact.
Make-Ahead Magic: My Hosting Secret
This is my favorite tip for effortless entertaining. You can do almost everything in advance.
You can prepare the dough 1-2 days ahead. Simply wrap it tightly in plastic wrap and keep it in the fridge. When you’re ready, let it sit at room temperature for about 20 minutes before shaping.
You can also mix the garlic butter herb sauce a day before. Store it in a small jar in the refrigerator. This means on party day, your only tasks are shaping, baking, and brushing. You’ll be free to enjoy your own party.
The “Wow Factor” Ingredients
Simple ingredients create extraordinary flavor. Here’s what you’ll need.
- For the Breadsticks: 1 ½ cups shredded mozzarella, 2 oz full-fat cream cheese, 1 large egg, 1 ½ cups almond flour, 2 tsp baking powder, 1 tsp garlic powder.
- For the Garlic Butter: 4 tbsp unsalted butter, 3 cloves fresh garlic (minced), 2 tbsp fresh parsley (chopped), ¼ tsp salt. Optional: a sprinkle of grated Parmesan cheese for topping.
How to Prepare Your Dish (Step-by-Step)
Follow these simple steps for perfect results every single time.
- Preheat your oven to 400°F (200°C). Line a baking sheet with parchment paper.
- In a microwave-safe bowl, combine the mozzarella and cream cheese. Heat in 30-second bursts, stirring in between, until completely melted and smooth.
- Quickly stir the egg into the hot cheese mixture. Then, add the almond flour, baking powder, and garlic powder. Mix until a soft dough forms. I find using my hands at the end is easiest.
- Place the dough between two sheets of parchment paper. Roll it out into a rectangle about ½ inch thick. Remove the top parchment.
- Using a pizza cutter or sharp knife, cut the dough into 10 even strips. Gently twist each strip and place it on your prepared baking sheet.
- Bake for 12-15 minutes, until they are puffed and golden brown.
- While they bake, melt the butter in a small saucepan. Add the minced garlic and cook for just 1 minute until fragrant. Stir in the parsley and salt.
- As soon as the breadsticks come out of the oven, generously brush them with the warm garlic butter. Serve immediately while they’re hot and irresistible.
How to Serve This Like a Pro
Presentation is the final touch that makes it special. Here’s how I like to do it.
Transfer the warm breadsticks to a large, beautiful platter or a wooden board. Drizzle any remaining garlic butter right over the top. For a pop of color and freshness, sprinkle with a little extra chopped parsley.
If you like, add a small bowl of marinara sauce or a creamy keto-friendly dip on the side. Place the platter in the center of your table or coffee table where guests can easily reach. Watch them vanish!
Perfect Pairings (What to Drink & Serve With It)
These breadsticks are wonderfully versatile. They complement so many meals.
For a full dinner, serve them alongside a big, crisp salad and a rich keto lasagna or a hearty bowl of zucchini noodle bolognese. They’re also perfect with a simple soup.
Drink-wise, a chilled glass of Sauvignon Blanc or Pinot Grigio pairs beautifully. For a non-alcoholic option, sparkling water with a twist of lemon is always refreshing. The breadsticks are the star that ties the whole meal together.
Nutrition Notes
Here is the approximate nutritional breakdown per breadstick. This can vary based on specific ingredients.
- Calories: ~180
- Fat: 16g
- Protein: 7g
- Total Carbs: 4g
- Fiber: 2g
- Net Carbs: 2g
Your Entertaining FAQs
Here are answers to the questions I get asked most often by fellow hosts.
Can I make these dairy-free?
You can try, but it’s a bit tricky. The melted cheese is key for the dough’s texture. For a dairy-free version, you would need to use specific vegan cheeses that melt well. I haven’t found a perfect substitute yet, but if you do, please let me know!
My dough is sticky. What did I do wrong?
Don’t worry! This usually happens if the cheese cools too much before mixing. The key is to work quickly while the cheese mixture is still warm. If it’s sticky, just wet your hands slightly to handle it. You can also chill the dough for 10 minutes to make it easier to shape.
How do I store and reheat leftovers?
They are best fresh, but you can store them in an airtight container in the fridge for up to 3 days. To reheat, place them on a baking sheet in a 350°F oven for 5-8 minutes. This keeps them crisp. I don’t recommend microwaving, as they can become soft.
I hope this recipe becomes a trusted friend in your entertaining toolkit, just like it is in mine. It’s the kind of dish that makes hosting feel joyful, not stressful. You get to share something delicious and bask in the happy silence that follows.
Now you’re ready to impress. Put on some music, pour yourself a drink, and get ready for the compliments. I’d love to hear how your party went! Leave a comment and a rating below!