You’ve made roasted cauliflower soup before. I know you have. It’s good. But it’s never been great. Not like this.
That’s because you’re missing the one secret step that changes everything. It’s not a fancy ingredient. It’s a simple technique most home cooks skip.
Ready to make the creamiest, most flavorful version of this classic vegetable soup? Let me show you how.
Recipe Overview
Here’s the quick look at what we’re making today.
- Cuisine: American
- Category: Soup
- Prep Time: 15 minutes
- Cook Time: 50 minutes
- Total Time: 1 hour 5 minutes
- Servings: 4
The Secret Ingredient That Makes All the Difference
I’ll tell you right now. It’s not truffle oil or aged cheese. The secret is roasting the garlic in its skin.
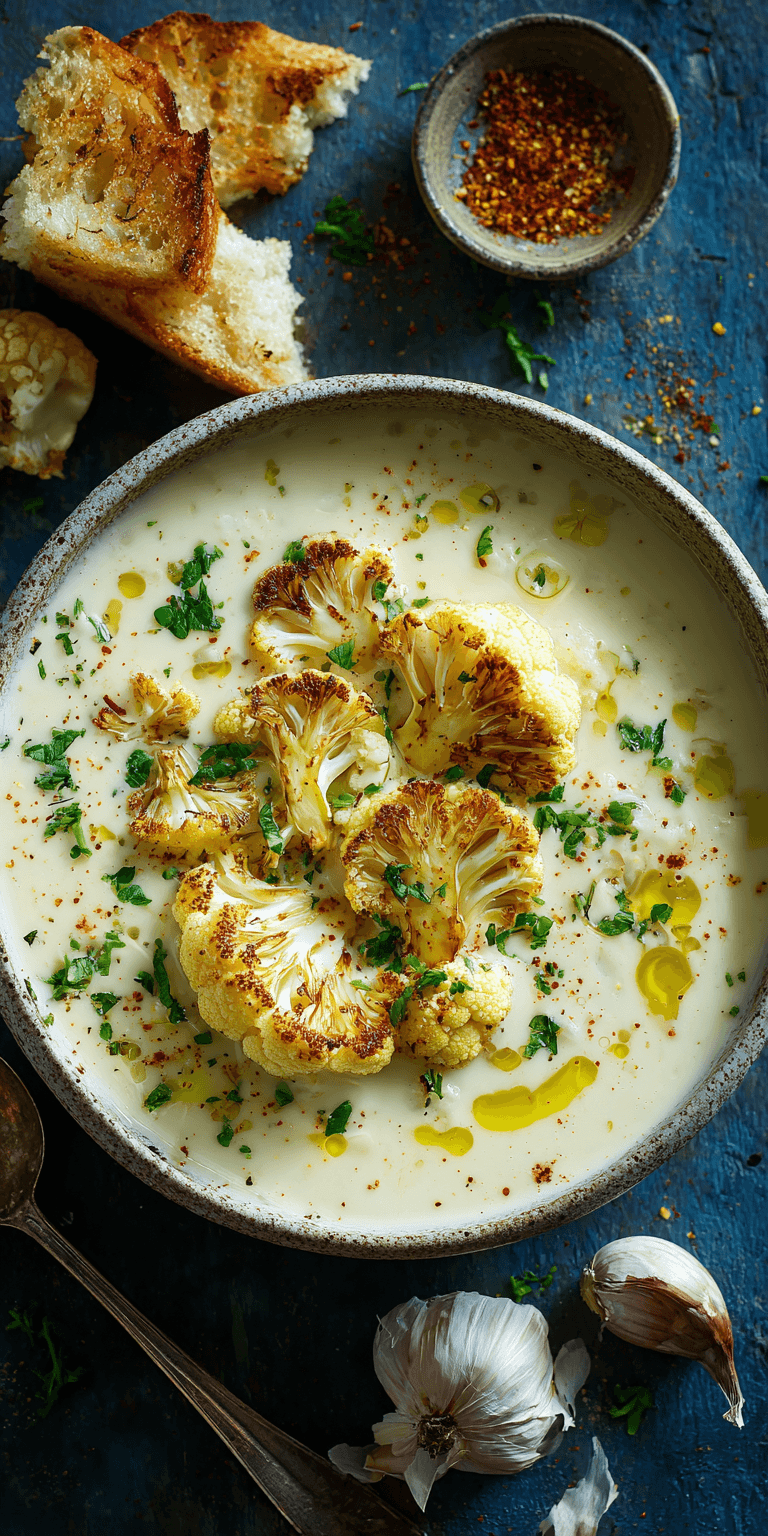
Roasted Cauliflower Soup Recipe
The “Upgraded” Ingredient List
The Pro-Method (Step-by-Step)
Notes
Enjoy your homemade Roasted Cauliflower Soup Recipe!
We toss whole, unpeeled garlic cloves right onto the sheet pan with the cauliflower. As they roast, they steam inside their papery jackets. This transforms their sharp bite into a sweet, buttery, and deeply mellow paste.
You squeeze it out after roasting. This magic paste dissolves into the soup, giving it a rich, savory foundation that raw or sautéed garlic simply cannot match.
Why This Method is Better (My Pro-Tips)
Most recipes just tell you to boil the cauliflower. Or they have you roast it, but they don’t push the flavor far enough. My method is different.
We roast the cauliflower until it’s deeply caramelized. I’m talking dark brown, almost charred edges. That’s where the big flavor lives. Then, we use the roasting pan itself to build the soup base.
Deglazing that flavor-packed pan with the broth is a non-negotiable step. It grabs every last bit of toasted vegetable goodness and puts it right into your bowl.
The “Upgraded” Ingredient List
Every item here has a job. Don’t skip the fresh thyme; its piney notes cut through the richness perfectly.
- 1 large head of cauliflower (about 2 lbs), cut into florets
- 1 medium yellow onion, roughly chopped
- 5-6 whole, unpeeled garlic cloves
- 3 tbsp olive oil, divided
- 1 tsp kosher salt, plus more to taste
- 1/2 tsp freshly cracked black pepper
- 4 cups (32 oz) vegetable or chicken broth
- 2-3 fresh thyme sprigs
- 1/2 cup full-fat coconut milk or heavy cream
- 1 tbsp fresh lemon juice
The Pro-Method (Step-by-Step)
Follow these steps in order. This is where the magic happens.
- Heat your oven to 425°F (220°C). On a large rimmed baking sheet, toss the cauliflower florets, onion, and whole garlic cloves with 2 tablespoons of the olive oil, salt, and pepper.
- Spread everything in a single layer. Roast for 30-40 minutes, tossing once halfway, until the cauliflower is tender and has deep brown spots.
- Let the garlic cool for a minute, then squeeze the soft, roasted cloves from their skins into a small bowl. Discard the skins.
- Heat the remaining 1 tbsp olive oil in a large pot over medium heat. Add the roasted vegetables (cauliflower and onion) and the squeezed garlic paste. Stir for one minute.
- Pour in about 1/2 cup of the broth. Use a wooden spoon to scrape up any browned bits from the bottom of the pot. This is flavor gold.
- Add the remaining broth and the thyme sprigs. Bring to a simmer, then reduce heat and cook for 10 minutes to let the flavors marry.
- Remove the thyme sprigs. Carefully blend the soup until completely smooth using an immersion blender or a countertop blender.
- Stir in the coconut milk (or cream) and the fresh lemon juice. Taste and add more salt or pepper if needed. Serve hot.
Common Mistakes & How to Fix Them
Even great cooks can run into these issues. Here’s how to solve them.
The soup tastes flat or bland. You didn’t roast the vegetables long enough. They need serious color. Next time, let them go a full 40 minutes. If it’s already blended, try adding a pinch of smoked paprika or a dash of white miso paste to boost the savory depth.
The texture is grainy or thin. You probably didn’t blend it long enough. For a silky texture, you need to blend for a full 2-3 minutes with an immersion blender. In a countertop blender, let it run for a full minute. The soup will thicken slightly as it cools.
Variations for the Adventurous Cook
Mastered the base recipe? Try these pro-level swaps to make it your own.
Add a tablespoon of curry powder or garam masala to the vegetables before roasting. The warmth will infuse the entire dish.
Swap the lemon juice for a splash of apple cider vinegar and top with crispy fried sage and toasted walnuts for an autumnal twist.
For a smoky version, add one chipotle pepper in adobo sauce (seeds removed) to the pot when you add the broth. Blend it right in.
Nutrition Notes
This is a healthy soup recipe that doesn’t skimp on satisfaction. Using coconut milk keeps it dairy-free.
- Calories: ~210 per serving
- Fat: 14g (mostly healthy fats from olive oil and coconut milk)
- Carbohydrates: 18g
- Fiber: 6g
- Protein: 5g
Your Pro-Level Questions Answered
These are the questions my cooking students always ask.
Can I make this soup ahead of time?
Absolutely. In fact, I think it tastes better the next day. Let it cool completely, then store it in an airtight container in the fridge for up to 4 days. Reheat gently on the stove.
My soup is too thick. How do I thin it out?
Easy. Just add more broth or even a bit of water, a splash at a time, when you reheat it. Stir well until you reach your perfect consistency.
What’s the best blender to use?
For the absolute smoothest result, a high-powered countertop blender is king. But a good immersion blender works perfectly well and saves on cleanup. Just be patient and blend thoroughly.
A Few Final Secrets
You now have the blueprint for the best creamy cauliflower soup. But I have two more tips for you.
Always finish with that fresh lemon juice. It’s not optional. It brightens the entire pot and makes the flavors pop.
And for a stunning presentation, drizzle each bowl with a little extra coconut milk and a crack of black pepper. A sprinkle of roasted pepitas adds a wonderful crunch.
Now that you have the secret, go try it! I want to hear from you. Did the roasted garlic change the game for you? What variations did you try? Let me know in the comments below and give this recipe a rating if you loved it!