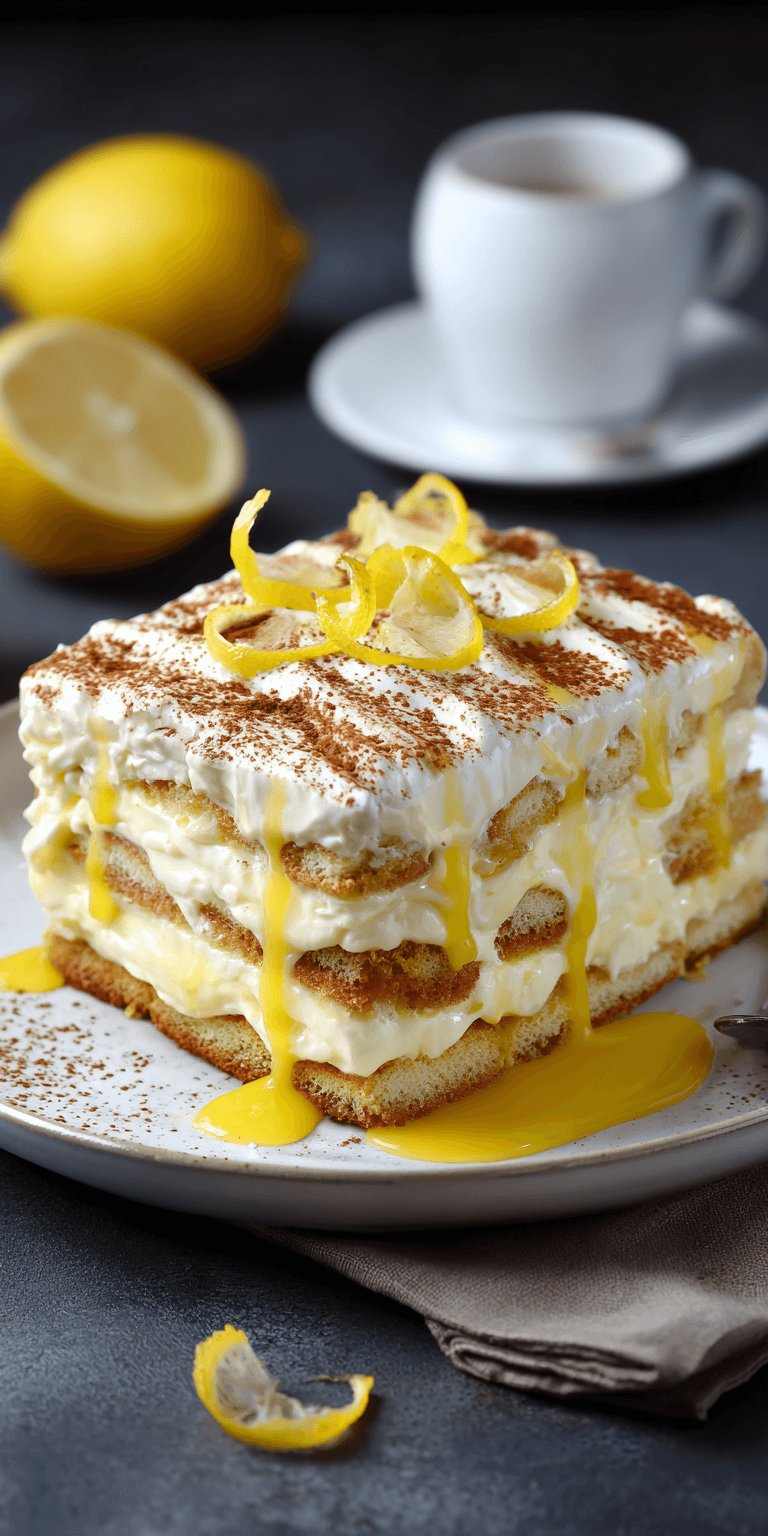
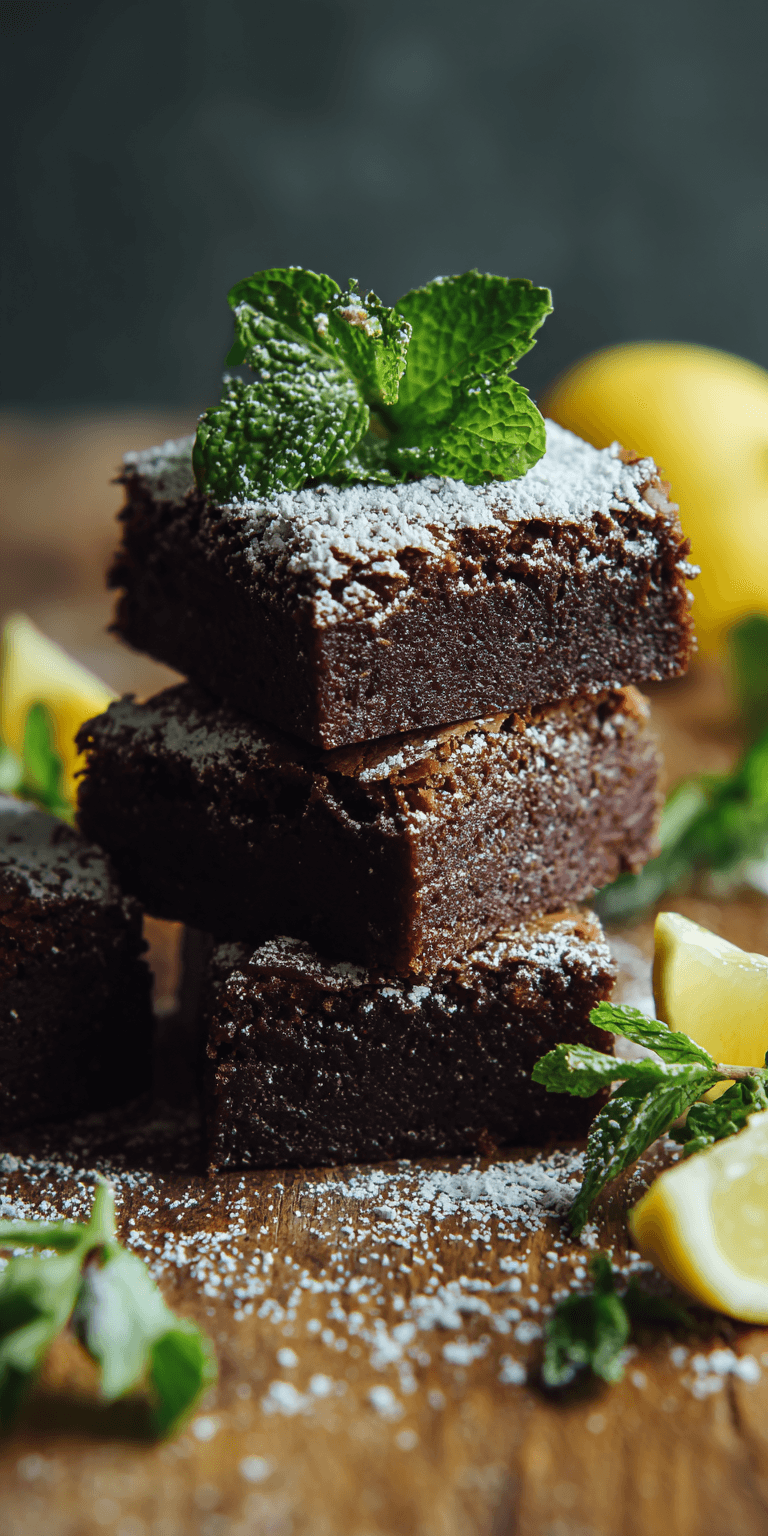
You’ve made lemon bars. You’ve made brownies. But you’ve never made anything like these Mint Lemonade Brownies. There’s a secret hiding in the batter that changes everything.
It’s the one thing that keeps them incredibly moist for days and balances the bright, tangy lemon with the cool, herbal mint. Ready to find out what it is?
This isn’t just a recipe swap. It’s a complete method rethink. I’m going to show you how to build flavor layers that most home bakers miss. Let’s get started.
Recipe Overview
Here’s the quick snapshot of what we’re making today.
- Cuisine: American Dessert
- Category: Bar Cookie / Brownie
- Prep Time: 20 minutes
- Cook Time: 25-30 minutes
- Total Time: 50 minutes (plus cooling)
- Servings: 16 rich squares
The Secret Ingredient That Makes All the Difference
I tested this recipe a dozen times. The winner was always the same. The secret is full-fat sour cream.
Most recipes use just butter and eggs. That can give you a cakey texture. Sour cream adds a subtle tang that makes the lemon pop. More importantly, its fat and moisture content guarantee a dense, fudgy crumb that won’t dry out.
Mint Lemonade Brownies Recipe
The “Upgraded” Ingredient List
The Pro-Method (Step-by-Step)
Notes
Enjoy your homemade Mint Lemonade Brownies Recipe!
It’s the invisible powerhouse that binds the mint and lemon flavors together into one cohesive bite. Don’t even think about using yogurt or a low-fat version.
Why This Method is Better (My Pro-Tips)
We’re not just mixing dry into wet. We’re building a flavor foundation first.
The key is infusing the sugar with the fresh mint. You’ll rub the mint leaves into the granulated sugar with your fingers. This bruises the leaves and releases their essential oils directly into the sugar.
That mint sugar then gets creamed with the butter. This means the mint flavor is baked into every single molecule of the brownie, not just sitting on top in a glaze. It’s a game-changer.
The “Upgraded” Ingredient List
Quality matters here. Use room temperature ingredients unless noted.
- 1 cup (200g) granulated sugar
- 1/4 cup packed fresh mint leaves (no stems)
- 3/4 cup (170g) unsalted butter
- 2 large eggs + 1 egg yolk (the yolk adds richness)
- 1/3 cup (80g) full-fat sour cream
- 2 tbsp fresh lemon zest (about 2 large lemons)
- 1/4 cup (60ml) fresh lemon juice
- 1 tsp pure vanilla extract
- 1 1/4 cups (156g) all-purpose flour
- 1/2 tsp baking powder
- 1/2 tsp fine sea salt
- Green food gel (optional, for a hint of color)
For the Lemon Glaze:
- 1 cup (120g) powdered sugar
- 1 1/2 tbsp fresh lemon juice
- 1 tbsp heavy cream or milk
- Extra mint leaves for garnish
The Pro-Method (Step-by-Step)
Follow these steps in order. This sequence is part of the secret.
- Preheat your oven to 350°F (175°C). Line an 8×8 inch baking pan with parchment paper, leaving an overhang on two sides.
- In a medium bowl, combine the granulated sugar and fresh mint leaves. Use your fingers to rub the mint into the sugar for a full minute. You’ll smell it and see the sugar turn slightly damp.
- In the bowl of a stand mixer, cream the mint sugar with the softened butter for 3-4 minutes. It should be light and fluffy. This builds the structure.
- Add the eggs, egg yolk, sour cream, lemon zest, lemon juice, and vanilla. Mix on medium until just combined. It may look slightly curdled—that’s fine.
- In a separate bowl, whisk the flour, baking powder, and salt. Add these dry ingredients to the wet mixture in two additions. Mix on low until no dry streaks remain. Add a tiny drop of green food gel here if using.
- Spread the thick batter into your prepared pan. Bake for 25-30 minutes. A toothpick inserted should come out with a few moist crumbs. Do not overbake.
- Let the brownies cool completely in the pan on a wire rack. They must be completely cool before glazing.
- Make the glaze: whisk powdered sugar, lemon juice, and cream until smooth. Drizzle over the brownies. Top with thinly sliced mint leaves. Let the glaze set before slicing.
Common Mistakes & How to Fix Them
Problem 1: Brownies are cakey, not fudgy. You over-mixed the batter after adding the flour, or you over-baked. Mix dry ingredients only until combined. Start checking for doneness at 25 minutes.
Problem 2: The mint flavor is weak or bitter. You used dried mint or chopped the leaves. Rubbing them whole into the sugar is non-negotiable. Chopping can release chlorophyll bitterness.
Problem 3: The glaze soaks in and disappears. You glazed while the brownies were warm. Patience is key. The brownies must be at room temperature for that perfect, set glaze layer.
Variations for the Adventurous Cook
Once you master the base, try these pro swaps.
Swap the fresh mint for 2 tbsp of finely chopped lemon thyme or basil. It creates a more complex, herbal note that’s incredible.
Add a texture layer by sprinkling 1/3 cup of white chocolate chips or chopped pistachios onto the batter right before baking.
For an adult twist, add 2 teaspoons of limoncello to the glaze instead of the extra lemon juice. It intensifies the lemon flavor beautifully.
Nutrition Notes
This is a treat, but here’s the basic breakdown per serving.
- Calories: ~220
- Total Fat: 10g
- Saturated Fat: 6g
- Carbohydrates: 31g
- Sugar: 22g
- Protein: 2g
Your Pro-Level Questions Answered
These are the questions I get from bakers who want to level up.
Can I make these ahead for a party?
Absolutely. They are actually better on day two. Bake, cool, and glaze up to 24 hours ahead. Store covered at room temperature. The sour cream keeps them perfect.
My lemons aren’t very juicy. What’s the fix?
Roll your lemons firmly on the counter under your palm before cutting and juicing. This breaks down the internal membranes. You’ll get significantly more juice every time.
Can I double this recipe?
Yes, but don’t just double and mix in one bowl. Mix two separate batches of batter to avoid over-mixing. Bake in a 9×13 inch pan and add 5-7 minutes to the bake time.

A Few Final Secrets
Use a plastic bag to zest your lemons. Zest directly into the bag over the bowl. This catches all the precious lemon oils that spray out.
When you slice, use a clean, hot knife. Run your knife under very hot water, wipe it dry, and make your cut. You’ll get clean, professional slices every single time.
This recipe is your new secret weapon for spring parties. It looks simple but tastes complex. That’s the best kind of dessert to share.
Now you have all my secrets. I want to hear from you. Did the sour cream trick change the game for you? What variation did you try? Rate this recipe and tell me all about it in the comments below!