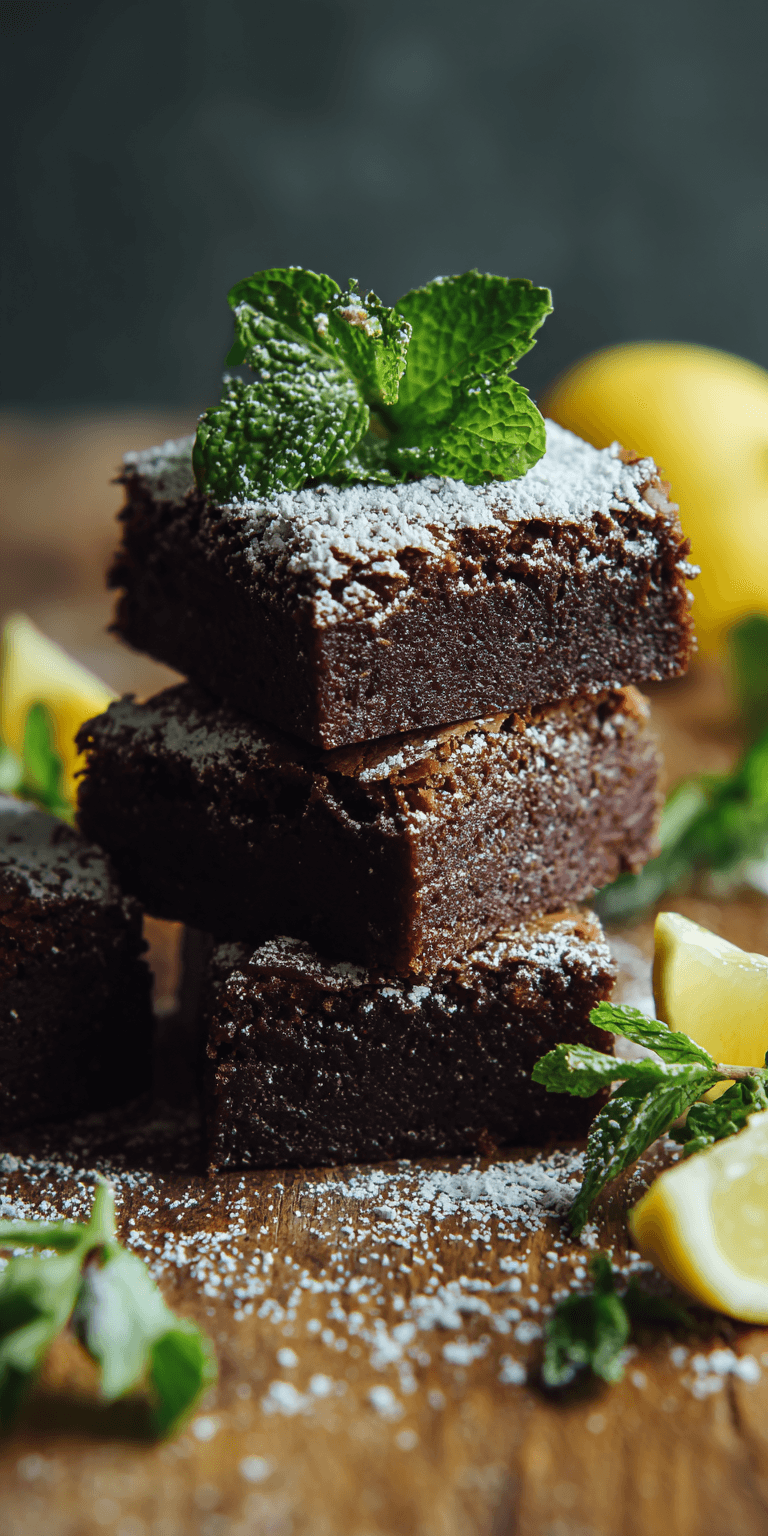
I published this recipe for Blackberry Lemon Crumble Bars a few years ago after a particularly fruitful trip to the farmer’s market. I came home with a pint of the most gorgeous, inky blackberries and a bag of lemons, and I just knew they had to become a dessert together.
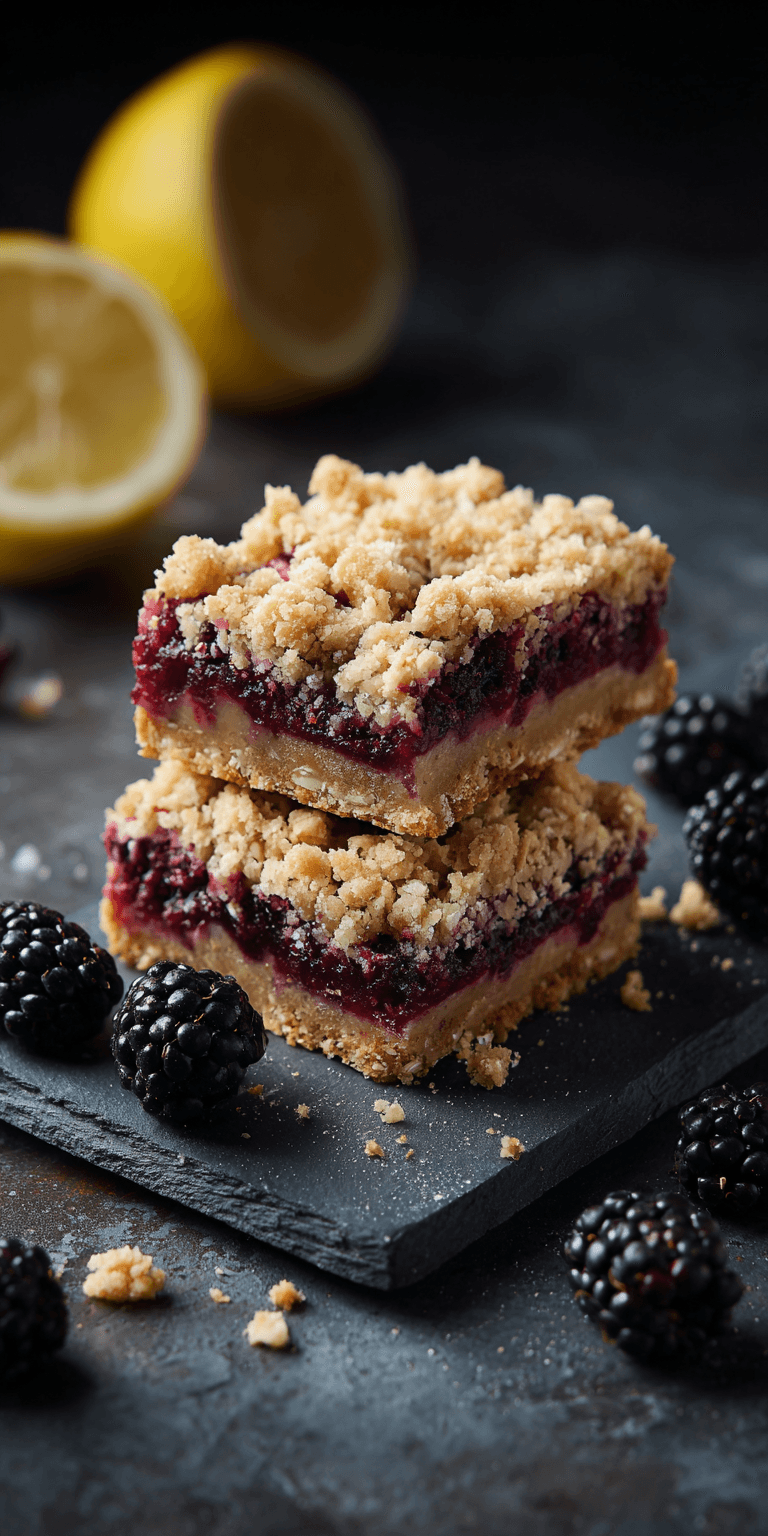
My secret for this recipe isn’t fancy. It’s all about the layers. I use the same simple oat mixture for both the crust and the crumble topping. It saves on dishes and creates this perfect textural harmony. A buttery, crisp base, a bright, jammy fruit layer, and that golden, crunchy oat crumble on top.
It feels like a hug in bar form. They’re the kind of treat I love to make for a spring picnic or a casual weekend dessert. They walk that beautiful line between indulgent and wholesome, which is my favorite place to bake.
Recipe Overview
- Cuisine: American
- Category: Dessert, Snack
- Prep Time: 20 minutes
- Cook Time: 45 minutes
- Total Time: 1 hour 5 minutes (plus cooling)
- Servings: 16 bars
Why This Recipe is So Special
What makes these bars stand out is their simplicity and balance. You get three distinct layers from one master mix.
The lemon zest in the crust and filling isn’t just a background note. It brightens the whole bar, cutting through the sweetness of the berries and the richness of the butter.
Using oats in the crumble gives it a hearty, nutty flavor and a fantastic crunch. It’s a texture you just don’t get from flour alone. This recipe proves that healthy baking can be deeply satisfying and delicious.
Blackberry Lemon Crumble Bars Recipe
The Full Ingredient List
My Step-by-Step Method
Notes
Enjoy your homemade Blackberry Lemon Crumble Bars Recipe!
The Full Ingredient List
I keep my pantry stocked with these basics. For the best flavor, use ripe, juicy blackberries and fresh lemons.
- 2 cups (250g) all-purpose flour
- 1 ½ cups (150g) old-fashioned rolled oats
- 1 cup (200g) packed light brown sugar
- 1 teaspoon baking powder
- ½ teaspoon fine sea salt
- Zest of 1 large lemon
- 1 cup (2 sticks / 226g) cold unsalted butter, cubed
- 3 cups (about 340g) fresh blackberries
- ⅓ cup (65g) granulated sugar
- 3 tablespoons fresh lemon juice
- 2 tablespoons cornstarch
My Step-by-Step Method
Don’t let the layers fool you—this method is straightforward. I’ll walk you through each part.
- Preheat your oven to 375°F (190°C). Line an 8×8 or 9×9 inch baking pan with parchment paper, leaving an overhang on two sides for easy lifting.
- In a large bowl, whisk together the flour, oats, brown sugar, baking powder, salt, and lemon zest. Add the cold, cubed butter.
- Use a pastry cutter, two forks, or your clean fingertips to work the butter into the dry ingredients. Keep going until the mixture looks like coarse, crumbly sand and the butter pieces are no larger than peas.
- Set aside 1 ½ cups of this oat crumble mixture for the topping. Press the remaining mixture firmly and evenly into the bottom of your prepared pan. I use the bottom of a measuring cup to really pack it down.
- Bake the crust for 15 minutes. This step is key for a firm base that won’t get soggy.
- While the crust bakes, make the filling. In a medium bowl, gently toss the blackberries with granulated sugar, lemon juice, and cornstarch until evenly coated.
- Once the crust is out of the oven, spread the blackberry filling evenly over the hot crust. Sprinkle the reserved 1 ½ cups of crumble topping over the berries.
- Return the pan to the oven and bake for another 30-35 minutes, or until the topping is golden brown and the fruit filling is bubbling around the edges.
- Let the pan cool completely on a wire rack. This is the hardest part, but trust me, it’s necessary for clean cuts. For best results, I often chill them in the fridge for an hour before slicing.
- Use the parchment paper overhang to lift the whole slab out of the pan. Place it on a cutting board and slice into 16 squares.
My Top Tips for Success
- Cold Butter is Non-Negotiable: It creates those perfect little pockets of steam in the oven, which gives you a flaky, tender crust and crumble. If your butter starts to melt, pop the bowl in the fridge for 10 minutes.
- Press the Base Firmly: A well-packed crust holds together beautifully. Don’t be shy—really press it down.
- Let Them Cool Completely: I know it’s tempting, but cutting into warm bars will give you a messy, crumbly slice. Patience rewards you with perfect, neat bars.
- Try a Mix of Berries: This recipe is wonderful with raspberries, blueberries, or a mix! Frozen berries work too—just don’t thaw them first, and add 5-10 minutes to the baking time.
Common Mistakes to Avoid
I’ve made these mistakes so you don’t have to! Here’s how to steer clear.
- Soggy Bottom Crust: This usually happens if you skip the step of pre-baking the crust. That 15-minute head start is what makes it crisp and sturdy enough to hold the juicy berries.
- Crumbly Topping That Won’t Stick: If your crumble seems too dry and won’t clump, your butter might have been too warm or not mixed in enough. The mixture should hold together when you pinch it. If it’s too dry, add a teaspoon of cold water and mix.
- Watery Filling: This is almost always due to not using enough thickener. Cornstarch is our friend here. Make sure your berries are well-coated in the cornstarch-sugar mix before piling them on.
NUTRITION INFORMATION
- Calories: 280
- Carbohydrates: 38g
- Protein: 3g
- Fat: 13g
- Saturated Fat: 8g
- Fiber: 3g
- Sugar: 20g
FREQUENTLY ASKED QUESTIONS
Can I use frozen blackberries?
Absolutely! Use them straight from the freezer. Do not thaw them, as they’ll release too much water. You may need to add 5-10 extra minutes to the final baking time since they start out colder.
How should I store these bars?
Store them in an airtight container at room temperature for 2 days, or in the fridge for up to 5 days. They also freeze beautifully for up to 3 months. Just thaw at room temperature or warm them up slightly before serving.
Can I make these gluten-free?
Yes! I’ve had great success using a 1-to-1 gluten-free all-purpose flour blend. Make sure your oats are certified gluten-free as well. The method stays exactly the same.

Leave a Reply! (I’d Love to Hear From You!)
Did you give these blackberry lemon bars a try? I would be so thrilled to hear how they turned out in your kitchen. Did you use all blackberries or mix in another berry? Share your story or any questions in the comments below—it makes my day! If you loved them, please leave a rating so other bakers can find this recipe too. Happy baking!