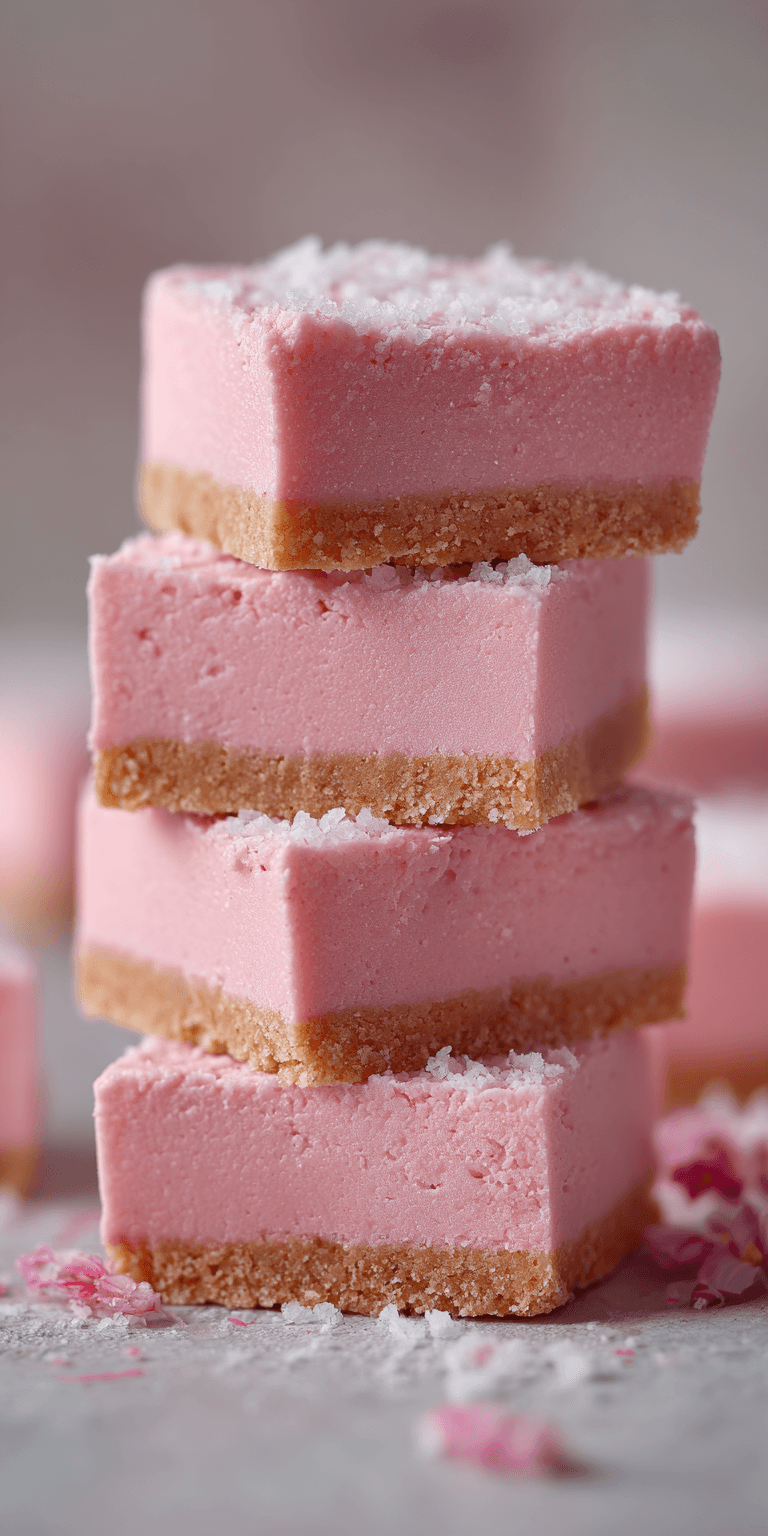
Some recipes just feel like a warm hug. For me, these Pink Lemonade Freezer Bars are one of them. They taste like a sunny afternoon in the backyard, with the sound of a sprinkler in the distance.
This recipe takes me right back to my grandma’s kitchen. She always had a batch of something cold and sweet waiting in the freezer for us kids. It was her secret weapon against the summer heat.
I want to share that feeling with you. This is a no bake dessert that is pure, simple joy. It’s a frozen treat that will brighten any day.
Recipe Overview
- Cuisine: American
- Category: Dessert
- Prep Time: 15 minutes
- Cook Time: 0 minutes
- Total Time: 4 hours 15 minutes (includes freezing)
- Servings: 9 bars
The Story Behind This Classic Recipe
I can still see the old Tupperware container in her freezer. The lid was always a little frosty. When she lifted it, we saw that perfect pink rectangle.
She called it her “summer magic.” It was a staple at every picnic and family reunion. The adults loved it as much as we did.
This dish is a piece of food history. It comes from a time when convenience met creativity in the best way. Using frozen lemonade concentrate was a brilliant shortcut for busy moms and grandmas.
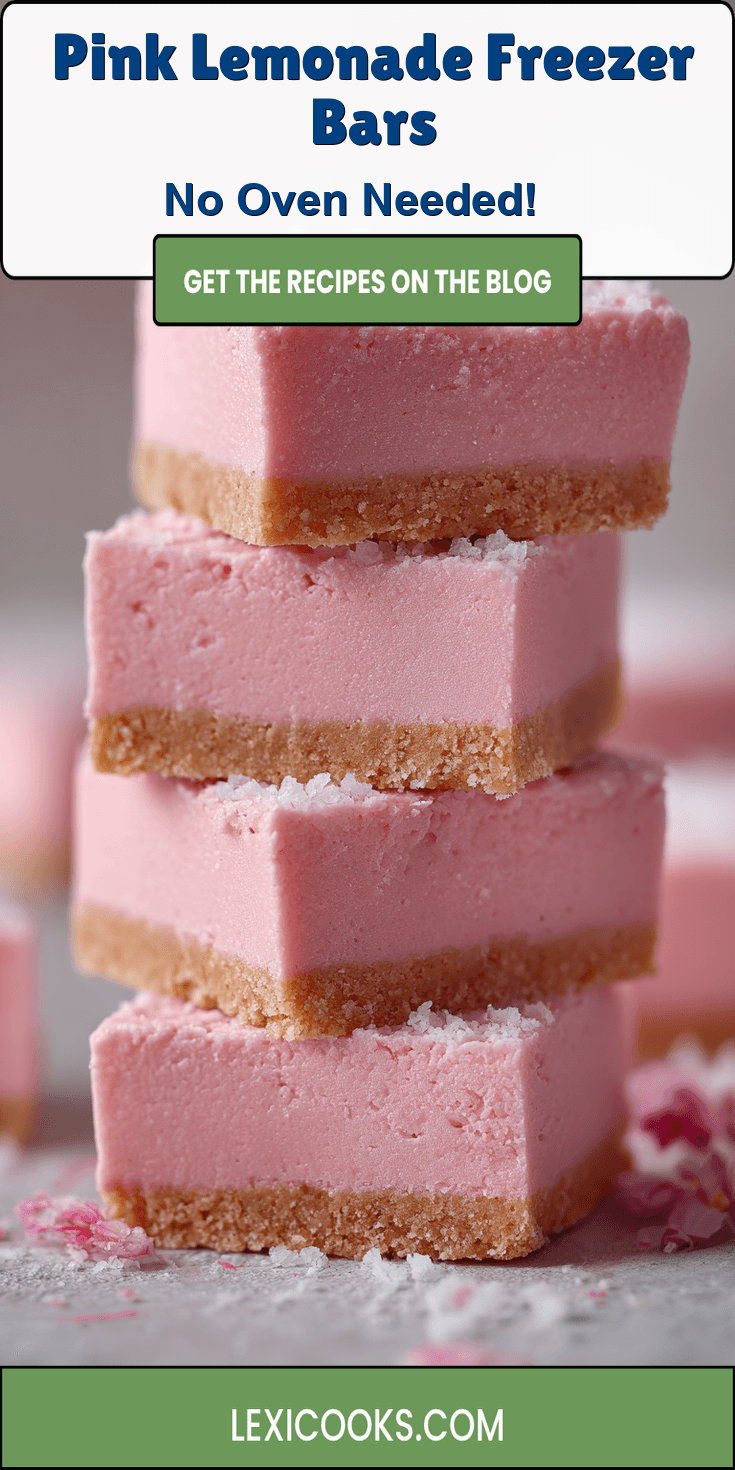
Pink Lemonade Freezer Bars Recipe
The Classic Ingredients (No Fancy Stuff!)
How to Make It Just Like Grandma Did
Notes
Enjoy your homemade Pink Lemonade Freezer Bars Recipe!
It created a treat that was both tart and sweet. It was always a guaranteed hit. I’m so happy to keep this tradition alive.
What Makes This the *Traditional* Way
Some recipes try to change a good thing. They add fancy herbs or swap in yogurt. We’re not doing that here.
The traditional way uses simple, shelf-stable ingredients. You likely have them in your pantry right now. The magic is in their combination.
The crust is a classic graham cracker press-in. It gets its richness from melted butter. The filling is a dreamy blend of sweetened condensed milk and lemonade concentrate.
That concentrate is the key. It gives an intense, true pink lemonade flavor. Whipped topping lightens it all up into a perfect, sliceable cloud.
The Classic Ingredients (No Fancy Stuff!)
Let’s gather our simple supplies. This is all you need for that perfect, nostalgic taste.
- 1 ½ cups graham cracker crumbs (about 12 full sheets)
- ⅓ cup granulated sugar
- 6 tablespoons unsalted butter, melted
- 1 can (14 oz) sweetened condensed milk
- 1 can (12 oz) frozen pink lemonade concentrate, thawed
- 1 container (8 oz) frozen whipped topping (like Cool Whip), thawed
- A few drops of red food coloring (optional, for a brighter pink)
How to Make It Just Like Grandma Did
The process is as comforting as the result. Just follow these easy steps. You’ll have a pan of happiness ready for the freezer in no time.
- First, line an 8×8 or 9×9 inch baking pan with parchment paper. Let the paper hang over the sides a bit. This makes it so easy to lift out the whole block later.
- Make the crust. In a medium bowl, mix the graham cracker crumbs and sugar. Pour the melted butter over top and stir until every crumb is damp and sandy.
- Press this mixture firmly and evenly into the bottom of your prepared pan. I like to use the bottom of a measuring cup to get it nice and flat. This is your flavor foundation.
- Now for the filling. In a large bowl, whisk together the sweetened condensed milk and the thawed pink lemonade concentrate. It will thicken up beautifully.
- Gently fold in the thawed whipped topping. Use a big spatula and fold until no white streaks remain. If you want a deeper pink color, now is the time to add a drop or two of food coloring.
- Pour this fluffy pink filling over your crust. Smooth the top with your spatula.
- Cover the pan tightly with plastic wrap or foil. Freeze for at least 4 hours, or until it’s completely firm. Overnight is even better.
My Tips for Perfecting This Classic
After making this for years, I’ve learned a few tricks. They make sure your bars turn out perfect every single time.
First, make sure your whipped topping is fully thawed. If it’s still icy, it will be hard to fold in smoothly. You might end with lumps.
Second, don’t skip the parchment paper. Trying to dig frozen bars out of a metal pan is a battle you won’t win. The paper sling is a true game-changer.
Finally, let the pan sit on the counter for 5-10 minutes before slicing. This softens it just enough to get clean cuts. Use a sharp knife wiped clean between slices.
How to Store and Enjoy Later
These bars live in the freezer. They are the ultimate make-ahead summer snack.
Once frozen solid, you can lift the whole block out using the parchment paper. Slice it into squares on a cutting board.
You can return the squares to the pan or store them in a single layer in a freezer-safe container. Put a piece of parchment between layers if you stack them.
They will keep their best texture for about 2-3 weeks. Honestly, they never last that long at my house. They are the first thing the kids look for.
Nutrition Notes
This is a treat, through and through. Here’s a simple look at what’s in one bar.
- This is a sweet, indulgent dessert.
- Each bar is rich and satisfying.
- It’s a wonderful source of quick energy for active kids.
- Enjoy it as a special part of a fun summer day.
Your Questions About This Classic Recipe
Here are answers to a couple common questions I get about this old-fashioned favorite.
Can I use fresh lemon juice instead of concentrate?
I don’t recommend it for this specific recipe. The frozen concentrate is more concentrated and sweetened. It gives the right thick texture and punchy flavor that makes this dish so special. Fresh juice will make the filling too runny.
My filling seems soft after freezing. What happened?
This usually means it didn’t freeze long enough. Make sure you give it a full 4 hours, but overnight is the real secret. Also, check that your freezer is at the right temperature. Your patience will be rewarded with the perfect slice.
Can I make this with a different juice?
You can try! The method works with other frozen concentrates like limeade or regular lemonade. The pink color and that specific sweet-tart taste will be different, but it will still be a delicious frozen bar.
I hope this recipe finds its way into your family’s summer traditions. It’s more than just a dessert. It’s a little bite of memory-making magic.
It’s so easy to make, and it brings such big smiles. That’s the real power of a classic, simple treat like this one.
Did your family have a version of this sweet? I would love to hear about it. Please share your own stories and photos in the comments below. And if you make it, let me know how it turned out!