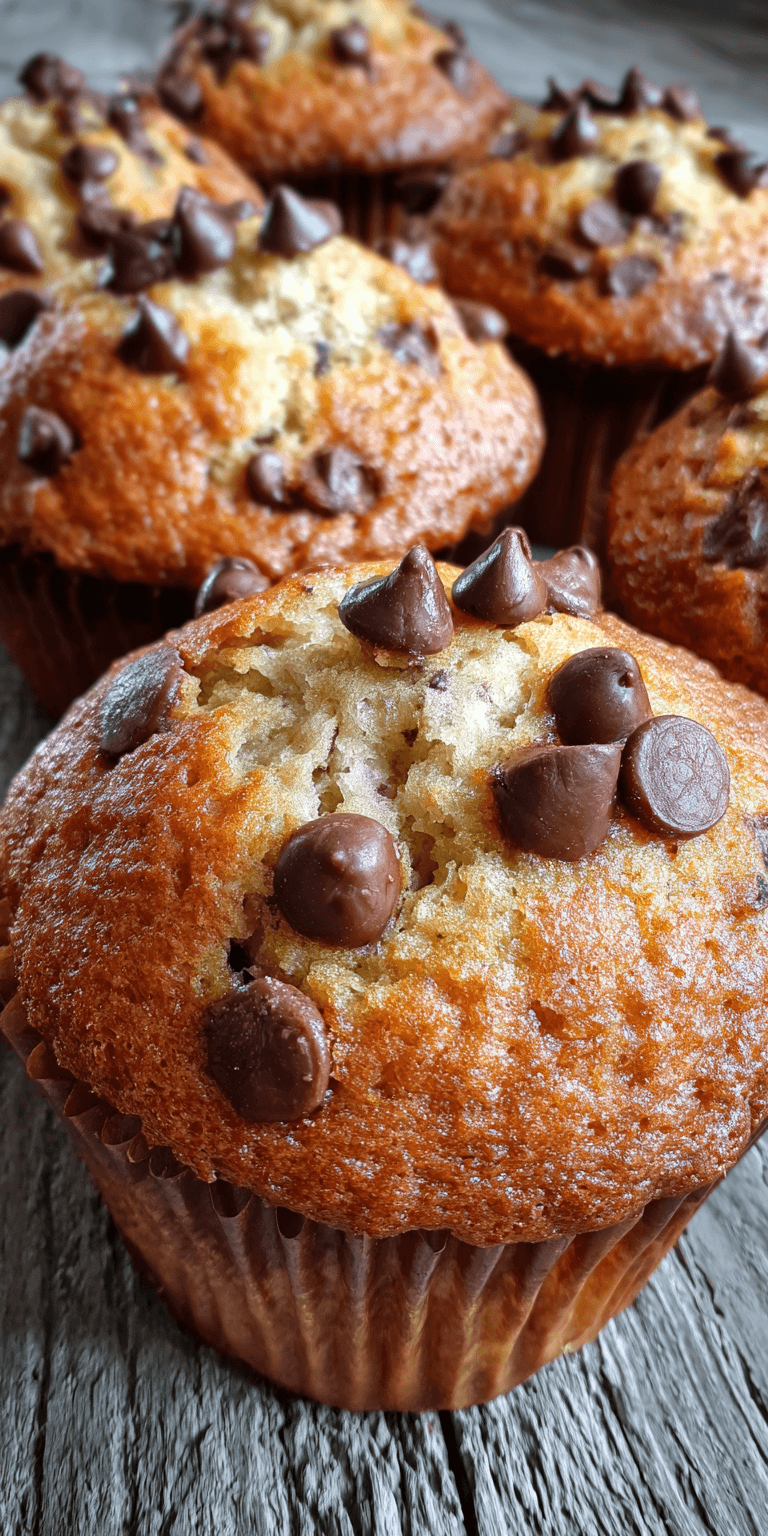
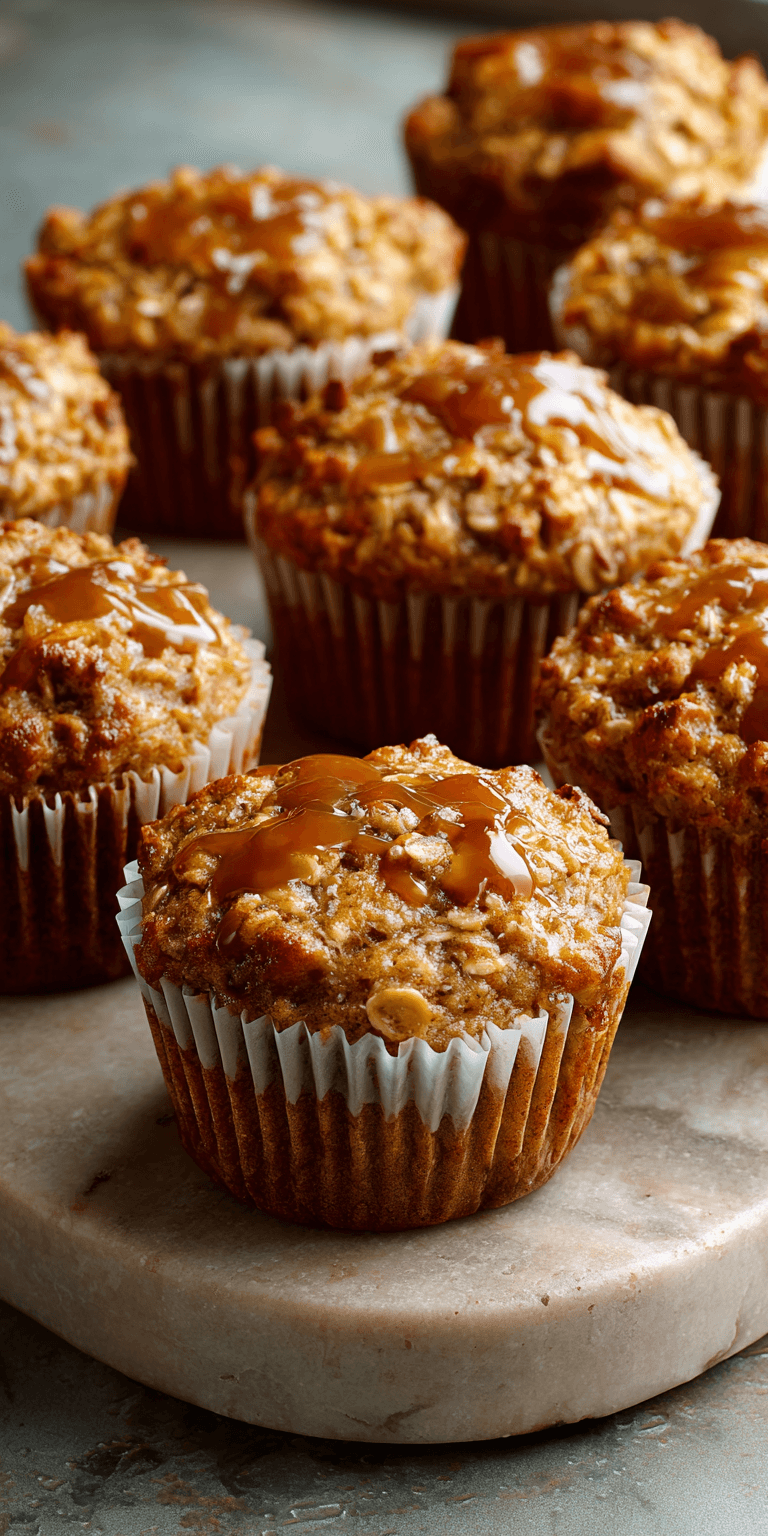
I published this recipe for Maple Glazed Banana Muffins a few years ago after a small kitchen disaster turned into my favorite breakfast treat. I had a bunch of bananas that were just too ripe to eat, and I was out of my usual muffin ingredients. So, I got creative with what I had in the pantry.
My secret for these muffins is a trick I learned from my grandma. I use pure maple syrup right in the batter. It doesn’t just add sweetness. It gives the crumb a deep, caramel-like flavor that white sugar just can’t match. It makes the whole kitchen smell like a cozy autumn morning, even in the middle of July.
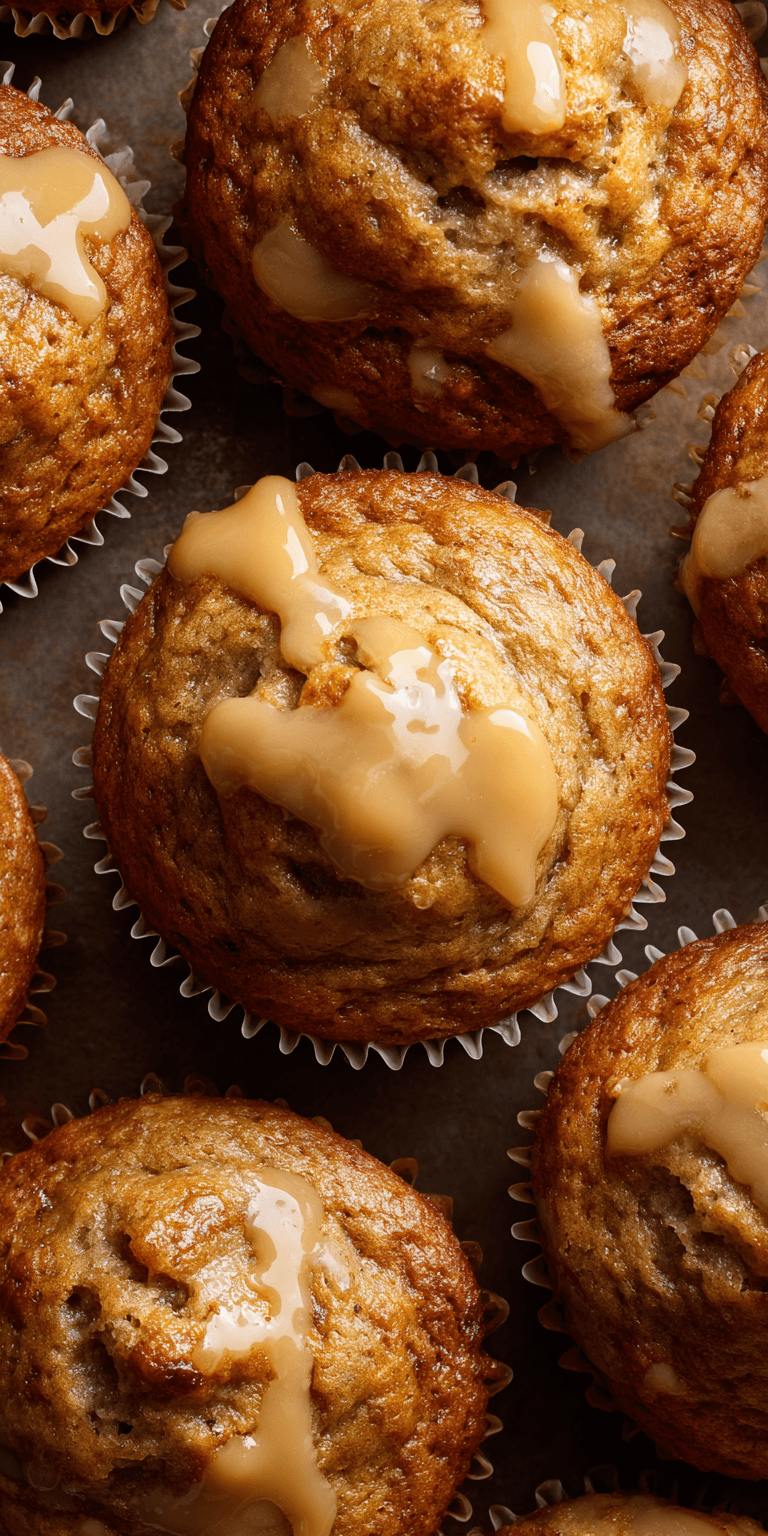
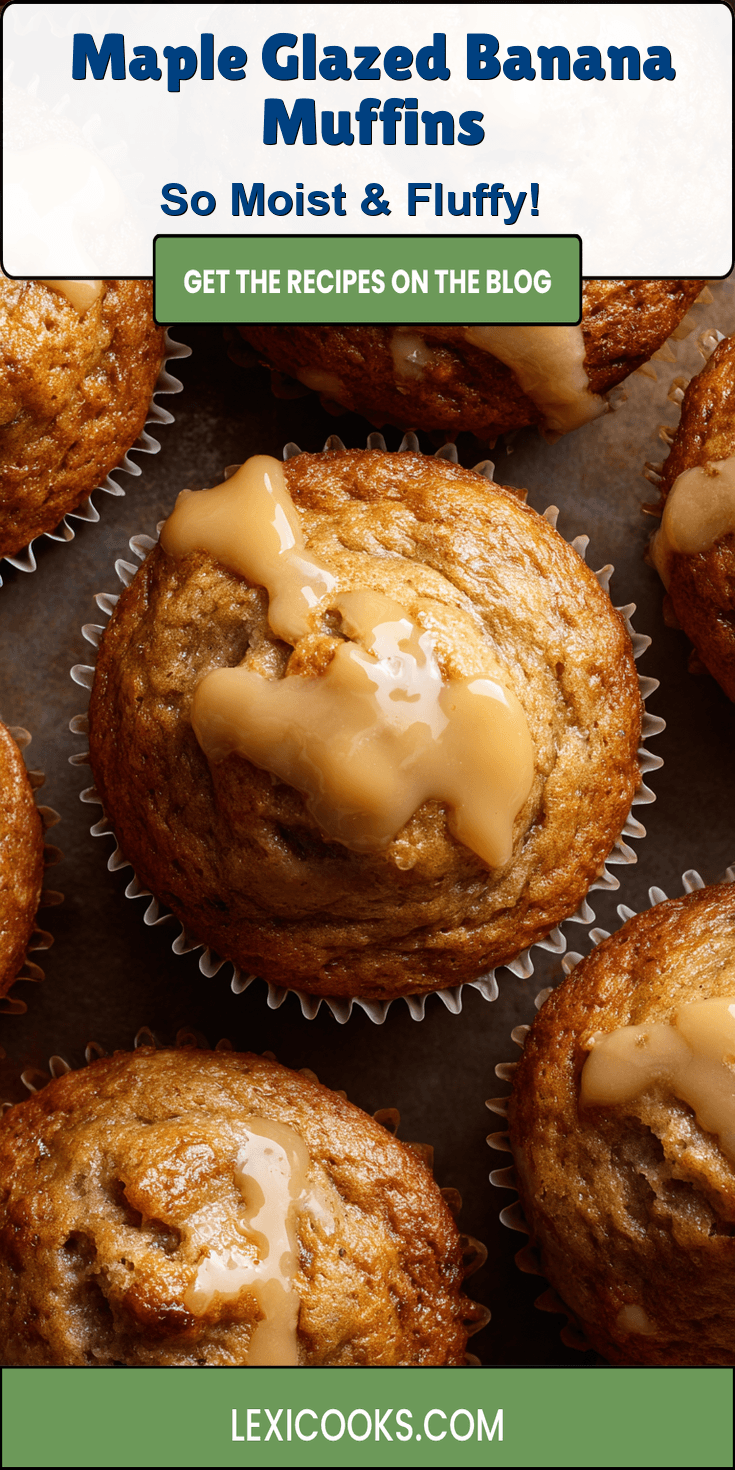
That glossy glaze on top is my proudest moment. It’s just two ingredients, but it transforms a simple banana muffin into something truly special. I love this technique because it’s so easy, but it looks and tastes like you spent hours in the kitchen.
Recipe Overview
- Cuisine: American
- Category: Breakfast, Snack
- Prep Time: 15 minutes
- Cook Time: 22 minutes
- Total Time: 37 minutes
- Servings: 12 muffins
Why This Recipe is So Special
What sets these apart is the double dose of maple. We use it inside the muffin and again on top for that shiny finish.
This creates layers of flavor. The muffin itself is moist and warmly spiced. The glaze adds a pure, sweet punch that makes every bite perfect.
It’s also a fantastic way to use up those spotty bananas on your counter. The riper they are, the sweeter and more flavorful your muffins will be. This recipe turns something you might toss into the star of your breakfast table.
Maple Glazed Banana Muffins Recipe
The Full Ingredient List
My Step-by-Step Method
Notes
Enjoy your homemade Maple Glazed Banana Muffins Recipe!
The Full Ingredient List
Gathering your ingredients is the first step to baking success. I always line everything up before I start. It makes the process so much smoother.
Here’s what you’ll need. Make sure your bananas are very ripe for the best natural sweetness.
- 3 large, very ripe bananas (about 1 1/2 cups mashed)
- 1/3 cup melted unsalted butter, cooled slightly
- 1/2 cup pure maple syrup (not pancake syrup!)
- 1 large egg, at room temperature
- 1 teaspoon pure vanilla extract
- 1 1/2 cups all-purpose flour
- 1 teaspoon baking soda
- 1 teaspoon baking powder
- 1/2 teaspoon salt
- 1 teaspoon ground cinnamon
- 1/4 teaspoon ground nutmeg
For the Maple Glaze:
- 3/4 cup powdered sugar, sifted
- 3 tablespoons pure maple syrup
- 1-2 teaspoons milk or cream (if needed)
My Step-by-Step Method
Follow these steps and you really can’t go wrong. I’ve made this recipe dozens of times, and this order works every single time.
- Preheat your oven to 375°F (190°C). Line a 12-cup muffin tin with paper liners or grease it well.
- In a large bowl, mash the ripe bananas with a fork until mostly smooth. A few small lumps are just fine.
- Whisk the melted butter, maple syrup, egg, and vanilla into the mashed bananas until everything is well combined.
- In a separate bowl, whisk together the flour, baking soda, baking powder, salt, cinnamon, and nutmeg.
- Gently fold the dry ingredients into the wet banana mixture. Stop as soon as you see no more dry flour streaks. Do not overmix the batter.
- Divide the batter evenly among the 12 muffin cups, filling each about 3/4 full.
- Bake for 20-22 minutes. They’re done when a toothpick inserted into the center comes out clean.
- Let the muffins cool in the pan for 5 minutes. Then, move them to a wire rack to cool completely before glazing.
- Make the glaze: Whisk the sifted powdered sugar and 3 tablespoons of maple syrup in a small bowl. It should be thick but pourable. Add a tiny bit of milk if it’s too thick.
- Drizzle or spread the glaze over the completely cooled muffins. Let it set for about 10 minutes before serving.
My Top Tips for Success
These little tips make a big difference. They’re the kind of things you learn after burning a batch or two!
- Banana Ripeness is Key: The blacker the banana peel, the better. They mash easier and pack more flavor.
- Use Room Temperature Egg: This helps it blend smoothly into the batter without cooling down the melted butter.
- Measure Flour Correctly: Spoon the flour into your measuring cup and level it off. Don’t scoop directly from the bag, as it packs too much flour in.
- Let Them Cool: I know it’s hard to wait, but glazing warm muffins will make the glaze melt and disappear. Patience gives you that beautiful, crackly finish.
Common Mistakes to Avoid
We’ve all been there. Avoiding these common pitfalls will guarantee muffin perfection.
Overmixing the Batter: This is the #1 reason for tough, dense muffins. Stir just until the ingredients are combined. A few lumps are your friend.
Using the Wrong Syrup: Please, for the best flavor, use 100% pure maple syrup. The artificial pancake syrup will make the glaze too sweet and thin.
Overfilling the Muffin Cups: Filling them more than 3/4 full can cause them to overflow and bake into one giant muffin top. Use an ice cream scoop for even portions.
NUTRITION INFORMATION
- Calories: 220
- Carbohydrates: 40g
- Protein: 3g
- Fat: 6g
- Saturated Fat: 3.5g
- Fiber: 1g
- Sugar: 24g
*Nutrition is an estimate per muffin and will vary based on specific ingredients used.
FREQUENTLY ASKED QUESTIONS
Here are answers to the questions I get asked the most about this recipe.
Can I make these muffins ahead of time?
Absolutely! You can bake the muffins (without glaze) a day ahead. Store them in an airtight container at room temperature. Make and add the glaze the morning you plan to serve them for the freshest look and taste.
Can I use frozen bananas?
Yes, and it’s a great trick! Thaw frozen ripe bananas completely. Drain off any excess liquid that accumulates in the bowl, then mash and use as directed.
Why didn’t my glaze get hard?
If your glaze stays sticky, the muffins were likely still too warm. Also, make sure you’re using enough powdered sugar. The ratio of sugar to syrup is what creates that set. Let them sit a bit longer; it will firm up.
Leave a Reply! (I’d Love to Hear From You!)
Did you try my maple glazing technique? I’d love to know how your autumn baking turned out! Did your family gobble them up for breakfast? Maybe you added a pinch of clove or some walnuts? Tell me all about it in the comments below. Your stories and tips are my favorite part of sharing recipes. Happy baking!