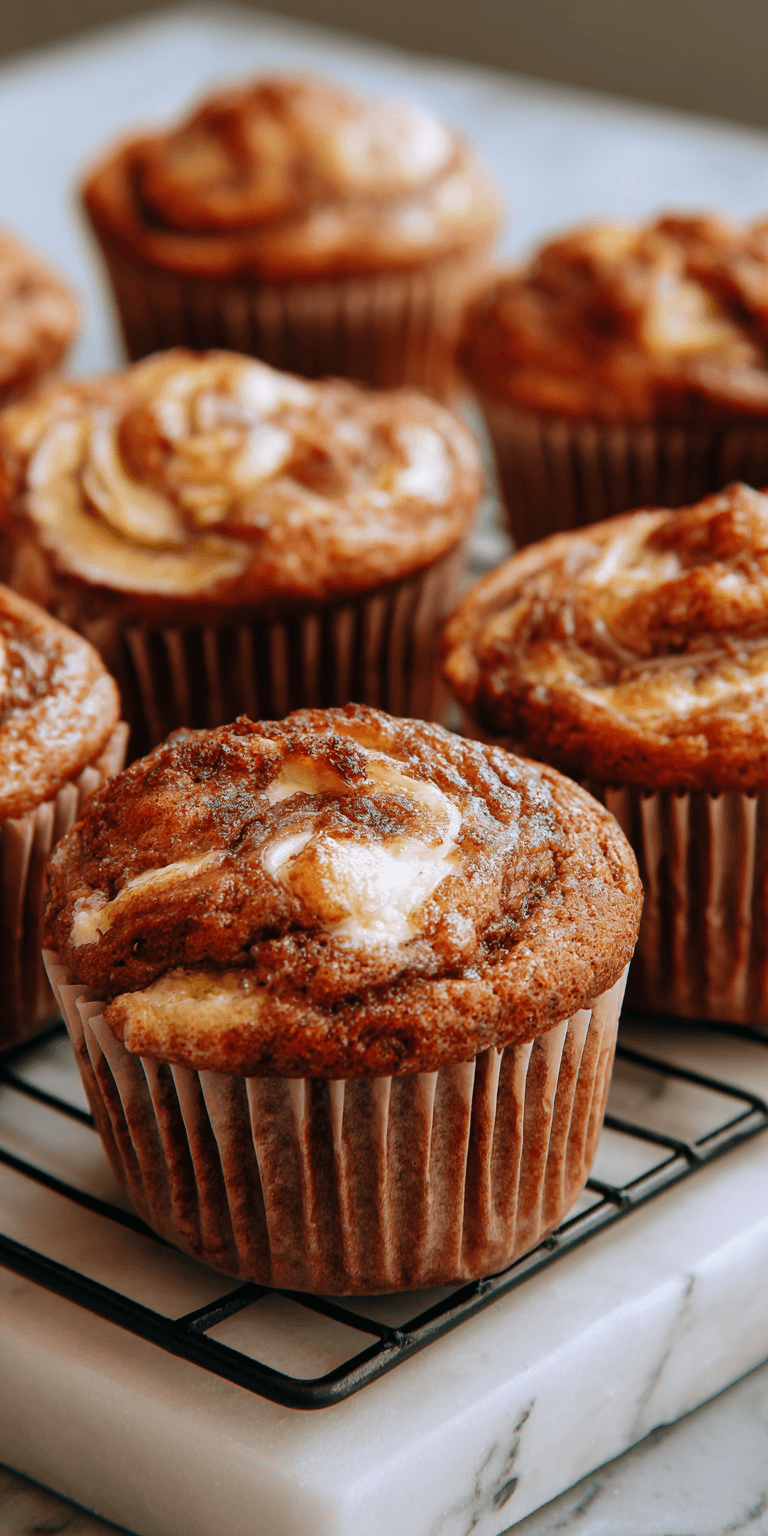
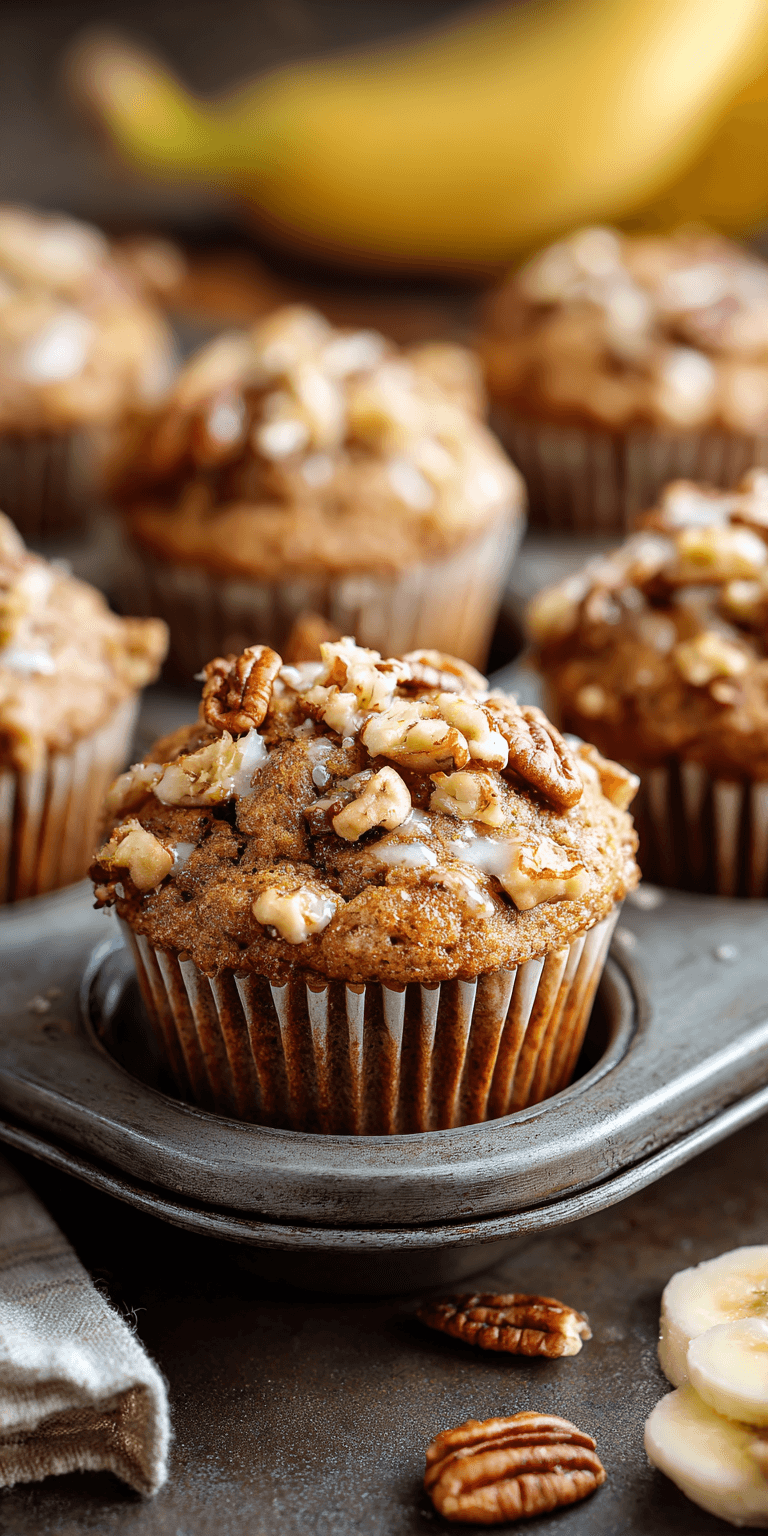
What’s better than a warm, fresh-baked muffin? A muffin you can make with only one bowl to wash. I love delicious food, but I have a passionate hatred for doing dishes.
That’s why this recipe for Keto Low Carb Banana Nut Muffins is a total game-changer. It delivers all the cozy, comforting flavor you crave without the dreaded sink full of mixing bowls, whisks, and spatulas.
We’re talking moist, nutty, and satisfyingly sweet muffins that fit your lifestyle. And you get to enjoy them with maximum efficiency and minimum mess. Let’s get baking.
Recipe Overview
Here’s the quick snapshot of what we’re making today. It’s straightforward and designed for a smooth, easy process from start to finish.
- Cuisine: American
- Category: Breakfast, Snack
- Prep Time: 10 minutes
- Cook Time: 20 minutes
- Total Time: 30 minutes
- Servings: 12 muffins
The Magic of a One-Pot (or One-Pan) Meal
Okay, it’s technically one bowl for muffins, but the principle is the same. The beauty of this method is in its brilliant simplicity.
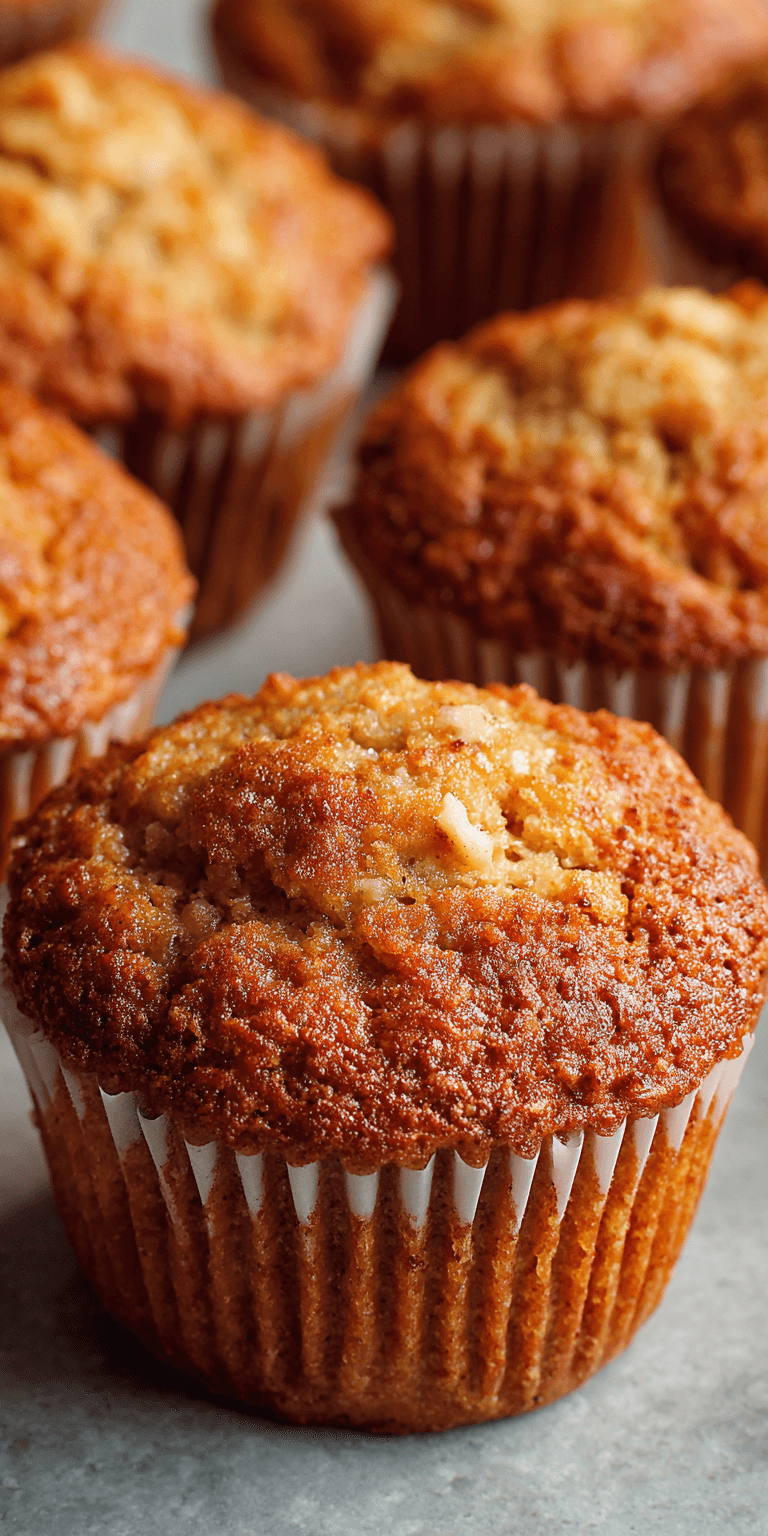
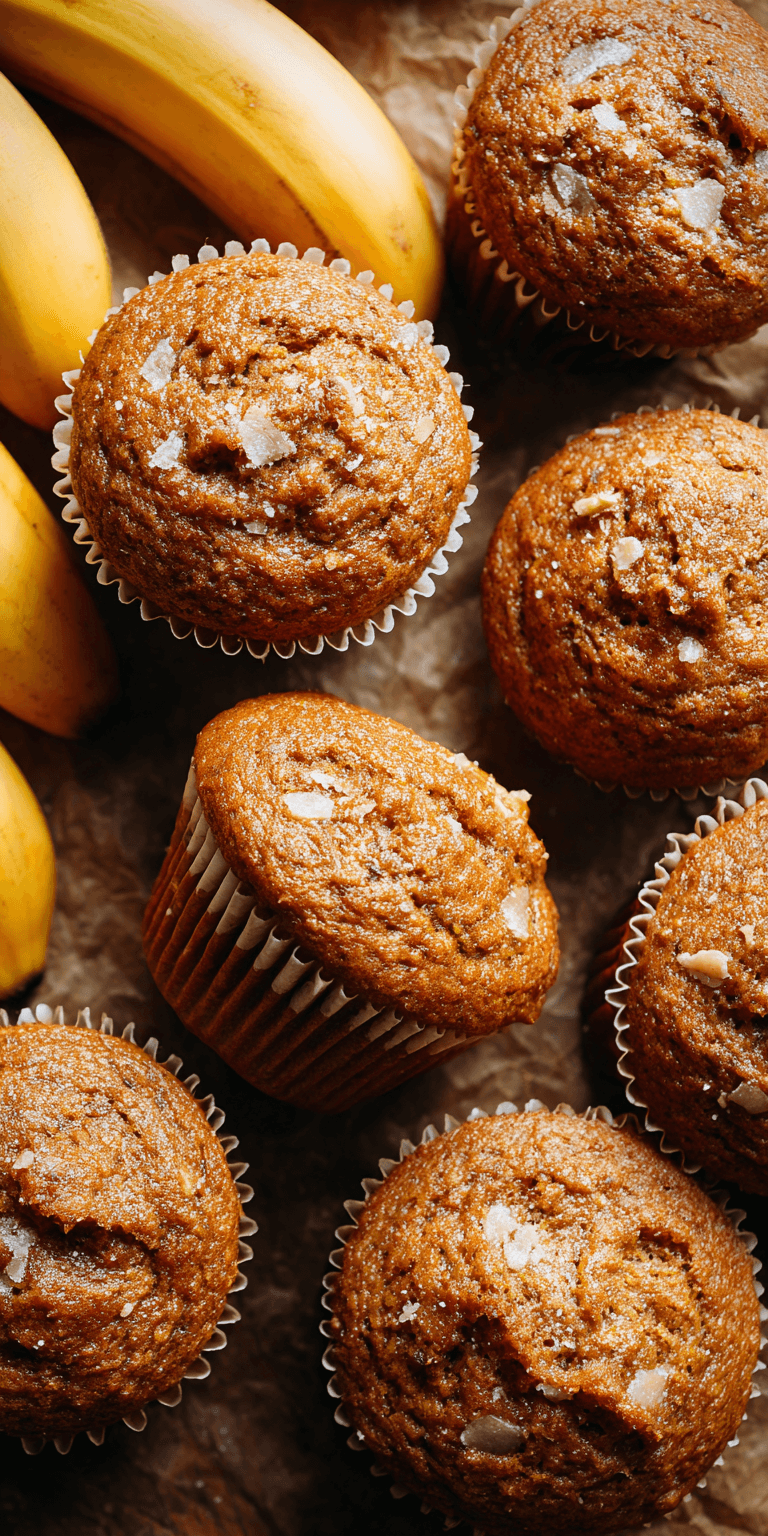
Keto Low Carb Banana Nut Muffins Recipe
The Full Ingredient List
My “Less Mess” Cooking Method (Step-by-Step)
Notes
Enjoy your homemade Keto Low Carb Banana Nut Muffins Recipe!
You mix your dry ingredients right in with your wets. There’s no need for separate steps. This single-bowl approach is the ultimate hack for low carb baking without the cleanup dread.
It streamlines everything. You spend less time prepping and cleaning, and more time enjoying your food. That’s a win in my book.
All You Need (One Pot & These Ingredients)
Gathering your tools and ingredients is half the battle. I keep this list simple and focused on pantry staples for the keto diet.
For your “pot,” you just need one large mixing bowl. A whisk, a spatula, and a muffin tin complete the setup. Now, let’s talk about the star players that make this recipe work.
We’re using almond flour as our base for perfect texture. A banana extract gives that classic flavor without the carbs. And we’ll sweeten it all naturally.
The Full Ingredient List
Here is everything you’ll need to make these delicious, diet-friendly muffins. Precision matters in baking, so measure carefully for the best results.
- 2 ½ cups blanched almond flour
- ⅓ cup granulated erythritol or monk fruit sweetener
- ⅓ cup chopped walnuts or pecans
- 2 tsp baking powder
- 1 tsp ground cinnamon
- ½ tsp salt
- 3 large eggs, at room temperature
- ⅓ cup unsalted butter, melted and cooled
- ⅓ cup unsweetened almond milk
- 2 tsp pure banana extract
- 1 tsp vanilla extract
My “Less Mess” Cooking Method (Step-by-Step)
Follow these steps closely. I’ve woven in my best tips for keeping your workspace—and your sanity—perfectly clean throughout the process.
- Preheat your oven to 350°F (175°C). Line a 12-cup muffin tin with parchment liners. This prevents sticking and makes cleanup a breeze.
- In your one large bowl, whisk together the almond flour, sweetener, baking powder, cinnamon, and salt. A few quick whisks combines them perfectly.
- To the same bowl, add the eggs, cooled melted butter, almond milk, banana extract, and vanilla extract. No second bowl needed!
- Use a spatula to mix everything until a thick, uniform batter forms. Be careful not to overmix. A few lumps are just fine.
- Gently fold in the chopped nuts. This distributes them evenly for that perfect nutty crunch in every bite.
- Divide the batter evenly among the 12 prepared muffin cups. I like to use a cookie scoop for this—it’s neat and ensures even sizes.
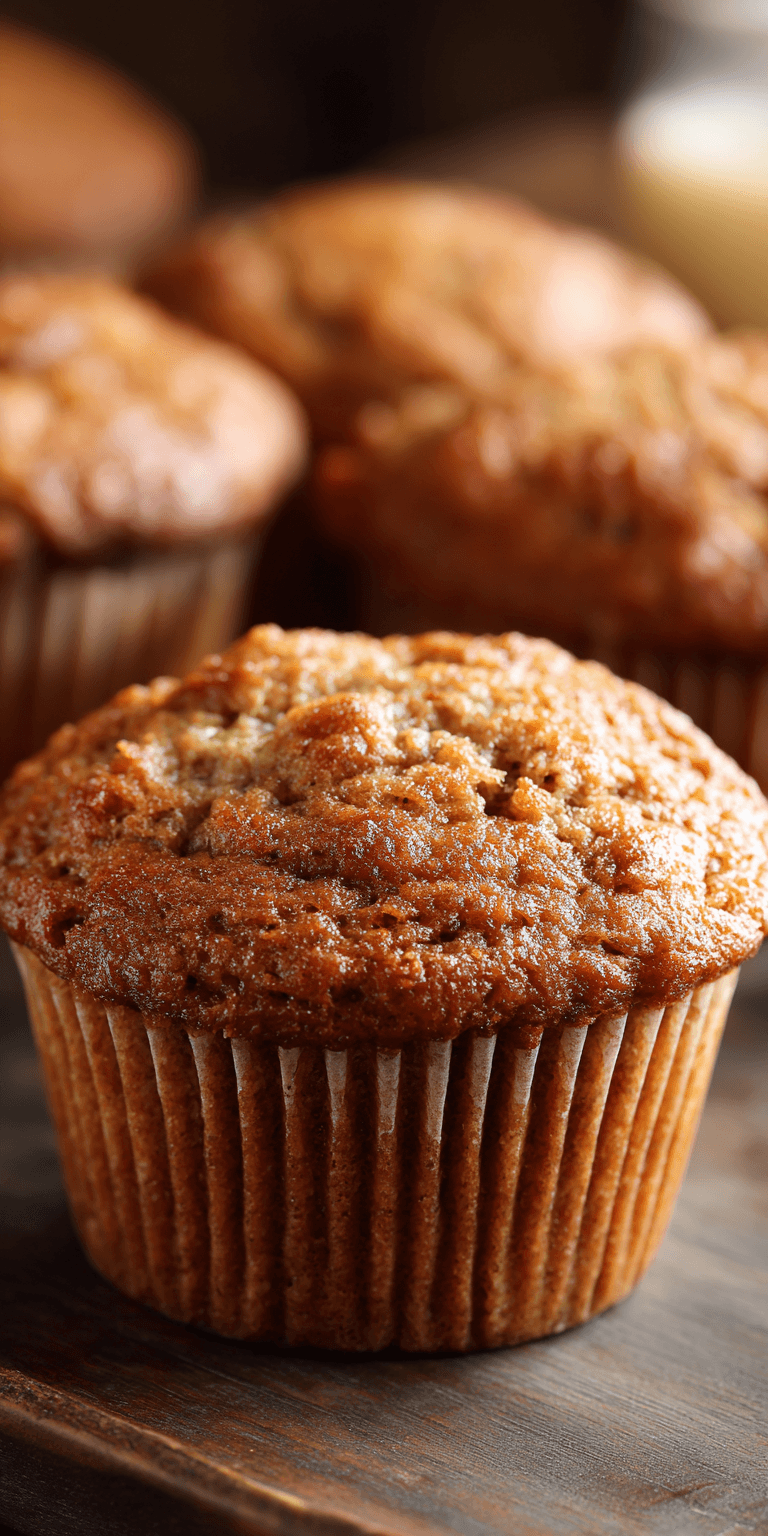
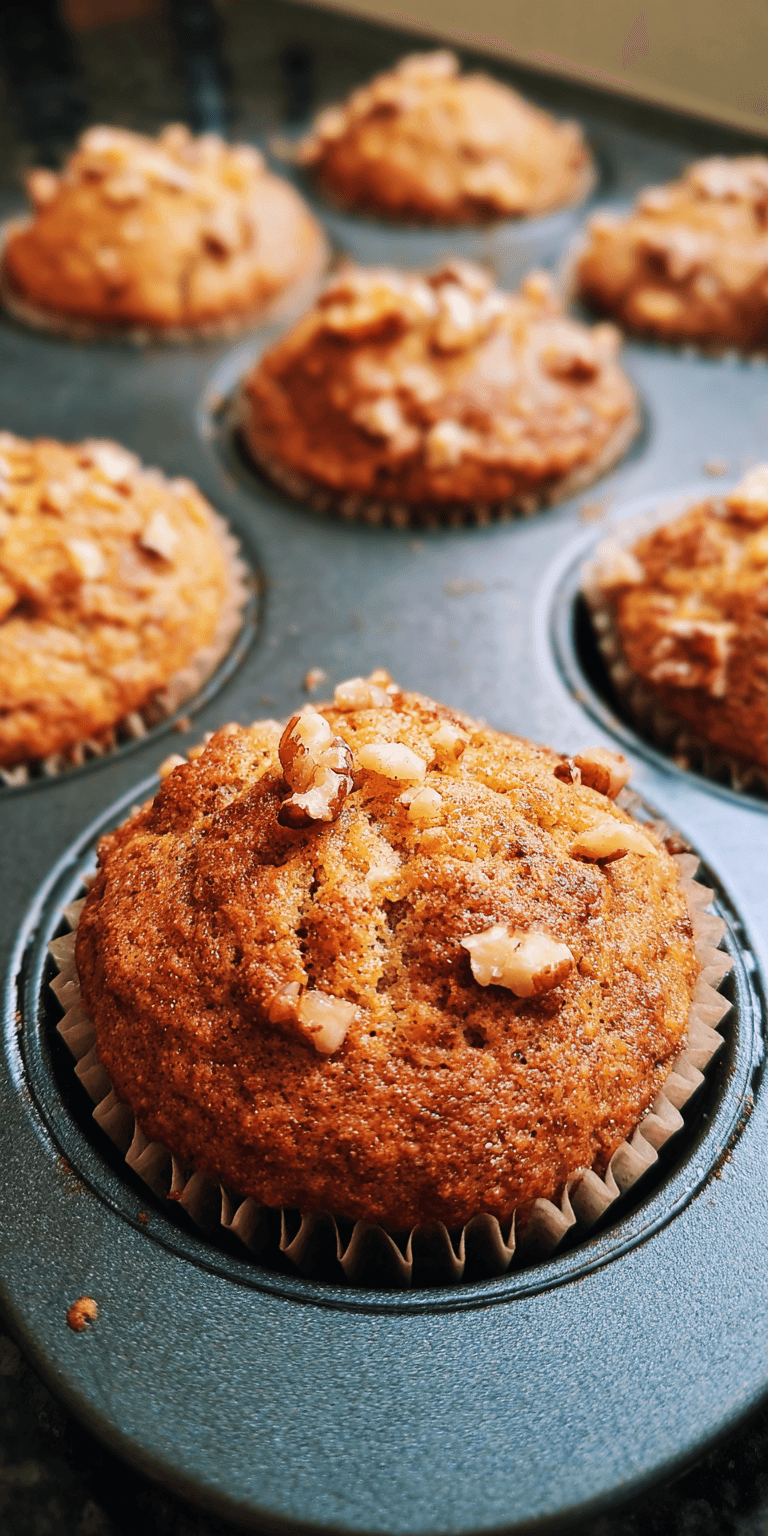
- Bake for 18-22 minutes, or until the tops are golden and a toothpick inserted into the center comes out clean.
- Let the muffins cool in the pan for 5 minutes. Then, transfer them to a wire rack to cool completely. This stops the cooking process and prevents sogginess.
Pro-Tips for Perfect One-Pot Cooking
A few clever tricks can elevate your results and protect your clean kitchen. These are lessons learned from many, many batches.
First, use the right size bowl. Too small, and you’ll make a mess. Too big, and mixing is awkward. A 4-quart bowl is ideal for this recipe.
Don’t overmix the batter. Once the wet and dry ingredients are combined, stop stirring. Overmixing can make your muffins dense instead of tender.
Let your melted butter cool slightly before adding it. If it’s too hot, it can start to cook the eggs right in the bowl. We want to avoid scrambled eggs in our muffin batter!
Storing & Reheating (Easy!)
Your kitchen is clean, and you have a dozen amazing muffins. Here’s how to keep them tasting fresh for days with almost no extra effort.
Once completely cool, store the muffins in an airtight container at room temperature for 2 days. For longer storage, keep them in the fridge for up to a week.
You can also freeze them for up to 3 months. Just wrap each muffin individually in plastic wrap and place them in a freezer bag. To reheat, pop a frozen muffin in the microwave for 30-45 seconds. It’s like having a fresh-baked treat on demand.
Nutrition Notes
These muffins are designed to be satisfying and sugar free. Here’s a general breakdown per muffin to help you track.
- Calories: ~220
- Total Fat: 20g
- Net Carbs: 3g
- Protein: 7g
- Fiber: 3g
Remember, exact numbers can vary based on the specific brands of ingredients you use. This is a fantastic, diet friendly option for a quick breakfast or snack.
Your One-Pot Questions, Answered
I get a lot of questions about substitutions and methods. Here are the answers to the most common ones to ensure your success.
Can I use a different flour?
Almond flour is key here for structure and moisture. I don’t recommend substituting it with coconut flour, as it absorbs liquid very differently. Stick with almond flour for the best results.
My batter seems very thick. Is that right?
Yes! This is a thick batter, not a pourable cake batter. That thickness is what gives these muffins their wonderful, substantial texture. Don’t be tempted to add more liquid.
What can I use instead of banana extract?
If you can’t find it, you can use an extra teaspoon of vanilla extract. You’ll lose some of the distinct banana flavor, but you’ll still have a delicious vanilla nut muffin.
And there you have it. A kitchen that’s nearly as clean as when you started, and a batch of incredibly delicious muffins ready to enjoy.
This recipe proves that you don’t need a pile of dirty dishes to create something truly special. It’s all about working smarter, not harder.
I hope these muffins become your new go-to for a stress-free, satisfying treat. Enjoy all that flavor (and your clean kitchen!). Let me know how it went by leaving a comment and rating below!