Is there anything more soul-crushing than making a meal only to hear, “Ew, what’s that?” from the tiny food critics at your table? I’ve been there, standing in the kitchen, wondering if we’ll ever eat something other than buttered noodles again.
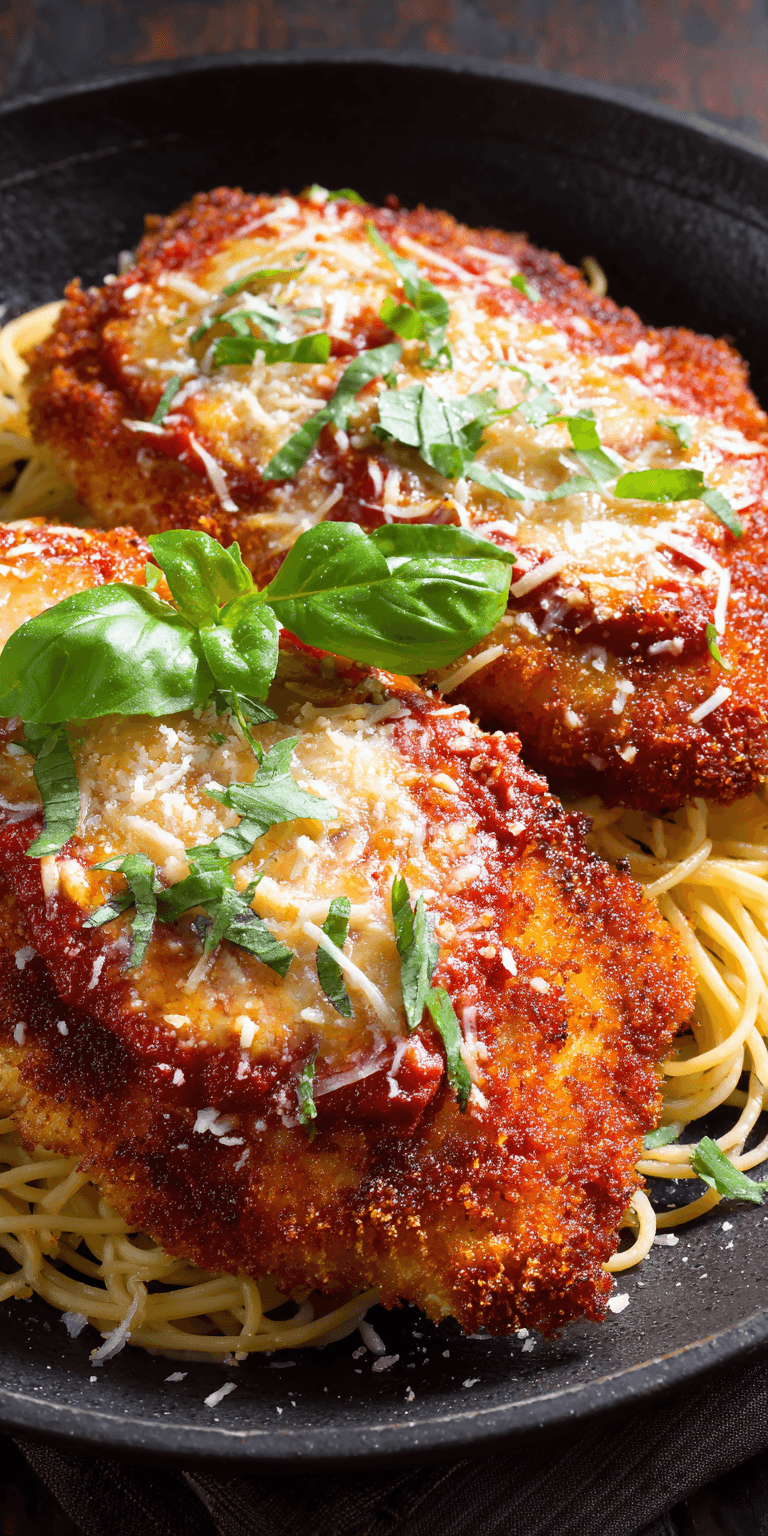
That’s why I’m so excited to share these Crispy Chicken Parmesan Simple Dinner Ideas. This dish is my secret weapon. It’s the one meal that gets a unanimous “yes” from my crew, and I have a feeling it might just become your new favorite, too.
It combines everything kids tend to love—crispy breaded chicken, warm tomato sauce, and gooey melted cheese—into one comforting, crowd-pleasing package. Best of all, it’s way simpler to make at home than you might think.
Recipe Overview
- Cuisine: Italian-American
- Category: Main Course
- Prep Time: 15 minutes
- Cook Time: 25 minutes
- Total Time: 40 minutes
- Servings: 4
Why Even My Picky Eaters Love This!
Let’s be real. Kids are drawn to specific textures and familiar flavors. This recipe hits all the right notes. The chicken breast gets super crispy on the outside but stays juicy inside.
Then, we smother it in a simple, kid-friendly tomato sauce and a blanket of melted cheese. It’s essentially a giant, delicious chicken nugget dressed up for dinner. The presentation is fun and the taste is a guaranteed win.
Crispy Chicken Parmesan Simple Dinner Ideas Recipe
Our Family-Friendly Ingredient List
The Full Step-by-Step Instructions
Notes
Enjoy your homemade Crispy Chicken Parmesan Simple Dinner Ideas Recipe!
Our Family-Friendly Ingredient List
I promise, no fancy ingredients here. You probably have most of this in your pantry right now. Using simple, recognizable items helps picky eaters feel more comfortable with the final dish.
- 4 boneless, skinless chicken breasts
- 1 cup all-purpose flour
- 2 large eggs, beaten
- 1 ½ cups Italian-seasoned breadcrumbs
- 1 cup grated Parmesan cheese, divided
- 2 cups marinara sauce (use your family’s favorite jar!)
- 1 ½ cups shredded mozzarella cheese
- Olive oil, for cooking
- Salt, pepper, and garlic powder
How to Get the Kids Involved in Cooking This
Getting kids involved is my number one trick for increasing buy-in. When they help make it, they’re way more likely to try it. Here are two perfect, mess-manageable jobs for little helpers.
First, let them set up the “dipping station.” They can place the three shallow bowls (flour, egg, breadcrumb mix) in a row. Second, they can be in charge of sprinkling the final layer of mozzarella cheese over the top before baking. It’s a fun and easy task that makes them feel proud.
The Full Step-by-Step Instructions
Don’t let the steps intimidate you. It’s a simple process of dip, cook, top, and bake. I’ll walk you through it so you can get a crispy, golden result every single time.
- Preheat and Prep. Preheat your oven to 400°F (200°C). Place a wire rack on a baking sheet (this keeps the bottom crispy). Pat the chicken breasts very dry with paper towels.
- Pound the Chicken. Place each chicken breast between two pieces of plastic wrap. Gently pound them to an even ½-inch thickness. This ensures they cook quickly and evenly.
- Create Your Stations. Get three shallow dishes. In the first, mix flour with a pinch of salt and pepper. In the second, beat the eggs. In the third, mix breadcrumbs with ½ cup of the grated Parmesan.
- Bread the Chicken. Dredge each piece of chicken: first in flour, then egg, then the breadcrumb mix, pressing gently to adhere. Place on the wire rack.
- Pan-Fry to Crispy. Heat a large skillet with a thin layer of olive oil over medium-high heat. Cook the breaded chicken for 3-4 minutes per side, until golden brown and crispy. Transfer back to the wire rack.
- Assemble and Bake. Spoon a little marinara sauce over each piece. Top with the remaining Parmesan and all the mozzarella. Bake for 15-18 minutes, until the cheese is bubbly and the chicken is cooked through.
- Rest and Serve. Let the chicken rest for 5 minutes before serving. This keeps all those wonderful juices inside the meat.
Fun Twists for Different Tastes
One meal, multiple plates! This is how I keep everyone happy. These simple tweaks let you customize the dish for each family member’s preferences without extra work.
For sauce-sensitive kids, serve the tomato sauce on the side for dipping. For extra veggie power, add a layer of fresh spinach under the sauce before adding cheese. For the adults, sprinkle red pepper flakes or crispy bacon bits on top of just your portions. You can also use the breaded chicken to make amazing sandwiches!
Storing & Reheating (Perfect for Busy Nights)
This is a fantastic make-ahead meal. I often double the recipe to ensure we have a ready-to-go dinner later in the week. The key is reheating it properly to keep that signature crunch.
Let leftovers cool completely, then store them in an airtight container in the fridge for up to 3 days. To reheat, skip the microwave (it makes the coating soggy). Instead, place portions on a baking sheet and warm in a 375°F oven for 10-15 minutes, until hot and crispy again.
Nutrition Notes
As a parent, I like knowing what’s going into our family’s meals. While this is a comforting treat, it also provides good protein. Here’s a quick breakdown per serving (approximate).
- Protein: Excellent source from the chicken breast and cheese.
- Carbohydrates: Primarily from the breadcrumb coating.
- Calcium: From the Parmesan and mozzarella cheese.
- Tip: Serve with a side of steamed broccoli or a green salad to round out the meal.
FREQUENTLY ASKED QUESTIONS
Can I use chicken tenders instead of breasts?
Absolutely! Chicken tenders or even thin-cut cutlets are a fantastic shortcut. They cook even faster, making this an ultra-quick weeknight win. Just adjust the baking time down by a few minutes.
My family doesn’t like marinara. What else can I use?
No problem! This is a very adaptable recipe. You can use a creamy Alfredo sauce, a simple pesto, or even just a sprinkle of garlic butter. The crispy breaded chicken is the real star of the show.
How do I get the breading to really stick to the chicken?
The secret is in the pat-dry and the press! Making sure the chicken is very dry before you start helps the flour stick. Then, press the chicken firmly into the breadcrumb mixture at the end to create a solid, even coating.
So there you have it—my family’s favorite dinner solution that actually pleases everyone. It’s a classic for a reason, and I hope it brings as much peace (and deliciousness) to your table as it does to mine.
Remember, the goal is a happy family meal, not a perfect one. If your kid only eats the chicken and cheese tonight, that’s still a victory in my book. Celebrate the small wins!
I’d love to know if this was a hit with your family! Did your picky eater take a bite? What twist did you try? Please leave a comment and rating below!