You know that moment. You’ve spent time making a special treat, something you’re really proud of. You present it to the family with a hopeful smile. And then… the dreaded nose wrinkle from the little one. “What’s that green stuff?” or “It looks weird.” Sound familiar? I’ve been there more times than I can count.
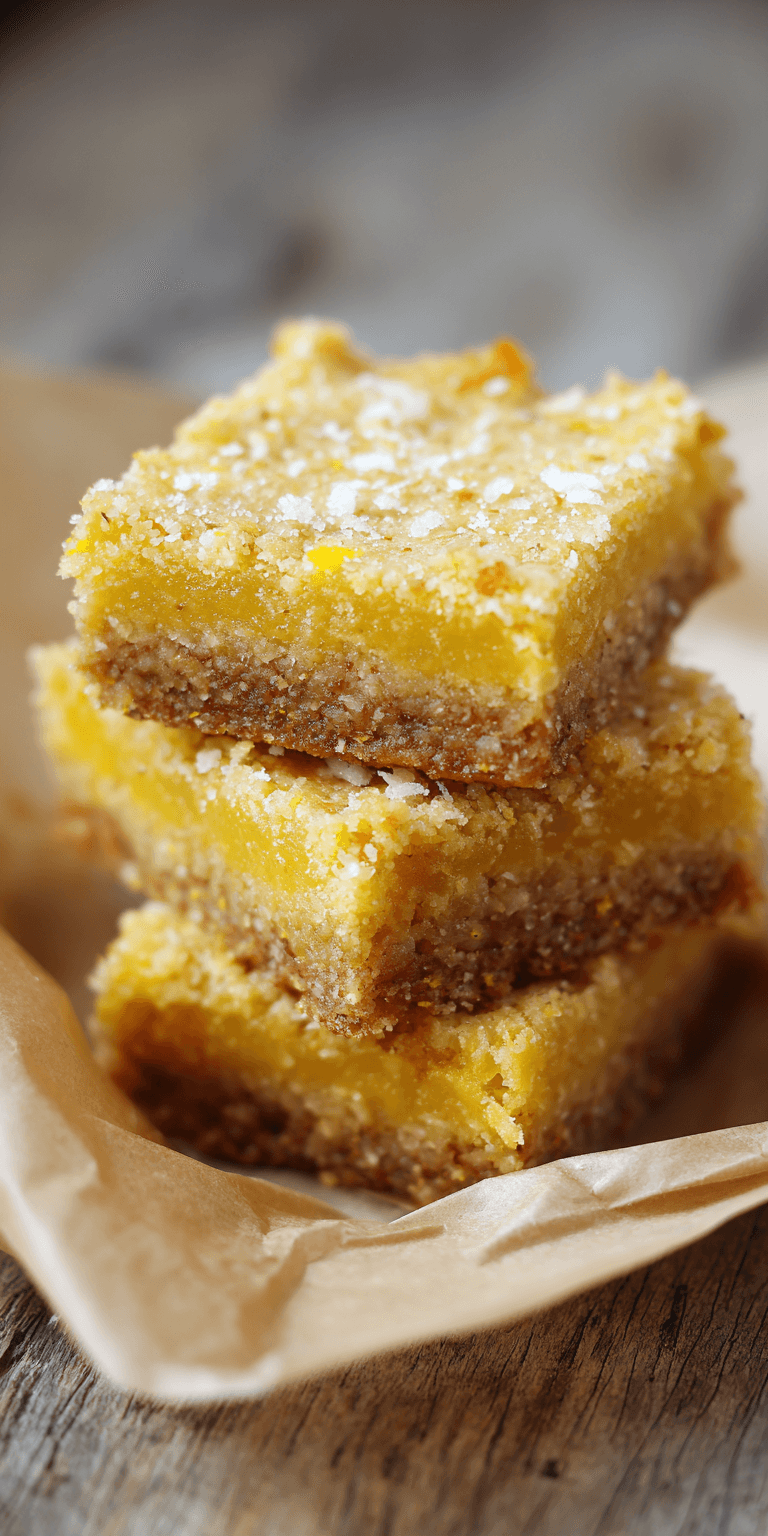
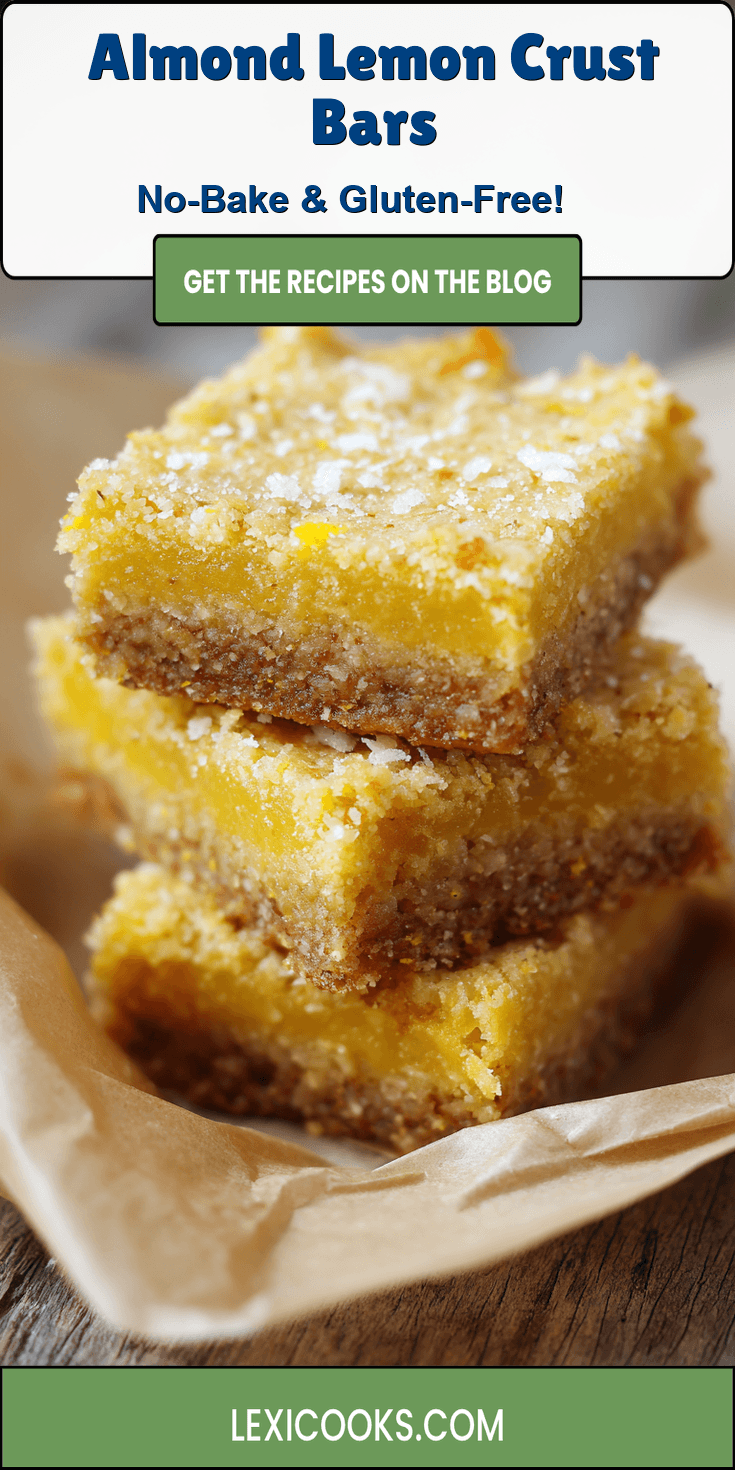
That’s why I’m so excited to share these Almond Lemon Crust Bars with you. They are my secret weapon for a happy, crumb-covered kitchen. They look like sunshine, taste like a sweet-tart dream, and have a crust made from almond flour that is just magic. Best of all? They’re a gluten free dessert that doesn’t taste like a compromise. It’s a win for everyone at the table.
This recipe is my answer to the constant search for a treat that feels special but is made with simple, good-for-you stuff. We’re talking about the power of healthy fats from almonds and a bright, cheerful lemon filling. It’s the perfect spring treat to make together. Let’s get baking!
Recipe Overview
- Cuisine: American
- Category: Dessert, Snack
- Prep Time: 20 minutes
- Cook Time: 35 minutes
- Total Time: 55 minutes (plus chilling)
- Servings: 9-12 bars
Why Even My Picky Eaters Love This!
I’ve learned that presentation and texture are everything. These bars pass the picky eater test with flying colors. First, they are not overly “seedy” or gritty like some gluten-free baked goods can be. The almond flour crust bakes up into a firm, shortbread-like base that holds together perfectly.
The lemon layer is smooth and creamy, not curdled or eggy. It’s a vibrant yellow that just looks fun and happy. The flavor is a beautiful balance—tangy but not mouth-puckering, sweet but not sugary. It’s a familiar “lemon bar” taste in a much friendlier package. Plus, they are naturally grain-free, which can be a big help for sensitive tummies.
Our Family-Friendly Ingredient List
I keep my pantry stocked with these basics. You probably have most of them already! This list is all about simple, real food.
Almond Lemon Crust Bars Recipe
Our Family-Friendly Ingredient List
The Full Step-by-Step Instructions
Notes
Enjoy your homemade Almond Lemon Crust Bars Recipe!
For the Almond Crust:
- 2 cups almond flour (not almond meal, for a finer texture)
- 1/4 cup pure maple syrup or honey
- 3 tablespoons melted coconut oil (or butter if not dairy-free)
- 1/2 teaspoon vanilla extract
- A tiny pinch of salt
For the Lemon Filling:
- 3 large eggs
- 1/2 cup fresh lemon juice (about 2-3 lemons)
- 1/3 cup pure maple syrup or honey
- 2 tablespoons almond flour
- 1 tablespoon lemon zest
- A pinch of turmeric (optional, for a brighter yellow color)
How to Get the Kids Involved in Cooking This
Baking together is our favorite way to connect. It makes them so much more likely to try the final product! Here are two perfect jobs for little helpers.
Job 1: The Crust Presser. After we mix the crust dough, I let them dump it into the prepared pan. Then, with clean hands, they get to press it down firmly and evenly. It’s like edible playdough!
Job 2: The Lemon Zester & Juicer. Older kids can carefully zest the lemons before we cut them. Then, everyone loves taking turns squeezing the lemons on a handheld juicer. Just watch out for seeds!
The Full Step-by-Step Instructions
Don’t let the steps fool you—this is a simple process. I’ll walk you through it just like I do when I’m making it with my kids chatting beside me.
- Preheat your oven to 350°F (175°C). Line an 8×8 inch baking pan with parchment paper, leaving some overhang on the sides for easy removal.
- Make the crust. In a medium bowl, mix the 2 cups almond flour, maple syrup, melted coconut oil, vanilla, and salt. Stir until a uniform dough forms.
- Press the crust into the bottom of your prepared pan. Use your hands or the bottom of a cup to press it down into a smooth, even layer.
- Par-bake the crust for 12-15 minutes, until the edges are just starting to turn a light golden brown. Take it out of the oven and let it cool slightly.
- Make the filling. While the crust bakes, whisk together all the filling ingredients: eggs, lemon juice, maple syrup, 2 tablespoons almond flour, lemon zest, and turmeric (if using). Whisk until completely smooth.
- Combine and bake. Pour the lemon filling over the warm crust. Gently place the pan back in the oven and bake for 20-25 minutes, until the filling is set and doesn’t jiggle in the center.
- Cool completely. This is the hard part! Let the pan cool on a wire rack, then transfer it to the refrigerator to chill for at least 2 hours. This makes the bars firm and easy to slice.
- Slice and serve. Use the parchment paper to lift the whole slab out of the pan. Place it on a cutting board and slice into squares with a sharp knife. A little dusting of powdered sugar or extra almond flour makes them look pretty!
Fun Twists for Different Tastes
One batch, many possibilities! Here’s how we mix it up depending on the day and the crowd.
For the Berry Lovers: After pouring the lemon filling, gently press a handful of fresh raspberries or blueberries into the top before baking. They burst with flavor!
For a Coconut Craving: Mix 1/4 cup of unsweetened shredded coconut into the crust dough. It adds a lovely tropical chew.
The “I Want Chocolate” Fix: After the bars are chilled, melt a little dark chocolate and drizzle it over the top in zig-zags. It cuts the tartness beautifully.
Mini Treats: Press the crust into a mini muffin tin to make adorable, portion-controlled lemon crust bites! Just reduce the baking time for the filling.
Storing & Reheating (Perfect for Busy Nights)
These bars are a lifesaver for a quick sweet bite during a busy week. They store like a dream.
Keep them in an airtight container in the refrigerator for up to 5 days. The cold makes them even more refreshing. You can also freeze them! Place sliced bars on a parchment-lined tray, freeze until solid, then transfer to a freezer bag. They’ll keep for 2 months. Thaw in the fridge overnight. No reheating needed—they are perfect cold!
Nutrition Notes
I feel good about serving these. They’re made with whole food ingredients that provide real energy.
- Healthy Fats & Protein: The almond flour gives these bars a nice boost of protein and good-for-you fats to help keep bellies full.
- Naturally Sweetened: We’re using maple syrup or honey instead of refined white sugar.
- Grain-Free & Gluten-Free: A great option for families avoiding gluten or grains.
- Vitamin C Boost: All that fresh lemon juice isn’t just for flavor—it’s a great source of vitamin C!
FREQUENTLY ASKED QUESTIONS
Can I use bottled lemon juice?
I really recommend fresh. The flavor is so much brighter and less bitter. Squeezing the lemons is part of the fun! But in a pinch, bottled will work.
My filling is a little runny after baking. What happened?
Don’t worry! This usually means it needed just a few more minutes in the oven. The center should be fully set. Also, make sure you chill it completely—this firms everything up. If it’s still soft, just enjoy it with a spoon like a lemon pudding bar!
Can I make these nut-free?
Unfortunately, almond flour is the star here. For a nut-free option, you’d need a completely different recipe using a seed-based flour like sunflower seed flour. I haven’t tested that swap for this particular recipe.
There you have it! My go-to recipe for a treat that makes everyone smile. It’s simple enough for a Wednesday afternoon but special enough for a weekend gathering. The kitchen might get a little messy, and there might be some enthusiastic taste-testing, but that’s all part of the memory-making.
I truly hope these Almond Lemon Crust Bars become a beloved recipe in your home, too. They’ve saved many a “I want something sweet!” moment at our house. I’d love to know if this was a hit with your family! Please leave a comment and rating below!