Struggling to find one meal the entire family will eat without a chorus of “eww”? I hear you. We’ve all been there, staring into the fridge, hoping for a miracle.
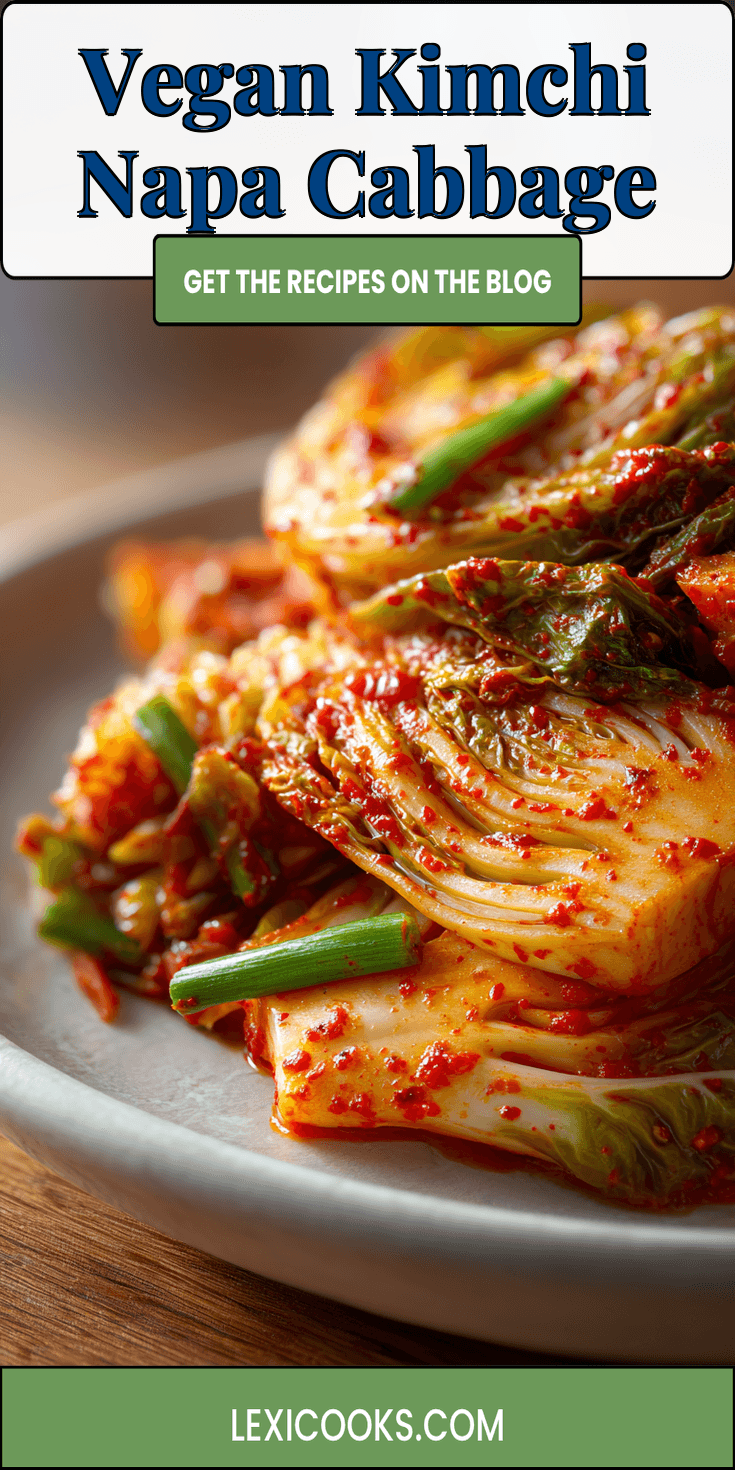
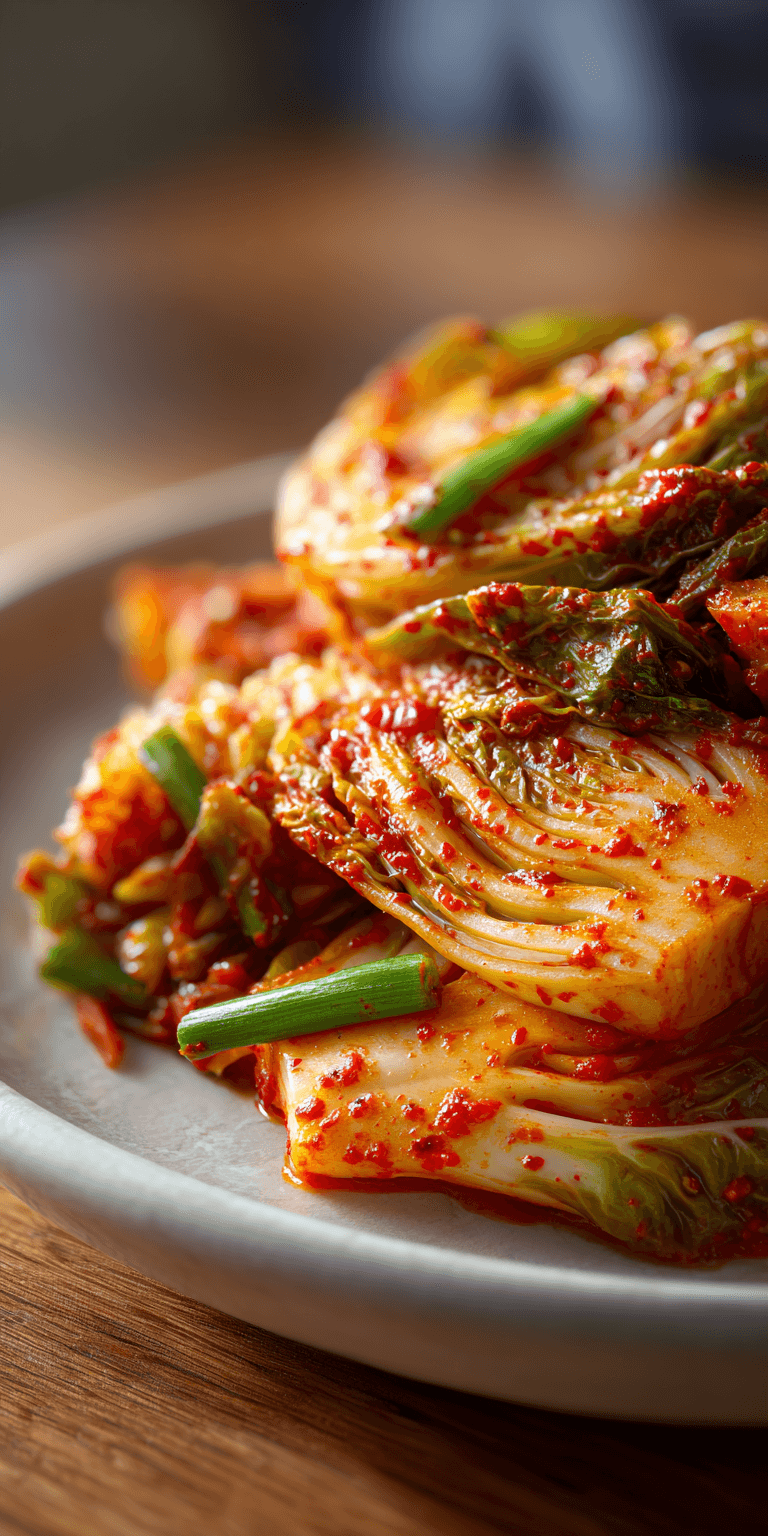
What if I told you there’s a fun, flavorful, and surprisingly simple dish that can be a dinner, a snack, or a side? Let me introduce you to our family’s new favorite: Vegan Kimchi Napa Cabbage. It sounds fancy, but trust me, it’s just crunchy, tangy, and totally customizable for every palate at your table.
I know the word “kimchi” might make some little ones (and maybe some grown-ups!) hesitate. But this is our gentle, kid-friendly gateway. It’s all about the fun of building your own bite. No heat, all the crunch!
Recipe Overview
- Cuisine: Korean-Inspired
- Category: Side Dish, Appetizer, Condiment
- Prep Time: 30 minutes (plus 2 hours resting)
- Cook Time: 0 minutes
- Total Time: 2 hours 30 minutes
- Servings: Makes about 1 quart
Why Even My Picky Eaters Love This!
My kids went from skeptics to fans with this recipe. The magic is in the texture and the build-your-own approach.
Napa cabbage is naturally sweeter and more tender than regular cabbage. When it’s salted and massaged, it gets this perfect, juicy crunch that kids enjoy. The flavoring paste is savory, garlicky, and a tiny bit sweet—not spicy at all unless you want it to be. I serve it with rice, in lettuce cups, or even on top of baked potatoes. They love the hands-on part!
Vegan Kimchi Napa Cabbage Recipe
Our Family-Friendly Ingredient List
The Full Step-by-Step Instructions
Notes
Enjoy your homemade Vegan Kimchi Napa Cabbage Recipe!
Our Family-Friendly Ingredient List
This list is all about simple, whole foods. You probably have most of this already!
- 1 medium head Napa cabbage (about 2-3 lbs)
- 1/4 cup coarse sea salt or kosher salt (for drawing out water)
- 5-6 green onions, chopped
- 1 small carrot, grated or cut into matchsticks (for a pop of color!)
- 1/2 small daikon radish or 5-6 red radishes, grated (optional, but adds great crunch)
- 5-6 cloves garlic, minced
- 1 tablespoon grated fresh ginger
- 1/4 cup gochugaru (Korean red pepper flakes – use 1 tbsp for mild, or sub with 1 tbsp paprika for zero heat)
- 3 tablespoons soy sauce or tamari (for gluten-free)
- 1 tablespoon maple syrup or agave
- 1/4 cup water, if needed
How to Get the Kids Involved in Cooking This
Getting little hands involved is the best way to build excitement for eating! Here are two perfect jobs.
Job 1: The Massage Therapist. After we salt the chopped cabbage, I let my kids put on clean gloves and give it a good, gentle squeeze and massage. They think it’s hilarious to “give the cabbage a bath.”
Job 2: The Mixing Master. Once the paste is ready in the big bowl, I let them add the drained veggies and use their hands (with gloves!) to mix everything together. It’s a wonderful, sensory-friendly activity.
The Full Step-by-Step Instructions
Don’t let the steps fool you—most of the time is just waiting. It’s a great weekend project that pays off all week.
- Chop the Napa cabbage lengthwise into quarters. Cut out the core, then slice the leaves into 1-2 inch pieces. Place in a very large bowl.
- Sprinkle the salt all over the cabbage. Using your hands (or little helpers’ hands!), massage the salt into the leaves for about 5 minutes. You’ll feel them start to soften and release water.
- Let the cabbage sit for 1.5 to 2 hours. Every 30 minutes, come back and give it another good mix. This draws out the excess water so our kimchi stays crunchy.
- While the cabbage rests, make the paste. In a medium bowl, combine the minced garlic, grated ginger, gochugaru (or paprika), soy sauce, and maple syrup. Mix it into a thick, red paste.
- Prepare your other veggies: chop the green onions, grate the carrot and radish. Set aside.
- Once the cabbage is done resting, you’ll see a lot of water in the bowl. Pour the cabbage into a large colander and rinse it VERY well under cold water. We need to wash off that excess salt.
- Let the rinsed cabbage drain for 10-15 minutes. Give it a few good squeezes to get more water out. This step is key for flavor!
- In your now-empty large bowl, add the flavor paste, the drained cabbage, and all the other chopped veggies.
- Put on those clean gloves and mix everything together, making sure every piece of veggie gets coated in that beautiful red paste. If it seems too thick, add a tablespoon of water at a time.
- Pack the mixture tightly into a clean, large glass jar (a 1.5-quart jar is perfect). Leave about 1-2 inches of space at the top.
- Close the jar lid loosely (fermentation creates gases!) and let it sit at room temperature for 1-3 days. Taste it each day until it’s tangy enough for you.
- Once it’s to your liking, screw the lid on tight and store it in the fridge. It gets better with time and lasts for weeks!
Fun Twists for Different Tastes
The best part of this recipe is how you can change it for every member of the family. Here are our go-to tweaks.
For the Sensitive Palate: Skip the gochugaru entirely and use sweet paprika. The color is fun, and the flavor is mild and smoky. You can even serve the paste as a “dipping sauce” on the side for total control.
For the Adventurous Eater: Add a tablespoon of salted seaweed flakes or a teaspoon of sesame seeds to the paste for extra umami flavor.
For a Super-Quick “Cheat”: Short on time? Skip the room-temp fermentation. Once it’s mixed and in the jar, put it straight in the fridge. It will still taste great in 24 hours as a quick, fresh pickle!
Storing & Reheating (Perfect for Busy Nights)
This is a meal-prep hero. Once it’s fermented to your liking and in the fridge, it keeps for a month or more.
There’s no need to reheat it! It’s meant to be eaten cold or at room temperature. I pull it straight from the jar to top rice bowls, add to wraps, or serve as a tangy side with grilled tofu or fish sticks. Having it ready to go is a total game-changer for busy weeknights.
Nutrition Notes
This dish is a powerhouse of good stuff, which makes this parent’s heart happy.
- Gut-Friendly: The natural fermentation creates probiotics, which are amazing for digestive health.
- Packed with Vitamins: Full of Vitamins A, C, and K from all those vibrant veggies.
- Low in Calories, High in Flavor: A fantastic way to add volume and taste to meals without lots of calories.
- Plant-Powered: It’s completely vegan, gluten-free (with tamari), and packed with fiber.
FREQUENTLY ASKED QUESTIONS
My jar is bubbling and liquid is seeping out. Is that okay?
Yes, that’s perfect! It means fermentation is happening. That’s why we leave space at the top and close the lid loosely. Just place the jar on a small plate or bowl to catch any drips. It’s a sign of good, active kimchi.
Can I use regular green cabbage instead of Napa?
You can, but the texture will be different. Green cabbage is much firmer and won’t get as tender. If you use it, make sure to massage it very well with the salt and let it rest for the full 2 hours to help soften it up.
How do I know when it’s done fermenting?
Taste is your best guide! After 24 hours, try a small piece. It will start to taste tangy and slightly sour, like a pickle. I like it at about 2 days. Once it tastes good to you, pop it in the fridge to slow down the fermentation process.
I really hope this recipe brings some fun, flavor, and peace to your dinner table. It’s been such a win for us, moving beyond the same old sides.
Seeing my kids willingly eat something so vibrant and healthy? That’s the real victory. It proves that with a little patience and a lot of crunch, we can all find new favorites.
I’d love to know if this was a hit with your family! Did your kids enjoy the massaging part? What fun twists did you try? Please leave a comment and rating below!