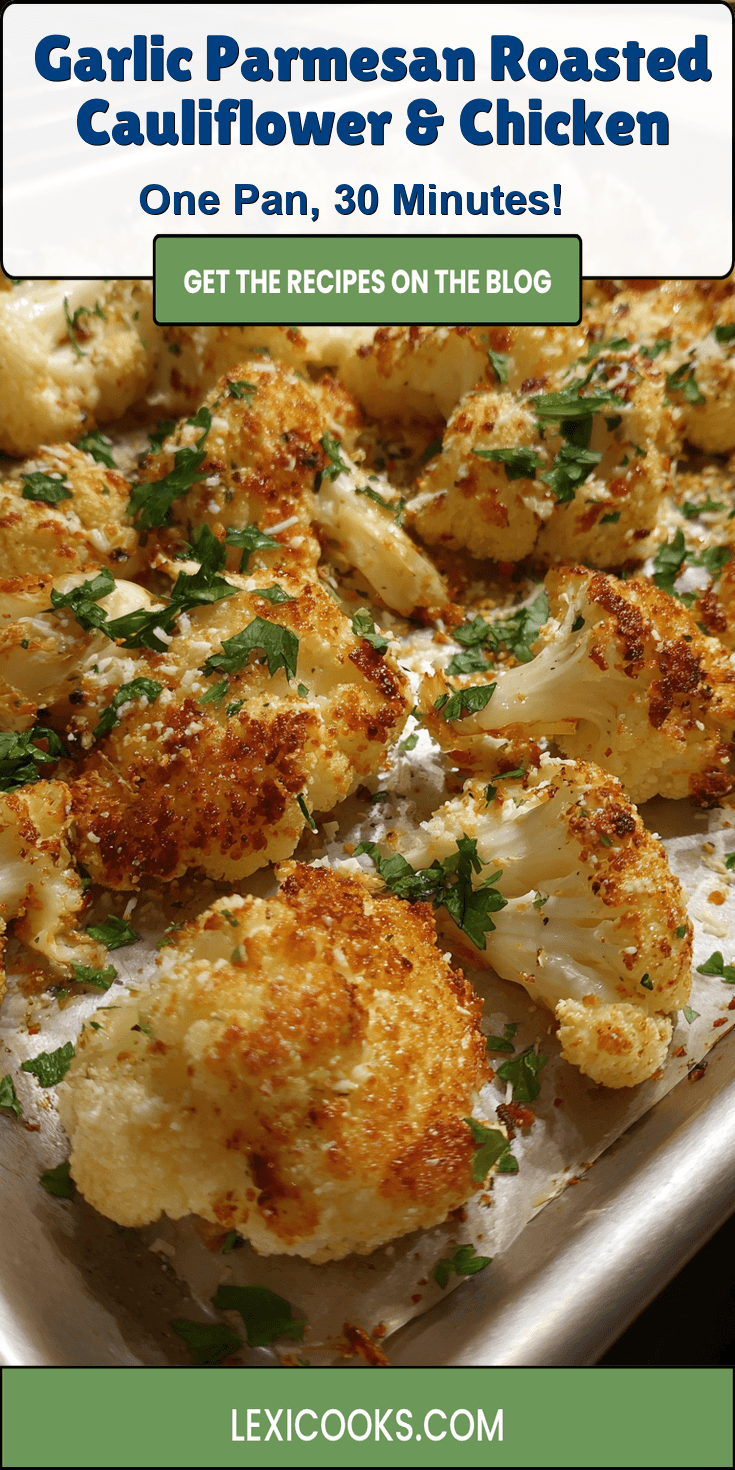
Want a dinner that feels like a restaurant splurge but costs less than a fast-food combo? I’m right there with you. My Garlic Parmesan Roasted Cauliflower & Chicken is my weekly secret weapon for a meal that’s both impressive and incredibly kind to my wallet.
This isn’t about fancy, hard-to-find items. It’s about making humble ingredients shine. We’re talking about one simple sheet pan, a handful of pantry staples, and about 30 minutes. The result is a keto-friendly dinner packed with flavor that also works beautifully for healthy meal prep.
You don’t need expensive ingredients to eat well. This recipe proves it. The magic happens when basic roasted vegetables and chicken get a crispy, cheesy, garlicky coat. It’s a full, satisfying meal with minimal effort and maximum payoff.
Recipe Overview
Here’s the quick look at what you’re making. It’s straightforward and designed to get you from fridge to table with zero stress.
- Cuisine: American
- Category: Main Course
- Prep Time: 10 minutes
- Cook Time: 25 minutes
- Total Time: 35 minutes
- Servings: 4
Why This Recipe Saves You Money
I built this recipe with cost in mind from the very start. Let me show you how it keeps cash in your pocket.
First, chicken and cauliflower are consistently some of the most affordable proteins and vegetables at the store. They are versatile workhorses. Second, everything cooks together on one sheet pan. That means less energy used and easier clean-up, saving you on utilities and time.
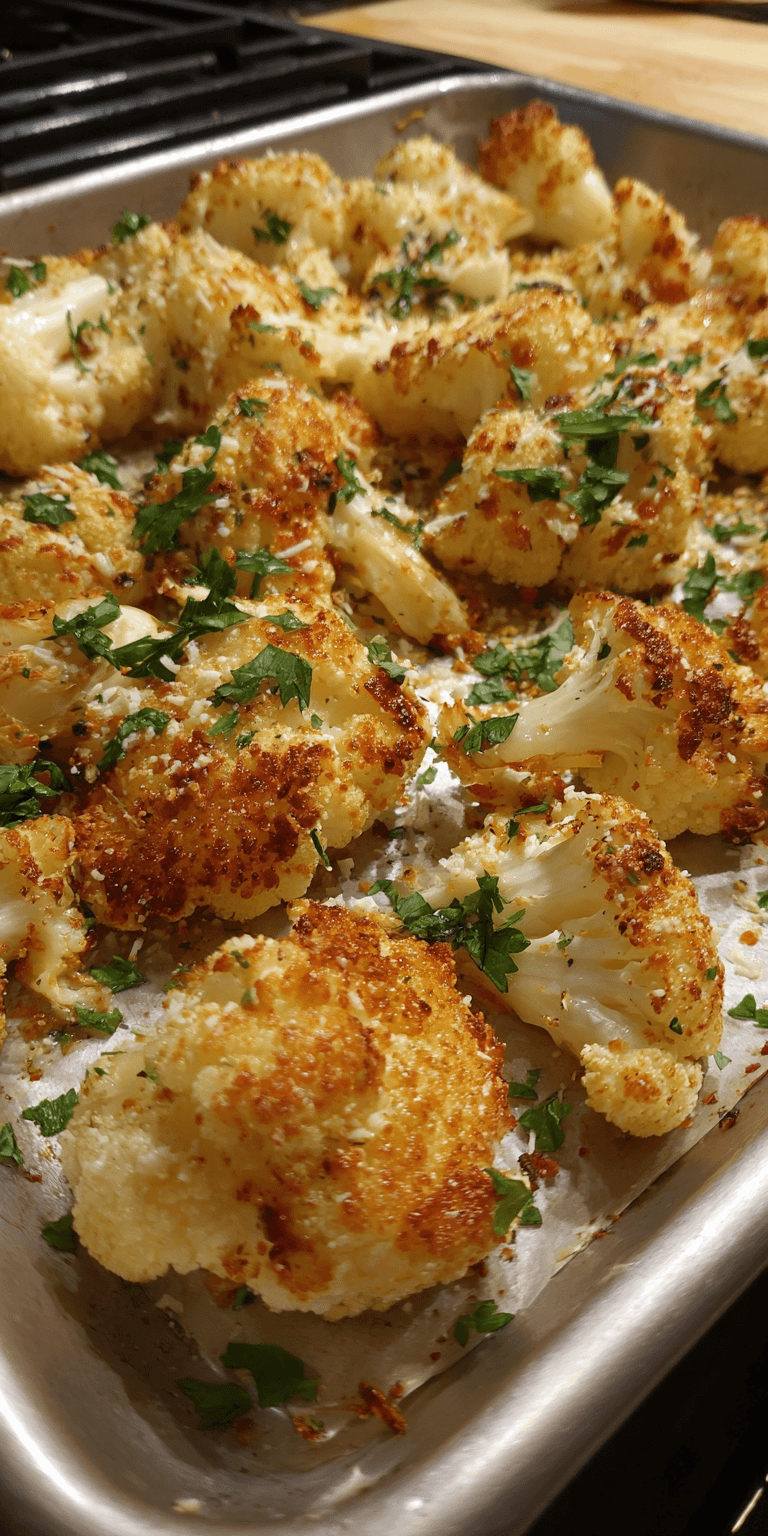
Garlic Parmesan Roasted Cauliflower & Chicken Recipe
The Budget-Friendly Ingredient List
How to Make It (Step-by-Step)
Notes
Enjoy your homemade Garlic Parmesan Roasted Cauliflower & Chicken Recipe!
Finally, the flavor comes from dried herbs, garlic powder, and Parmesan. These are pantry items that cost pennies per use and last for many meals. You’re making something taste expensive by using what you likely already have.
My Tips for Smart Shopping on a Budget
Getting the best price is a skill. I’ve learned a few tricks over the years that make a real difference.
Buy whole heads of cauliflower. They are almost always cheaper per pound than pre-cut florets. Cutting it yourself takes two minutes. For the chicken, look for family packs of boneless, skinless breasts or thighs. They are priced better per pound.
You can portion and freeze what you don’t use immediately. Grate your own Parmesan from a block if you can. It melts better and is often more economical than the pre-shredded bags. Dried herbs are perfectly fine here and last forever in your cupboard.
The Budget-Friendly Ingredient List
Here’s your simple shopping list. Check your pantry first—you might already have most of this.
- 1 large head of cauliflower, cut into florets
- 1.5 pounds boneless, skinless chicken breasts or thighs, cut into 1-inch pieces
- 3 tablespoons olive oil or avocado oil
- 1/3 cup grated Parmesan cheese
- 1 teaspoon garlic powder
- 1 teaspoon dried Italian seasoning
- 1/2 teaspoon paprika (optional, for color)
- 1/2 teaspoon salt
- 1/4 teaspoon black pepper
- Fresh parsley for garnish (optional)
How to Make It (Step-by-Step)
Follow these steps for a perfectly cooked, crispy result every single time. It’s almost impossible to mess up.
- Start by heating your oven to 425°F (220°C). Line a large, rimmed baking sheet with parchment paper for no-stick cleanup.
- In a large bowl, combine the cauliflower florets and chicken pieces. Drizzle with the oil and toss to coat everything evenly.
- In a small bowl, mix the grated Parmesan, garlic powder, Italian seasoning, paprika, salt, and pepper. This is your flavor dust.
- Sprinkle the Parmesan mixture over the chicken and cauliflower in the large bowl. Toss again until every piece is well and evenly coated. This step is key for maximum flavor.
- Spread everything out in a single layer on your prepared baking sheet. Give the pieces some space so they roast instead of steam.
- Roast for 20-25 minutes, until the chicken is cooked through and the cauliflower edges are crispy and browned. You don’t need to flip anything.
- If you want extra crispiness, you can broil for the last 1-2 minutes, but watch it closely! Let it cool for a few minutes, then garnish and serve.
How to Use Up Every Last Bit (No Waste!)
I hate throwing food away. With a little planning, every part of this meal has a purpose.
If you have leftover roasted veggies and chicken, they are perfect for meal prep. Pack them into containers for easy lunches. You can also chop any leftovers and toss them into a salad the next day, or wrap them in a low-carb tortilla for a quick wrap.
Save the tough core and any tiny cauliflower bits you might have trimmed off. Chop them finely and add them to a pot of soup or broth for extra fiber and nutrients. Nothing gets tossed.
Nutrition Notes
This dish is naturally packed with good stuff. Here’s a basic breakdown per serving to give you an idea.
- High in Protein: From the chicken, keeping you full.
- Low in Carbs: Cauliflower is a fantastic low-carb vegetable, making this great for keto dinners.
- Good Fats: From the olive oil, which helps absorb vitamins.
- It’s a balanced plate with vegetables and protein, ideal for a healthy weekly routine.
Common Questions About This Recipe
Here are answers to the questions I get asked the most about this sheet pan wonder.
Can I use frozen cauliflower?
You can, but you need to adjust. Thaw and drain the frozen cauliflower completely. Pat it very dry with paper towels. If it’s wet, it will steam and get soggy instead of roasting up crispy.
What’s the best way to store and reheat leftovers?
Store in an airtight container in the fridge for up to 4 days. To reheat, use a toaster oven or regular oven at 350°F until warm. This keeps the texture crispy. The microwave will work but can make the cauliflower soft.
Can I use chicken thighs instead of breasts?
Absolutely! I actually prefer thighs sometimes. They are often more affordable and stay juicier. Just make sure to cut them into even, bite-sized pieces so everything cooks at the same rate.
This Garlic Parmesan Roasted Cauliflower & Chicken is proof that eating well doesn’t require a fancy budget. It requires a little know-how and a trusty sheet pan. It’s the kind of meal that makes you feel smart and satisfied, knowing you created something delicious without overspending.
It’s become a non-negotiable in my own meal prep rotation. I hope it earns a spot in yours, too. Let me know your own money-saving twists for this recipe in the comments below! Please leave a rating!