Is there anything more frustrating than a perfectly good snack being rejected by a tiny, skeptical critic? I feel you. We’ve all been there, staring at a lovingly prepared plate that gets met with a dramatic shudder.
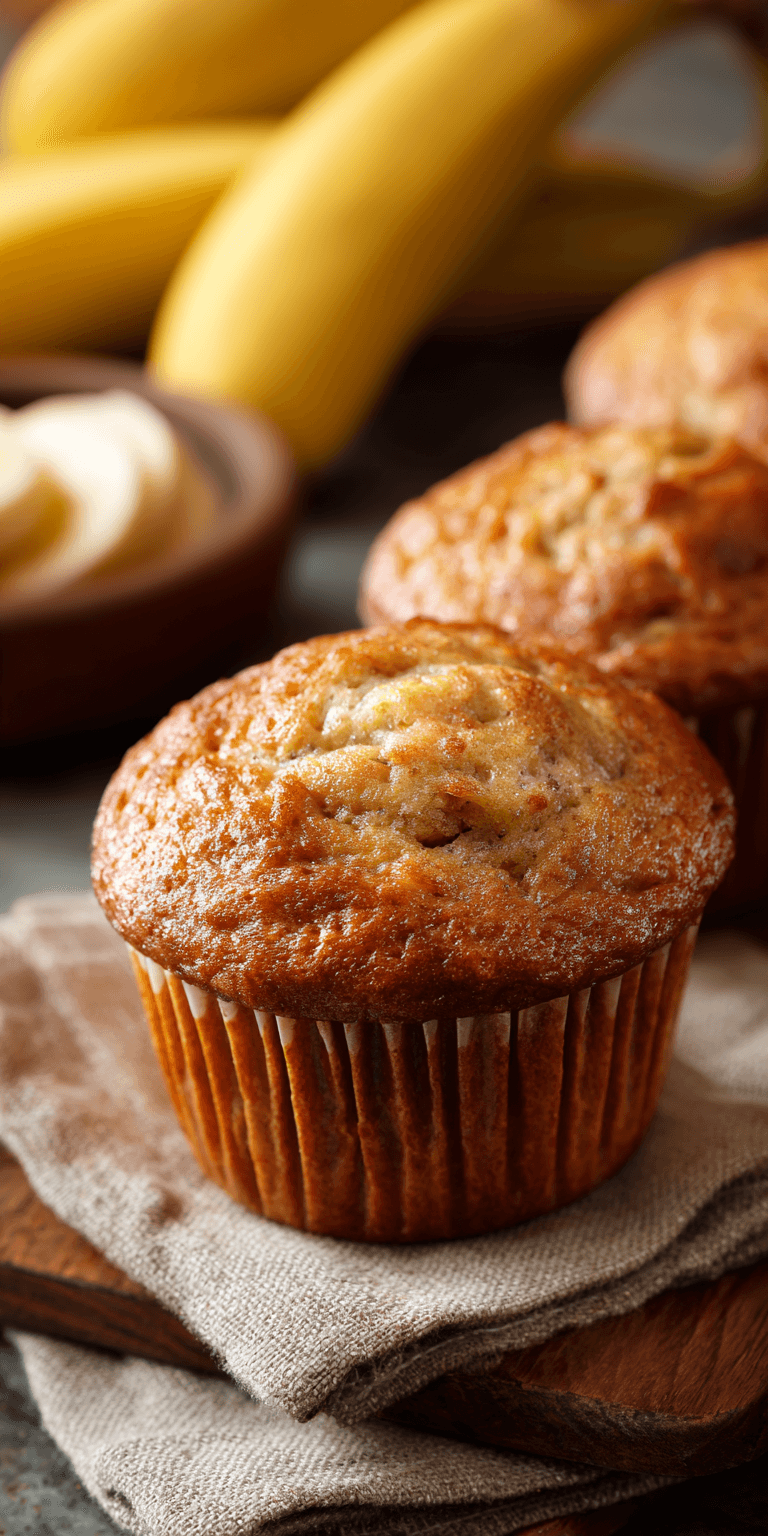
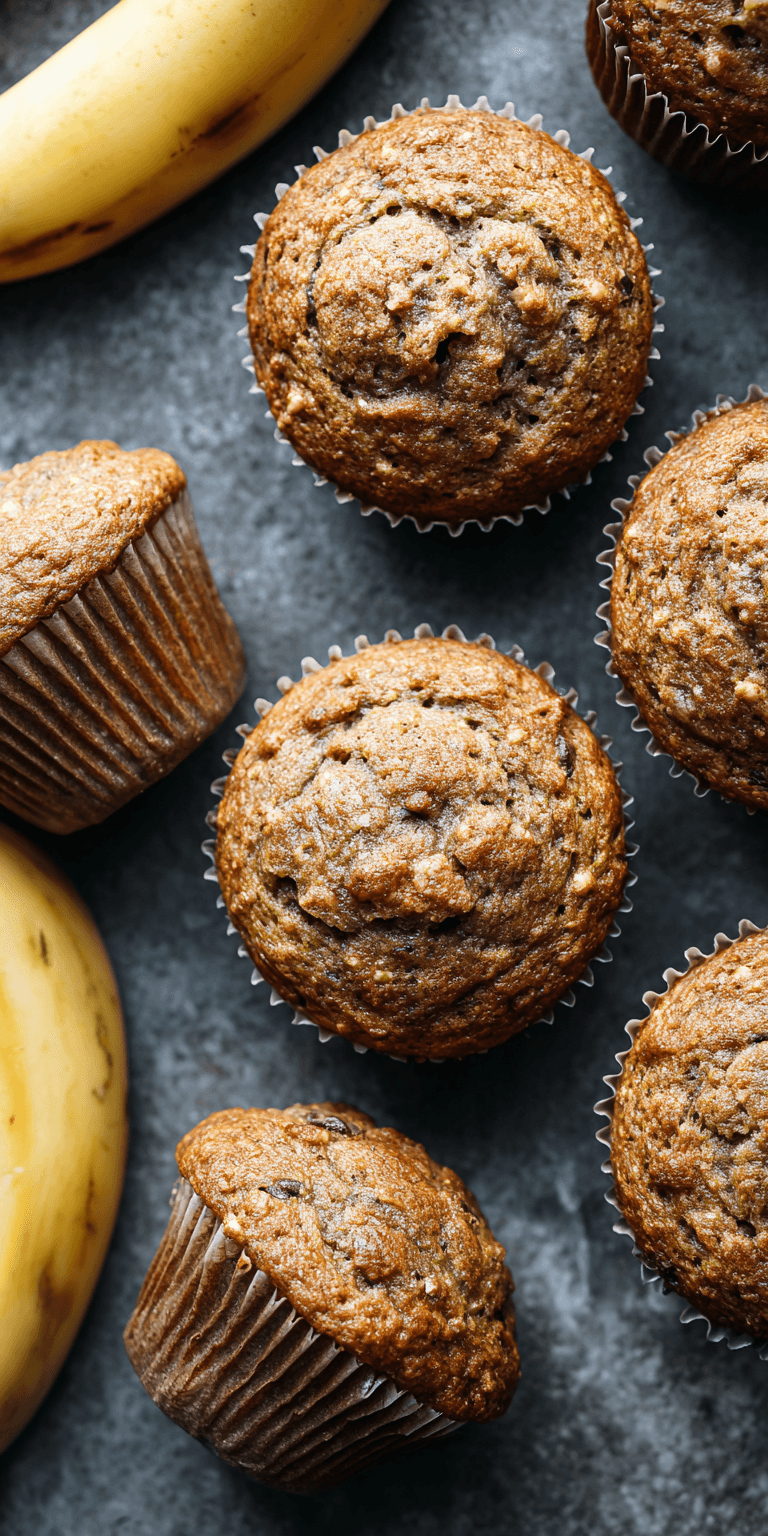
That’s why I’m so excited to share our family’s secret weapon: Whole Wheat Healthy Banana Muffins. This isn’t just another recipe. It’s a peace treaty for your kitchen table.
These muffins are the ultimate stealth health food. They’re sweet, fluffy, and packed with the good stuff. Best of all, they pass the toughest kid test with flying colors. Let’s get baking!
Recipe Overview
- Cuisine: American
- Category: Breakfast, Snack
- Prep Time: 10 minutes
- Cook Time: 20 minutes
- Total Time: 30 minutes
- Servings: 12 muffins
Why Even My Picky Eaters Love This!
I call this recipe my “magic trick.” The success comes down to a few simple, parent-approved reasons.
First, they taste like a treat. The bananas provide natural sweetness, so we can cut way back on added sugar. Kids just taste “yummy banana bread.”
Whole Wheat Healthy Banana Muffins Recipe
Our Family-Friendly Ingredient List
The Full Step-by-Step Instructions
Notes
Enjoy your homemade Whole Wheat Healthy Banana Muffins Recipe!
Second, the texture is spot-on. Using whole wheat flour doesn’t mean dense or dry muffins. These stay wonderfully moist and tender.
Finally, there are no “weird” bits. No chunks of nuts or obvious seeds to pick out (unless you want them!). It’s a smooth, familiar food that feels safe to hesitant eaters.
Our Family-Friendly Ingredient List
This is all about clean eating made simple. You probably have most of this in your pantry right now.
We use basic, recognizable ingredients. This builds trust with kids who are nervous about new foods. They can see and name everything that goes in.
- 3 very ripe, spotty bananas (the sweeter, the better!)
- 1/3 cup melted coconut oil or neutral oil
- 1/2 cup pure maple syrup or honey
- 2 large eggs
- 1 tsp pure vanilla extract
- 1 3/4 cups whole wheat flour (I use white whole wheat for a lighter texture)
- 1 tsp baking soda
- 1/2 tsp salt
- 1 tsp cinnamon
- 1/4 cup milk of choice (optional, for perfect batter consistency)
How to Get the Kids Involved in Cooking This
Getting kids involved is my number one tip for reducing food fights. When they help make it, they’re proud to eat it.
It creates ownership and curiosity. Here are two perfect tasks for little (or big) helpers.
Task 1: The Banana Masher. Give them a bowl and a fork. Let them go to town mashing those ripe bananas into a smooth(ish) pulp. It’s fun, sensory, and hard to mess up.
Task 2: The Mixing Master. Once all the wet ingredients are in one bowl and the dry are in another, let them do the final stir. Combining it all is incredibly satisfying.
The Full Step-by-Step Instructions
Don’t let the simplicity fool you. This rustic baking process is what makes these muffins so reliably good. Let’s walk through it.
- Preheat your oven to 325°F (165°C). Line a 12-cup muffin tin with papers or grease it well.
- Mash the bananas. In a large bowl, mash the ripe bananas until mostly smooth. A few small lumps are perfectly fine.
- Mix the wet ingredients. To the bananas, whisk in the melted (and slightly cooled) oil, maple syrup, eggs, and vanilla. Whisk until it’s all beautifully combined.
- Combine the dry ingredients. In a separate bowl, whisk together the whole wheat flour, baking soda, salt, and cinnamon. This ensures everything is evenly distributed.
- Gently combine. Add the dry ingredients to the wet ingredients. Stir with a spatula until just combined. Do not overmix! If the batter seems very thick, stir in the 1/4 cup of milk.
- Fill the muffin cups. Divide the batter evenly among the 12 muffin cups. They should be about 3/4 full.
- Bake! Bake for 18-22 minutes. They’re done when a toothpick inserted into the center comes out clean or with just a few moist crumbs.
- Cool. Let the muffins cool in the pan for 5 minutes, then transfer them to a wire rack. Try to let them cool a bit before the little ones dive in!
Fun Twists for Different Tastes
Once you’ve mastered the base recipe, it’s easy to customize. This is how I please everyone at once.
For the Chocolate Lovers: Fold in 1/2 cup of chocolate chips. This is a guaranteed hit and my most requested variation.
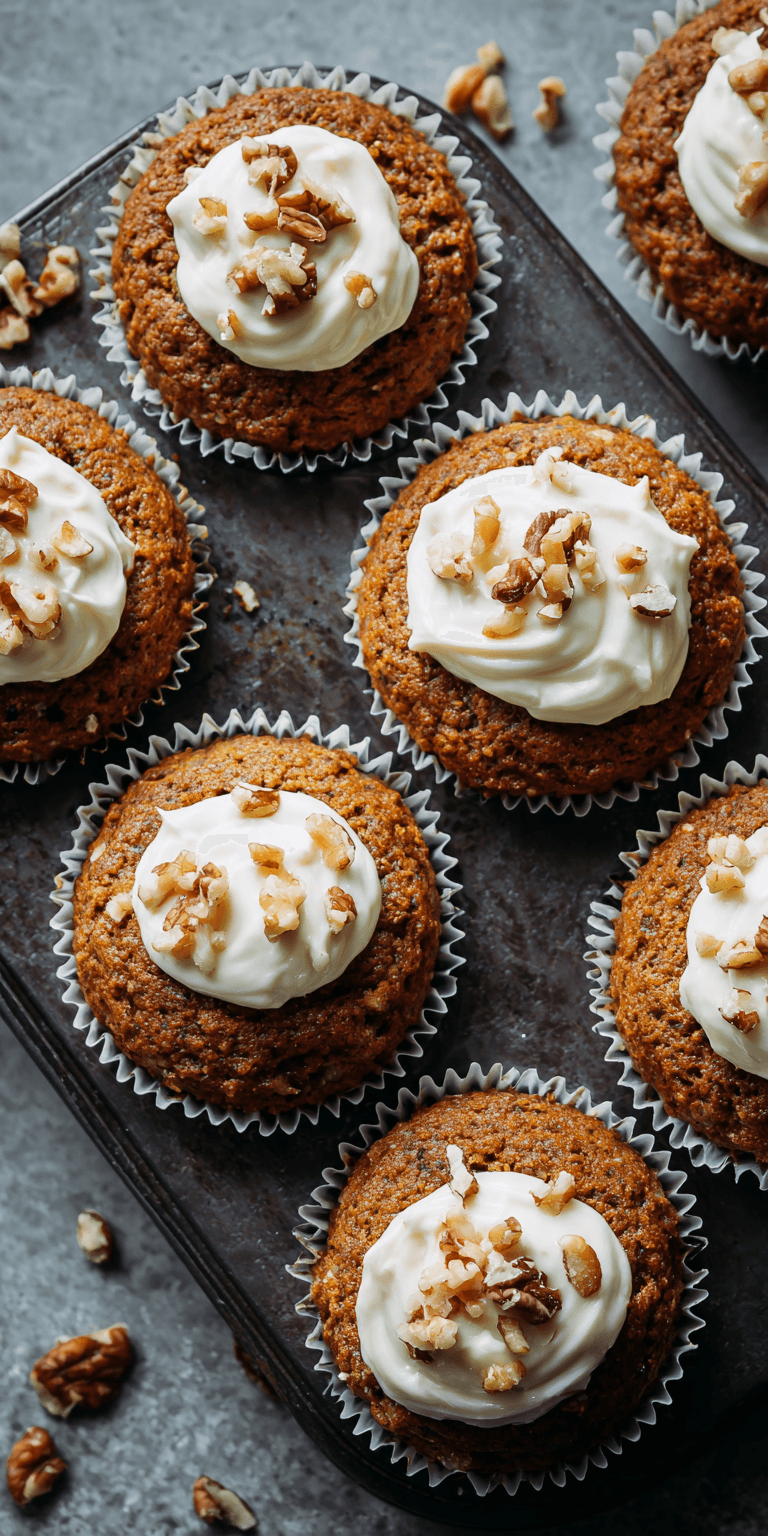
For the Texture Seekers: Add 1/2 cup of chopped walnuts or pecans to the batter. You can also sprinkle rolled oats on top before baking for a crunchy lid.
For a Protein Boost: Stir in 1/2 cup of plain Greek yogurt into the wet ingredients. It makes them even more moist and adds a protein punch.
Mini Muffins for Tiny Hands: Pour the batter into a mini muffin tin and bake for 10-12 minutes. Perfect for portion control and little appetites.
Storing & Reheating (Perfect for Busy Nights)
This is a true make-ahead marvel. A batch on Sunday sets you up for success all week.
Room Temp: Store cooled muffins in an airtight container at room temperature for 2-3 days.
Freezer-Friendly: These freeze beautifully! Place cooled muffins in a single layer on a baking sheet to freeze solid, then transfer to a freezer bag. They’ll keep for up to 3 months.
Reheating: Thaw overnight or pop a frozen muffin in the microwave for 20-30 seconds. It tastes freshly baked all over again.
Nutrition Notes
These healthy swaps make a real difference. Here’s a quick look at what you’re serving.
- Fiber Rich: Thanks to the whole wheat flour, each muffin offers a good dose of fiber to keep bellies full and happy.
- Natural Sweetness: We use bananas and a modest amount of maple syrup instead of refined white sugar.
- Healthy Fats: Coconut oil provides healthier fats than traditional vegetable oils.
- Portion Control: A single muffin is a perfectly satisfying snack or breakfast side.
FREQUENTLY ASKED QUESTIONS
Can I use all-purpose flour instead of whole wheat?
Absolutely! You can do a straight 1:1 swap with all-purpose flour. The muffins will be a bit lighter in color and texture, but still delicious.
For a middle ground, try half whole wheat and half all-purpose flour. It’s a great introductory healthy swap.
My bananas aren’t very ripe. What can I do?
Ripe bananas are key for sweetness and moisture. If yours are still yellow, try this trick.
Place the unpeeled bananas on a baking sheet and bake at 300°F for 15-20 minutes, until the skins turn black. Let them cool, then scoop out the soft, sweet insides. Crisis averted!
Can I make this recipe into a loaf of banana bread?
Yes, you can! Pour the batter into a greased 9×5 inch loaf pan. Bake at the same temperature (325°F) for 50-60 minutes, or until a tester comes out clean.
Just note the baking time is much longer, so plan accordingly. It makes a wonderful weekend treat.
There you have it—our family’s go-to recipe for turning questionable bananas into guaranteed smiles. It’s a simple, forgiving bake that delivers on every promise: nutrition, taste, and peace at the snack table.
I truly hope this recipe becomes a staple in your home like it is in ours. It’s a little act of love, disguised as a muffin.
I’d love to know if this was a hit with your family! Did your picky eater take a bite? What fun twist did you try? Please leave a comment and rating below!