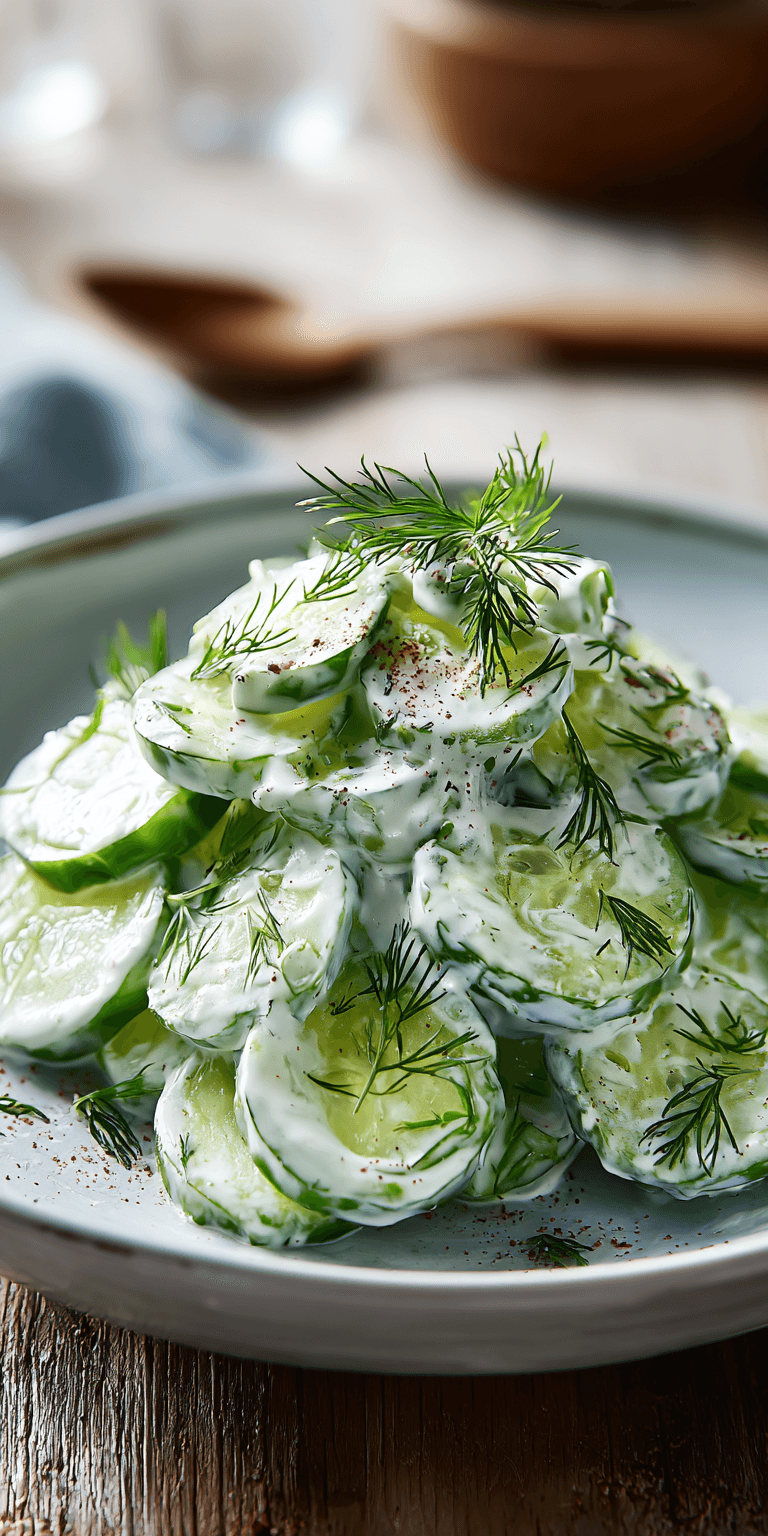
Ever feel like you’re running a restaurant with the world’s toughest critics? I sure do. One kid won’t eat anything green. Another turns their nose up at anything “mixed together.” And don’t even get me started on weeknight dessert negotiations.
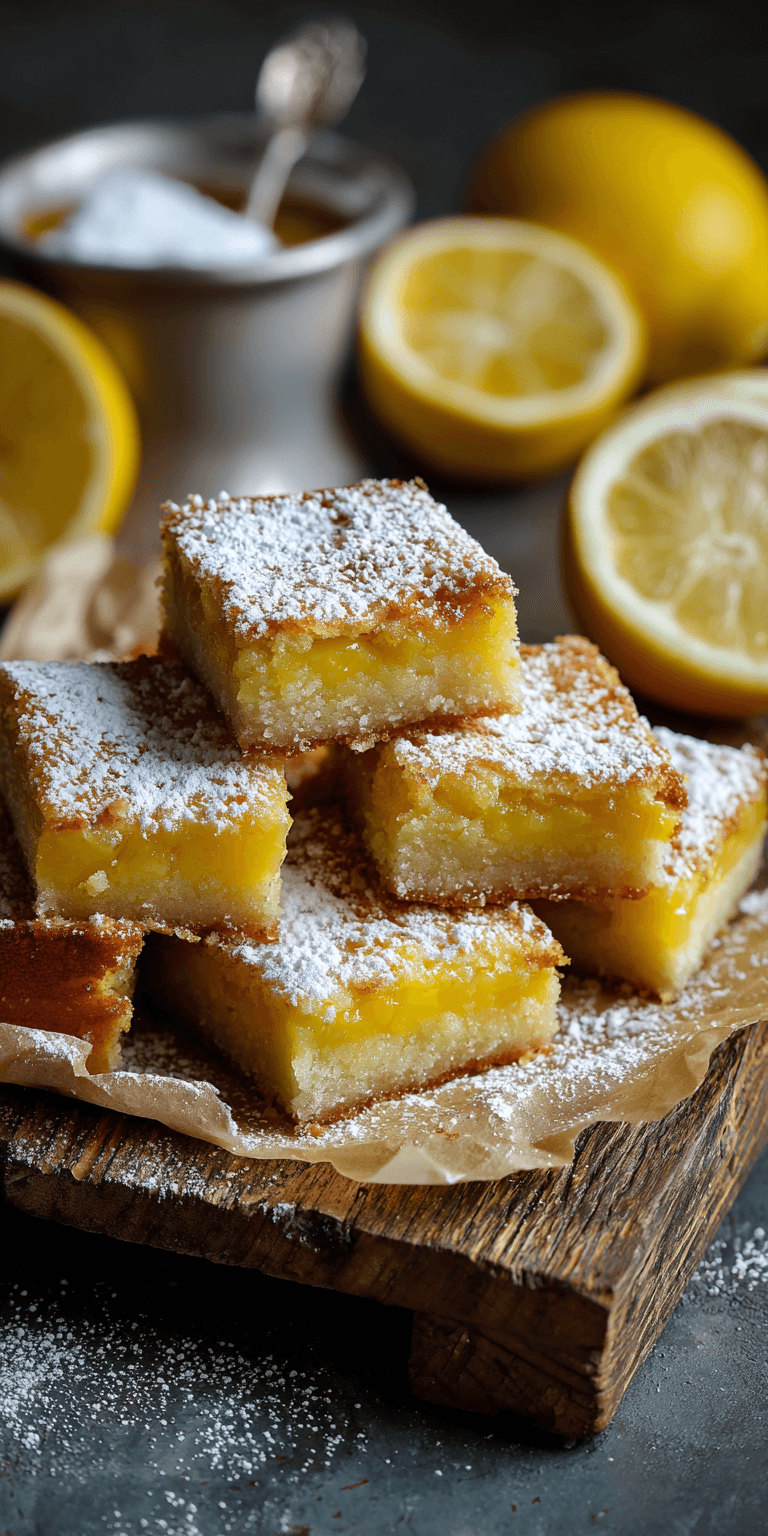
That’s why I’m always on the hunt for a magic bullet recipe. Something that feels like a special treat, but is secretly simple. Something that gets everyone to the table without a fuss. I think I’ve found it with these Gooey Lemon Butter Cake Bars.
They are the perfect mix of sweet, tangy, and buttery. The top is a soft, golden cake. The bottom is a rich, gooey layer that makes them impossible to resist. Best of all, they use ingredients you probably already have in your pantry.
Recipe Overview
- Cuisine: American
- Category: Dessert
- Prep Time: 15 minutes
- Cook Time: 45 minutes
- Total Time: 1 hour
- Servings: 16 bars
Why Even My Picky Eaters Love This!
Let’s be real. The word “gooey” is a kid magnet. It promises fun and mess in the best way. These bars deliver on that promise with every bite.
The lemon flavor is bright and sunny, not too sour. It cuts through the rich butteriness perfectly. The texture is the real win, though. It’s soft and familiar, not weird or crunchy. It feels like a decadent snack, but it’s not overly complicated for young taste buds.
Our Family-Friendly Ingredient List
No fancy trips to the store needed here. This is a pantry raid recipe, and I love that.
Gooey Lemon Butter Cake Bars Recipe
Our Family-Friendly Ingredient List
The Full Step-by-Step Instructions
Notes
Enjoy your homemade Gooey Lemon Butter Cake Bars Recipe!
- 1 box (15.25 oz) yellow cake mix (the simple kind!)
- 1/2 cup (1 stick) melted butter
- 1 large egg
- 1 package (8 oz) full-fat cream cheese, softened
- 2 large eggs
- 1 teaspoon pure vanilla extract
- 3 1/2 cups powdered sugar
- Zest and juice of 2 medium lemons (about 1/3 cup juice)
How to Get the Kids Involved in Cooking This
Getting little hands involved is my secret weapon. It builds excitement and ownership over the meal. For this recipe, there are two perfect jobs.
First, let them be in charge of zesting and juicing the lemons. It’s a sensory activity that feels like play. Second, the powdered sugar step is pure joy. Let them help sift or pour it in. Just be ready for a little cloud of sugar dust!
The Full Step-by-Step Instructions
Don’t let the layers scare you. This is a simple dump-and-mix situation. I promise it comes together fast.
- Preheat your oven to 350°F (175°C). Grease a 9×13 inch baking dish very well. I use butter or non-stick spray.
- In a medium bowl, make the crust. Mix the dry cake mix, melted butter, and 1 egg until a thick dough forms. It will be a bit crumbly.
- Press this dough evenly into the bottom of your prepared pan. Use your fingers or the bottom of a cup to press it down firmly.
- In a large bowl (or stand mixer), make the filling. Beat the softened cream cheese until it’s smooth and creamy.
- Add the 2 eggs and vanilla extract to the cream cheese. Beat again until everything is just combined.
- Now, gradually beat in the powdered sugar. Start slow so you don’t get a sugar storm! Beat until smooth.
- Finally, add the fresh lemon zest and lemon juice. Mix it all in until you have a smooth, pourable filling.
- Pour the lemon filling over the crust layer in the pan. Spread it out gently to cover the crust completely.
- Bake for 40-45 minutes. The edges should be set and just starting to turn golden. The center will still have a slight jiggle—that’s the gooey part!
- Let the pan cool completely on a wire rack. This is the hardest part! Then, chill in the fridge for at least 2 hours before cutting into bars. This makes clean slices.
Fun Twists for Different Tastes
Got a kid who’s unsure about lemon? Or an adult who wants a little extra? Here are my family’s favorite tweaks.
For sensitive palates, you can reduce the lemon juice to 1/4 cup. The flavor will be milder but still delicious. For a fun confetti look, mix 1/4 cup of rainbow sprinkles into the crust dough.
For the adults, I sometimes sprinkle a handful of fresh blueberries over the filling before baking. Or, I’ll add a tablespoon of poppy seeds to the filling for a little crunch. A dusting of powdered sugar right before serving makes any version look extra special.
Storing & Reheating (Perfect for Busy Nights)
These bars are a lifesaver for busy weeks. They store beautifully and taste amazing cold.
Keep them covered in the fridge for up to 5 days. You can also freeze them! Cut them into bars, wrap individually in plastic wrap, and store in a freezer bag for up to 2 months. Thaw in the fridge overnight.
We love them straight from the fridge. But if you want them a bit softer, let them sit on the counter for 10 minutes. No reheating needed!
Nutrition Notes
I’m all about balance. These are a treat, and that’s okay! Here’s a simple look at what’s inside.
- This is a dessert, so it’s higher in sugar and fat.
- Using full-fat cream cheese gives the best texture and flavor.
- You can use a light cream cheese, but the filling may be a bit softer.
- Fresh lemon juice provides a little vitamin C.
- For smaller appetites, cut the bars into 20 smaller pieces.
FREQUENTLY ASKED QUESTIONS
Can I use a lemon cake mix instead of yellow?
You can, but be careful! Lemon cake mix already has citric acid. Combined with the fresh lemon juice, it might be too tart for some kids. I find yellow cake mix with fresh lemon gives us the perfect, balanced flavor.
My center is still very liquid after baking. Is that okay?
Yes! This is the key to gooeyness. The center should jiggle like set jelly when you take it out. It will firm up a ton as it chills in the fridge. Trust the process and let it cool completely.

Why do I have to chill it before cutting?
This step is non-negotiable for clean bars. The chilling time lets the gooey layer set up perfectly. If you cut it warm, it will be a delicious but messy pudding. Waiting gives you those beautiful, neat squares.
This recipe has saved my sanity on more than one “I need a treat NOW” afternoon. It’s become our go-to for potlucks, bake sales, and those nights when we just deserve something sweet and simple.
The combination of easy steps, common ingredients, and a guaranteed happy reaction makes it a total winner in my book. I hope it brings a little sunshine and a lot of sticky, happy smiles to your table, too.
I’d love to know if this was a hit with your family! Did your picky eater take a bite? What fun twist did you try? Please leave a comment and rating below!