You’ve made a chilled pea soup before. It was fine. But it wasn’t unforgettable.
That ends today. This Spring Pea & Mint Chilled Soup has one secret ingredient that changes everything. It’s not what you think. Ready to find out what it is?
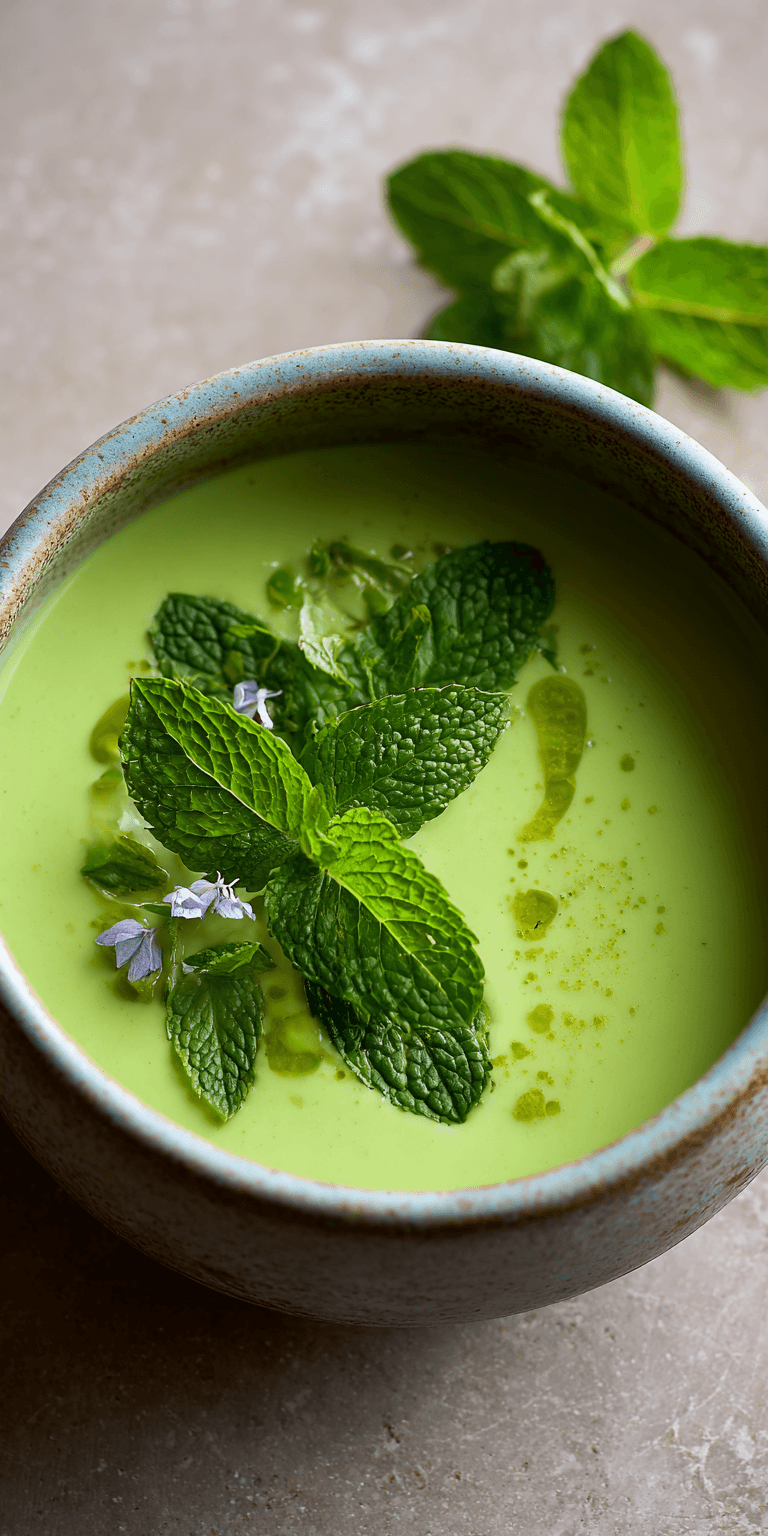
I’m going to show you my method. It turns a simple cold soup into a bright, complex starter that feels like spring in a bowl. We’re moving beyond just blending peas and mint.
Recipe Overview
Here’s the quick look at what we’re making. It’s straightforward, but the magic is in the details.
- Cuisine: Modern Seasonal
- Category: Appetizer, Light Lunch
- Prep Time: 20 minutes
- Cook Time: 5 minutes
- Total Time: 25 minutes (plus chilling)
- Servings: 4
The Secret Ingredient That Makes All the Difference
Most recipes stop at peas, mint, and stock. That’s a good start. But it lacks depth. My secret? A small handful of fresh tarragon.
Just a few sprigs. It brings a subtle, anise-like note that lifts the sweet peas and sharp mint. It doesn’t taste like licorice. Instead, it adds a sophisticated layer that makes people ask, “What is that amazing flavor?”
Spring Pea & Mint Chilled Soup Recipe
The “Upgraded” Ingredient List
The Pro-Method (Step-by-Step)
Notes
Enjoy your homemade Spring Pea & Mint Chilled Soup Recipe!
It’s the difference between a simple puree and a chef-level cold soup. Trust me on this one.
Why This Method is Better (My Pro-Tips)
I don’t just boil everything together. Heat is a tool we use carefully. We want to keep that vibrant green color and fresh taste.
My key move? Cooking the aromatics first, then blanching the peas separately. This locks in their sweetness and bright color. We only cook them for 90 seconds.
Then, we blend it all while it’s still warm. This helps the flavors marry beautifully as it chills. The result is a smoother, more integrated soup.
The “Upgraded” Ingredient List
Quality matters here. Use the best you can find, especially for the peas.
- 2 tbsp extra virgin olive oil, plus more for garnish
- 1 small sweet onion or 2 large shallots, finely chopped
- 1 small clove garlic, minced
- 4 cups fresh garden peas (or high-quality frozen peas)
- 3 cups light vegetable stock
- 1 cup packed fresh mint leaves
- 2 tbsp fresh tarragon leaves (the secret!)
- Juice of 1/2 a large lemon
- 1/2 cup plain whole-milk yogurt or crème fraîche
- Sea salt and white pepper to taste
The Pro-Method (Step-by-Step)
Follow these steps in order. It’s designed for maximum flavor.
- Heat the olive oil in a large saucepan over medium-low heat. Add the chopped onion and a pinch of salt. Cook slowly for 5-7 minutes until soft and sweet, not browned. Add the garlic and cook for 1 more minute.
- Pour in the vegetable stock and bring to a simmer. Once simmering, turn off the heat. This is your aromatic broth.
- Meanwhile, bring a separate pot of salted water to a rolling boil. Have a bowl of ice water ready. Add the fresh peas to the boiling water and cook for exactly 90 seconds. Immediately drain and plunge them into the ice water. This stops the cooking and sets the color.
- Drain the cooled peas. Add them to a high-power blender. Pour in the warm aromatic broth (onions and all). Add the fresh mint, tarragon, and lemon juice.
- Blend on high until completely smooth and vibrant green. This may take a full minute.
- With the blender running on low, add the yogurt and blend just to combine. Taste. Season generously with sea salt and a few grinds of white pepper. The white pepper keeps the color pristine.
- Pour the soup into a container and press plastic wrap directly onto the surface. This prevents a skin from forming. Chill for at least 4 hours, or overnight.
- To serve, taste again for seasoning (cold dulls flavor). Pour into bowls. Drizzle with your best olive oil and a fresh mint leaf.
Common Mistakes & How to Fix Them
Even advanced cooks can slip up here. Let’s avoid that.
Problem 1: A Dull, Gray-Green Soup. You overcooked the peas or blended when they were too hot for too long. The fix is the ice bath and blending quickly. Always use that ice water shock.
Problem 2: The Soup Tastes “Flat”. Cold mutes flavors. You likely underseasoned. Always do a final seasoning after chilling. A pinch more salt or a squeeze of lemon can bring it back to life.
Problem 3: A Watery Texture. This happens with low-starch peas or weak stock. The fix is to add a tablespoon of the yogurt during blending to thicken, or use a potato peeler to add a few ribbons of peeled zucchini to the blend.
Variations for the Adventurous Cook
Mastered the base recipe? Try these pro swaps.
Swap the tarragon for a small amount of fresh basil. It gives a warmer, more floral note. It’s a different direction, but just as good.
For a richer version, replace half the stock with buttermilk after blending. It adds a lovely tang and creaminess.
Add a tiny bit of heat. Steep one small, deseeded green chili in the warm broth for 5 minutes before removing it and blending. It gives a subtle kick in the background.
Nutrition Notes
This isn’t just tasty. It’s good for you, too. Here’s the simple breakdown per serving.
- Calories: ~180
- Protein: 8g
- Fiber: 6g
- Vitamin C: Excellent source
- Vitamin A: Good source
Your Pro-Level Questions Answered
You might still have a few questions. I’ve got you covered.
Can I make this soup completely ahead of time?
Absolutely. In fact, it’s better that way. Make it up to two days ahead. The flavors improve as they sit. Just keep it sealed tight in the fridge.
My soup separated after chilling. What did I do wrong?
This is natural, especially with yogurt. Just give it a good whisk or a quick pulse in the blender before serving. It will come right back together. No harm done.
Is there a non-dairy substitute for the yogurt?
Yes. Use plain, unsweetened coconut yogurt or a splash of almond milk blended with a few raw cashews. It will change the flavor slightly, but it will still be creamy.

A Few Final Secrets
You now have the blueprint for the best chilled soup of your life. Remember, cooking is about confidence.
Use this recipe as your springboard. Taste fearlessly as you go. Adjust the mint, play with the lemon, make it yours.
The real secret was never just the tarragon. It’s understanding how to treat each ingredient with intention. That’s what makes a pro.
Now that you have the secret, go try it! I want to hear how it turns out. Did the tarragon change the game for you? What variations did you try? Let me know in the comments below and give this recipe a rating if you loved it!