What’s better than a home-baked dessert? A home-baked dessert with only ONE pan to clean. I love delicious food, but I have a deep, passionate hatred for doing dishes.
The sink full of bowls, whisks, and spatulas can suck the joy right out of baking. That’s why I’m obsessed with recipes that deliver maximum flavor with minimal cleanup.
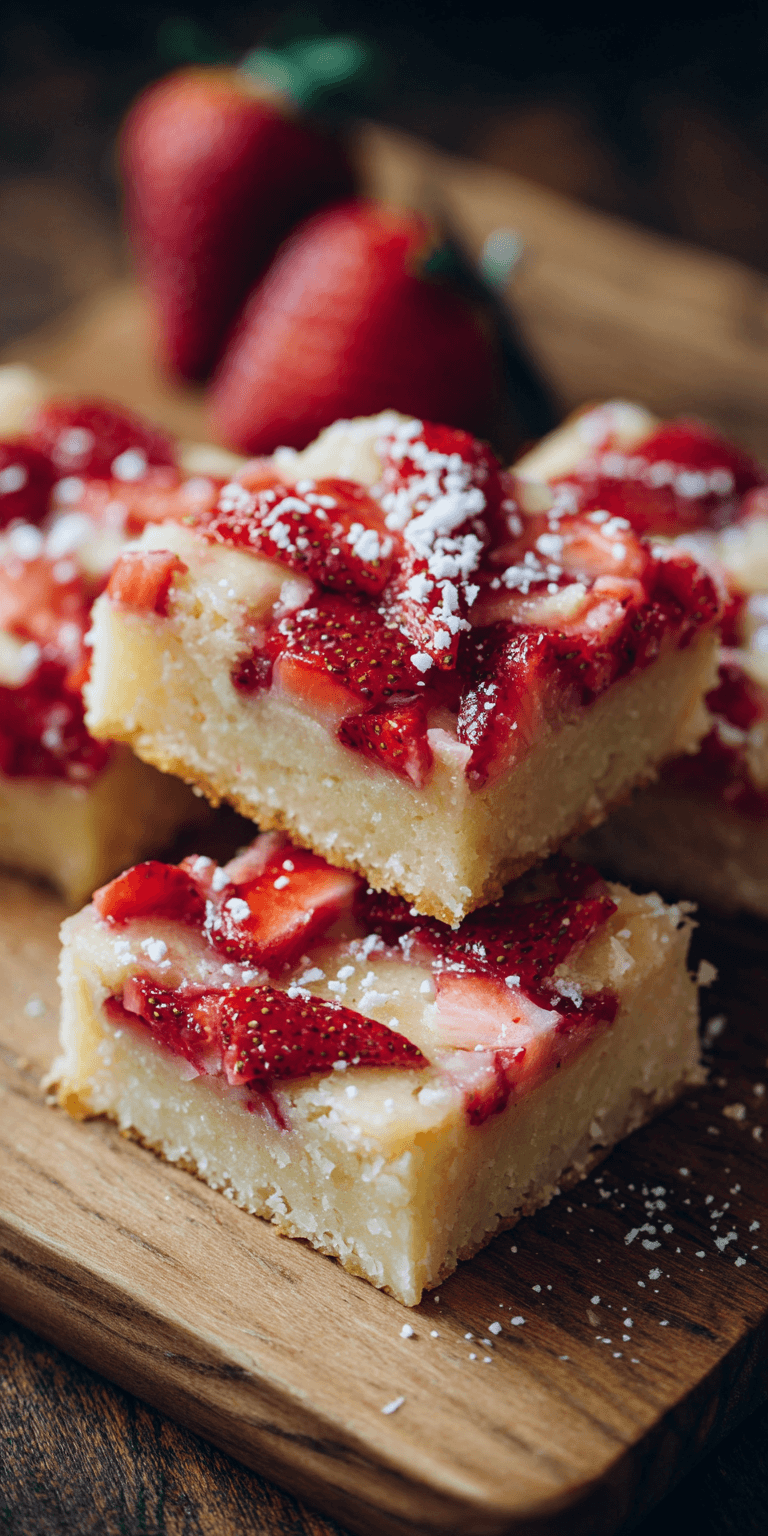
Today’s hero is the humble yet glorious Strawberry Shortcake Bars. They capture all the classic flavors of the summer dessert but in a brilliant, no-fuss bar form. You get sweet strawberries, tender cake, and a buttery crumble, all from a single baking dish.
Recipe Overview
This is your at-a-glance guide to the easiest dessert you’ll make this week. Everything happens in one sequence, in one pan.
- Cuisine: American
- Category: Dessert
- Prep Time: 15 minutes
- Cook Time: 35 minutes
- Total Time: 50 minutes
- Servings: 12 bars
The Magic of a One-Pot (or One-Pan) Meal
As a dish-averse baker, the one-pan method is my saving grace. It’s the ultimate kitchen hack for efficiency and sanity.
Strawberry Shortcake Bars Recipe
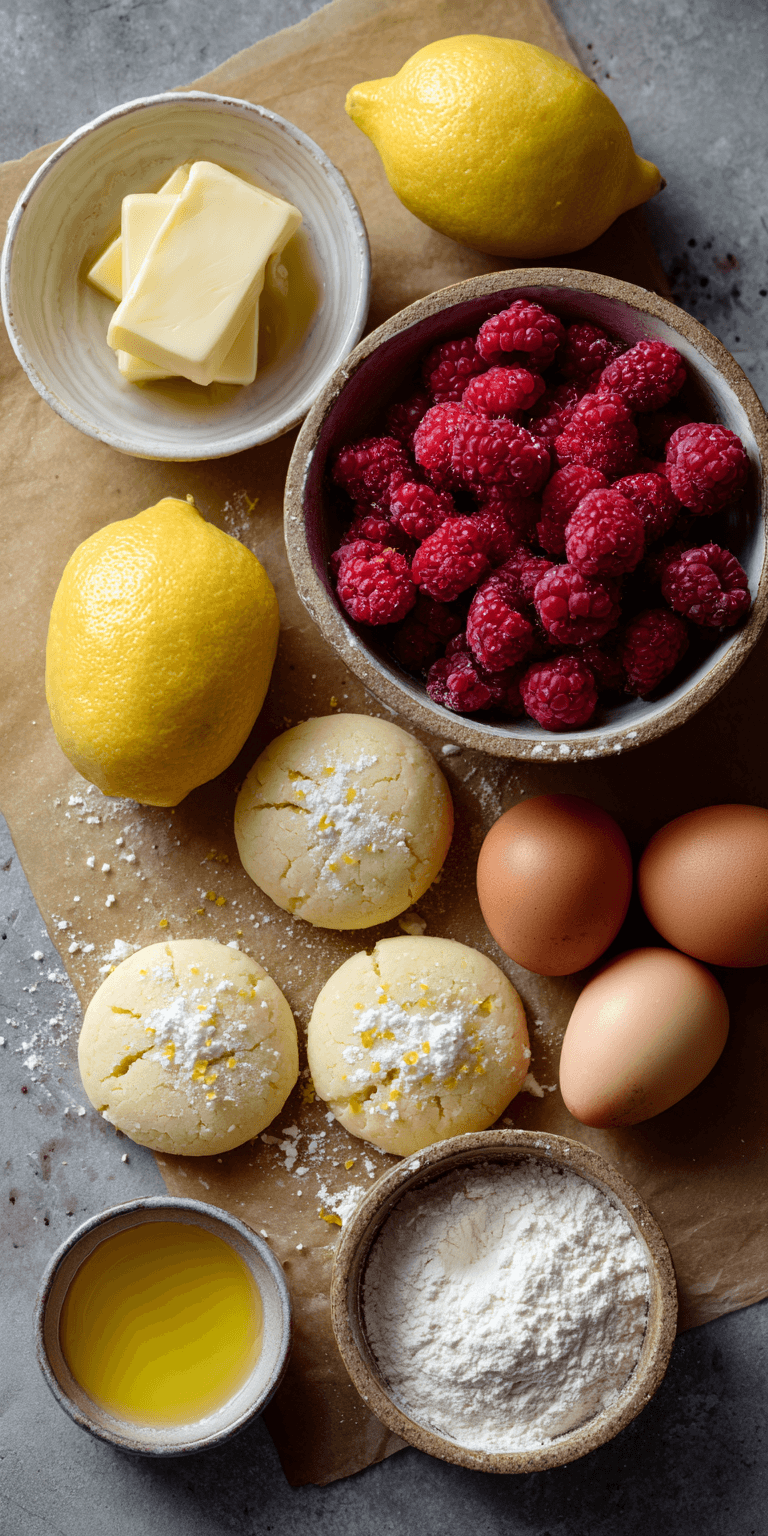
The Full Ingredient List
My “Less Mess” Cooking Method (Step-by-Step)
Notes
Enjoy your homemade Strawberry Shortcake Bars Recipe!
The magic here is in the layering technique. We build the entire dessert directly in the baking pan. There’s no need for a separate mixer bowl for the crust and topping.
You simply press part of the mixture down, add the strawberries, and sprinkle the rest on top. One pan goes into the oven, and you’re practically done. The result is a dessert that looks and tastes like you fussed for hours.
All You Need (One Pot & These Ingredients)
Your equipment list is blissfully short. This is the key to a stress-free baking session.
You’ll need one 9×9 inch baking pan. I line mine with parchment paper for the ultimate easy lift-out. A couple of mixing bowls are helpful, but you can even mix the crumble right in the pan if you’re feeling extra lazy (I often am).
The ingredients are simple pantry and fridge staples, plus the star: fresh, juicy strawberries.
The Full Ingredient List
Gather these items, and you’re 90% of the way to dessert heaven. The simplicity is truly beautiful.
- 1 lb fresh strawberries, hulled and diced
- 2 tbsp granulated sugar (for the strawberries)
- 1 tsp pure vanilla extract
- 1 ½ cups all-purpose flour
- 1 ½ cups old-fashioned rolled oats
- 1 cup packed light brown sugar
- ½ tsp baking powder
- ½ tsp salt
- ¾ cup (1.5 sticks) unsalted butter, melted and slightly cooled
- Optional for serving: whipped cream or vanilla ice cream
My “Less Mess” Cooking Method (Step-by-Step)
Follow these steps for a foolproof, clean-kitchen process. I’ve baked these bars more times than I can count, and this method never fails.
- Prep the Pan: Preheat your oven to 375°F (190°C). Line your 9×9 inch pan with parchment paper, leaving an overhang on two sides. This creates a sling to lift the whole batch out later—no digging with a spatula!
- Macerate the Berries: In a medium bowl, toss the diced strawberries with the 2 tbsp of granulated sugar and vanilla. Let them sit. This draws out their natural juices and creates a simple strawberry syrup right in the bowl.
- Make the Crumble Base & Topping: In a large bowl, whisk the flour, oats, brown sugar, baking powder, and salt. Pour the melted butter over the dry ingredients. Stir until everything is moistened and clumps form.
- Layer It Up: Press about two-thirds of the oat mixture firmly into the bottom of your prepared pan. Spread the strawberry mixture (including all the juicy syrup) evenly over the base. Sprinkle the remaining oat crumble over the strawberries.
- Bake to Perfection: Bake for 30-35 minutes, until the top is golden brown and the fruit is bubbling at the edges. The smell will be incredible.
- The Crucial Cool: Let the pan cool completely on a wire rack. This is the hardest part, but it allows the layers to set so you can cut clean bars.
- Slice and Serve: Use the parchment paper sling to lift the entire slab onto a cutting board. Cut into squares and serve with a dollop of whipped cream.
Pro-Tips for Perfect One-Pan Cooking
A few clever tricks make this process even smoother. These are my battle-tested secrets for bar success.
First, don’t over-mix the crumble. You want clumps, not a uniform paste. Those clumps create the perfect shortcake-like texture.
Second, use the right size pan. A 9×9 is ideal. An 8×8 will make thicker bars that need a slightly longer bake time.
Finally, let the melted butter cool for a minute before adding it. This prevents it from cooking the flour and gives you better control over the texture.
Storing & Reheating (Easy!)
These bars are fantastic for make-ahead treats. They store beautifully, which means more deliciousness with zero extra work.
Store cooled bars in an airtight container at room temperature for 2 days. For longer storage, keep them in the fridge for up to 5 days.
You can also freeze them! Individually wrap the bars and freeze for up to 3 months. Thaw at room temperature or give them a quick warm-up in the toaster oven.
Nutrition Notes
Let’s be real, this is a dessert. But it’s made with real ingredients like oats and fresh fruit. Enjoy it as a delightful treat!
- Calories: ~280 per bar
- Total Fat: 12g
- Saturated Fat: 7g
- Carbohydrates: 42g
- Fiber: 2g
- Sugar: 25g
- Protein: 3g
*Nutrition is an estimate and will vary based on specific ingredients and serving size.
Your One-Pot Questions, Answered
I know questions pop up when you’re trying something new. Here are answers to the most common ones.
Can I use frozen strawberries?
Yes, but do not thaw them first. Toss the frozen berries directly with the sugar. You may need to add 3-5 minutes to the bake time since they start off colder.
Can I make these gluten-free?
Absolutely. Use a 1:1 gluten-free all-purpose flour blend in place of the regular flour. Ensure your oats are certified gluten-free.
What if I don’t have rolled oats?
Quick oats will work in a pinch, but the texture will be less distinct. The rolled oats provide that perfect, hearty shortcake chew.
And there you have it. A dessert that tastes like a labor of love but cleans up like a dream. These bars are the ultimate win for anyone who believes their time is better spent eating than scrubbing.
They’re perfect for picnics, potlucks, or just treating yourself on a Tuesday. You get all the joy of baking without the dreaded aftermath.
So go ahead, preheat that oven. Enjoy all that flavor (and your clean kitchen!). Let me know how it went by leaving a comment and rating below!