Is there anything more soul-crushing than watching a lovingly prepared snack get pushed away with a grimace? I feel you. The struggle to find something that pleases everyone—especially our little food critics—is real.
That’s why I’m practically doing a happy dance to share this recipe for Gluten Free Almond Flour Banana Muffins. It’s the ultimate kitchen magic trick. They’re sweet, tender, and disappear faster than you can say “screen time.”
Best of all, they’re a sneaky-nutritious base that works for gluten-free, grain-free, and just plain picky families. Let’s turn those sad, spotty bananas into a celebration.
Recipe Overview
- Cuisine: American
- Category: Breakfast, Snack
- Prep Time: 10 minutes
- Cook Time: 20 minutes
- Total Time: 30 minutes
- Servings: 12 muffins
Why Even My Picky Eaters Love This!
I’ve served these to the most skeptical of tiny taste-testers. The secret is in the texture and familiar flavor.
Almond flour gives them a soft, moist crumb that feels like a treat. They taste like classic banana bread, not “healthy” baking.
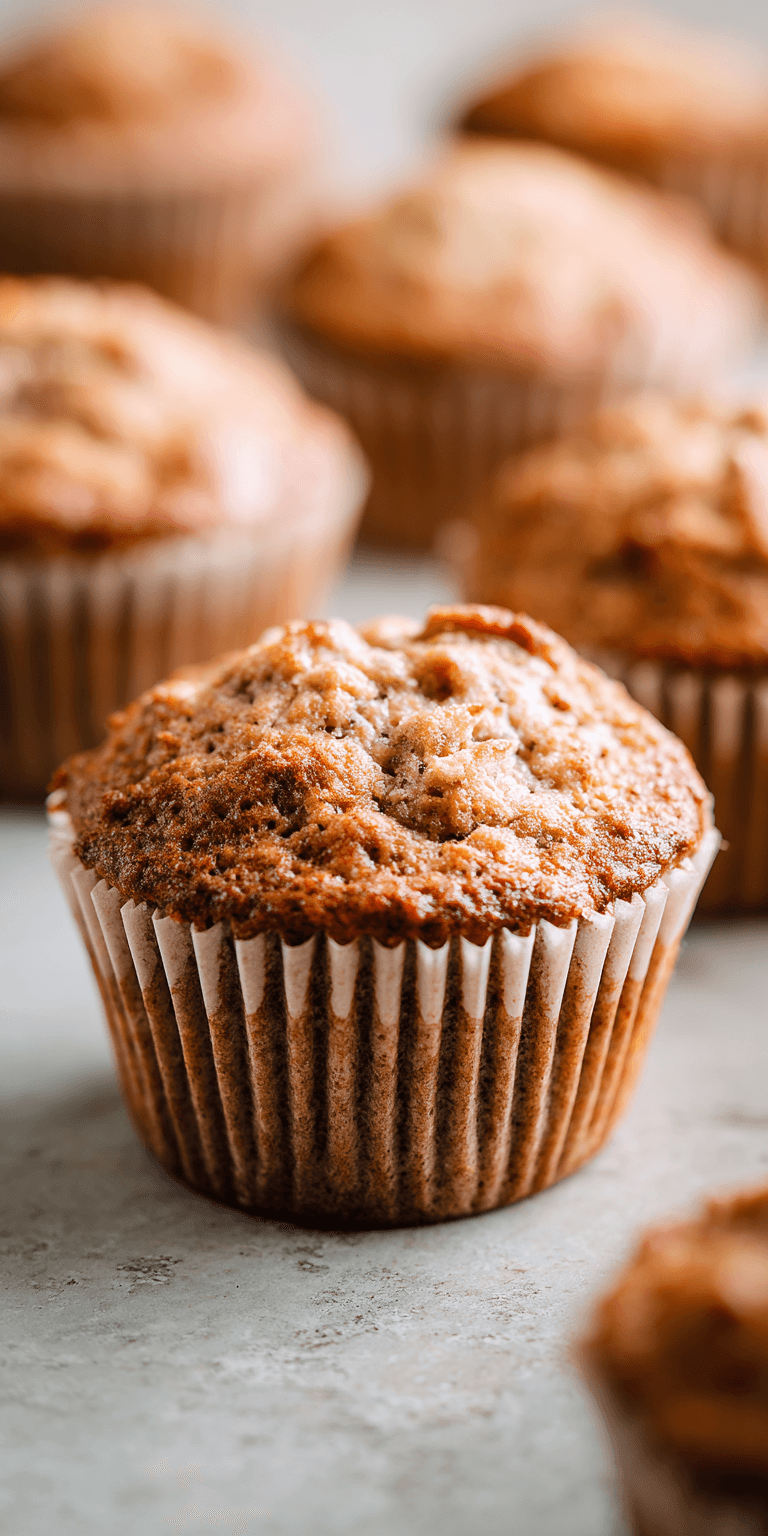
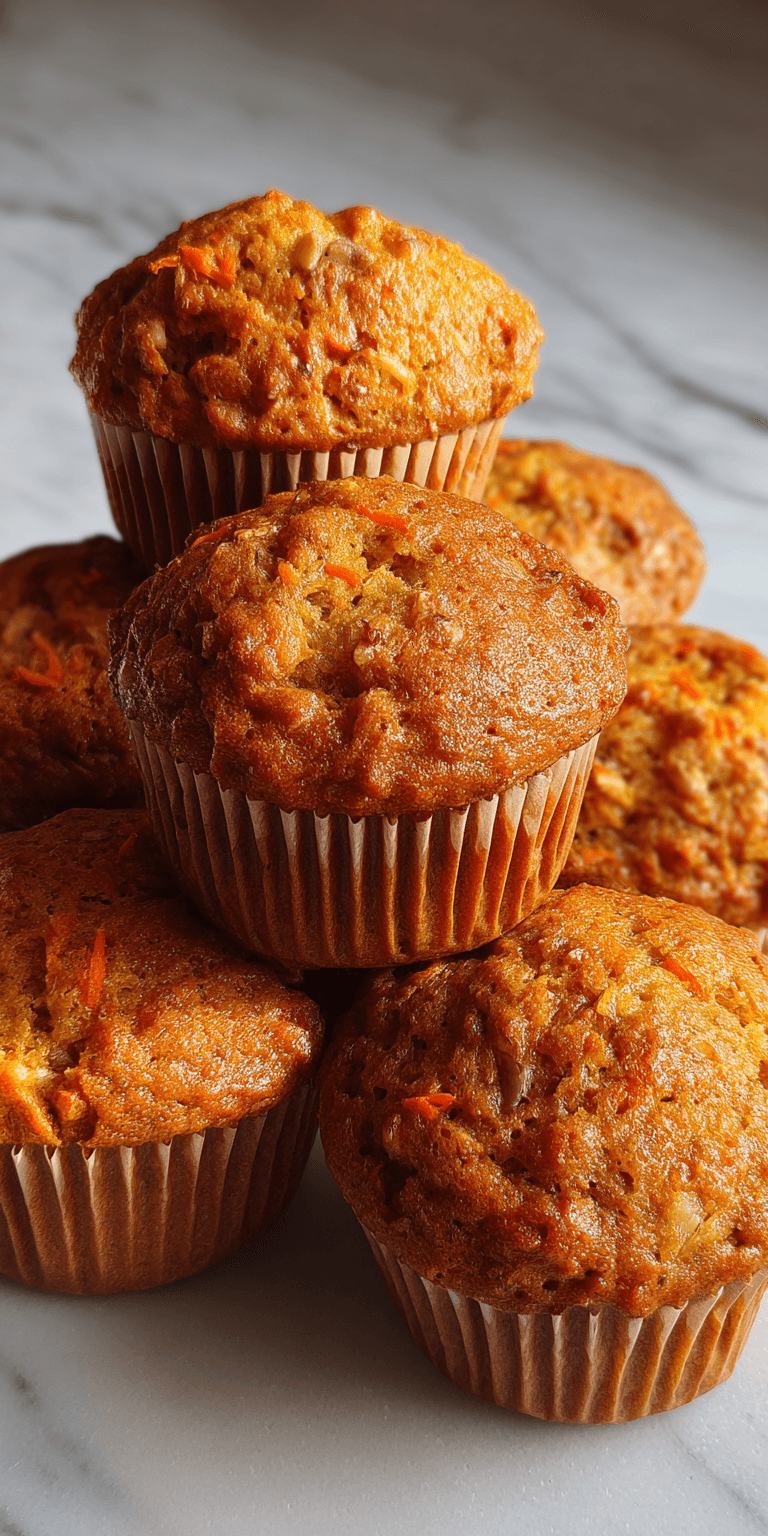
Gluten Free Almond Flour Banana Muffins Recipe
Our Family-Friendly Ingredient List
The Full Step-by-Step Instructions
Notes
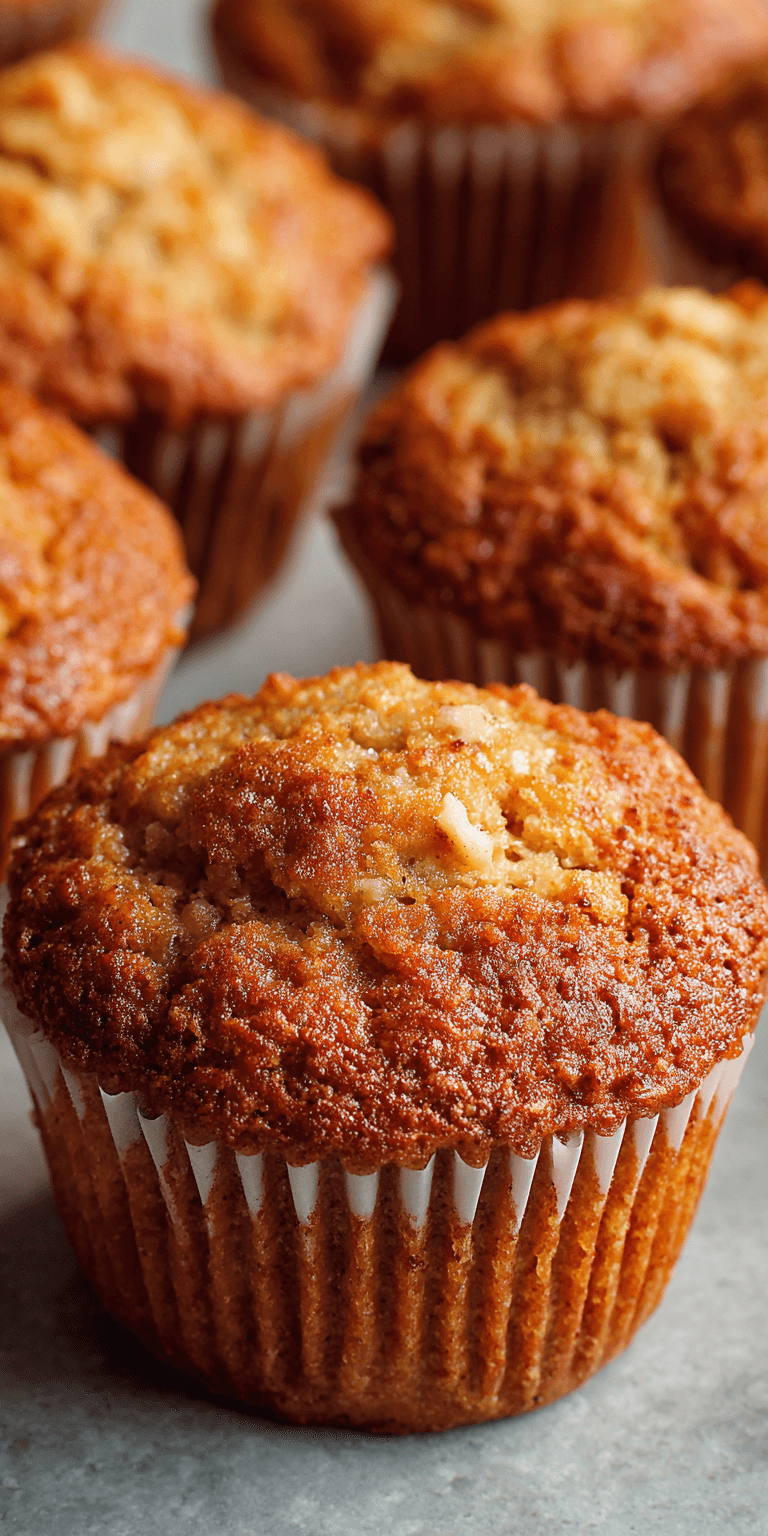
Enjoy your homemade Gluten Free Almond Flour Banana Muffins Recipe!
There’s no weird aftertaste or dry, crumbly texture that sometimes happens with gluten free baking. They’re just plain delicious and celiac friendly without any fanfare.
Our Family-Friendly Ingredient List
I promise, no strange, hard-to-find items here. This is all about simple pantry staples.
You likely have most of this already. It’s a fantastic way to use up those overripe bananas sitting on your counter.
- 3 large, very ripe bananas (the spottier, the sweeter!)
- 3 large eggs
- 3 cups blanched almond flour
- 1/4 cup pure maple syrup or honey
- 1 1/2 tsp baking soda
- 1 tsp pure vanilla extract
- 1/2 tsp cinnamon (optional, but cozy)
- 1/4 tsp salt
- A handful of chocolate chips or chopped nuts (the ultimate bribe)
How to Get the Kids Involved in Cooking This
Getting kids involved is my number one trick for increasing buy-in. Suddenly, it’s “their” creation!
For little ones, safety and mess are key. Here are two perfect jobs.
Mashing Mission: Give them a bowl and a fork or potato masher. Let them go to town on those bananas! It’s sensory play that actually helps.
Mix Master: Once all the wet ingredients are in one bowl and the dry in another, let them stir each. Combining the two is a great moment for a team “3, 2, 1, MIX!”
The Full Step-by-Step Instructions
Don’t let the simplicity fool you. These steps create muffin magic. I do this with one eye on the toddler and one on the bowl.
- Preheat your oven to 350°F (175°C). Line a 12-cup muffin tin with parchment liners. This prevents any sticking drama.
- In a large bowl, mash the ripe bananas until mostly smooth. A few lumps are totally fine for texture.
- Add the eggs, maple syrup, and vanilla extract to the bananas. Whisk it all together until it’s well combined.
- In a separate bowl, whisk the almond flour, baking soda, cinnamon, and salt. This ensures the leavener is evenly distributed.
- Gently fold the dry ingredients into the wet mixture. Stir just until combined. Overmixing is the enemy of fluffy muffins!
- If you’re using them, now’s the time to fold in chocolate chips or nuts. This is the step that gets cheers.
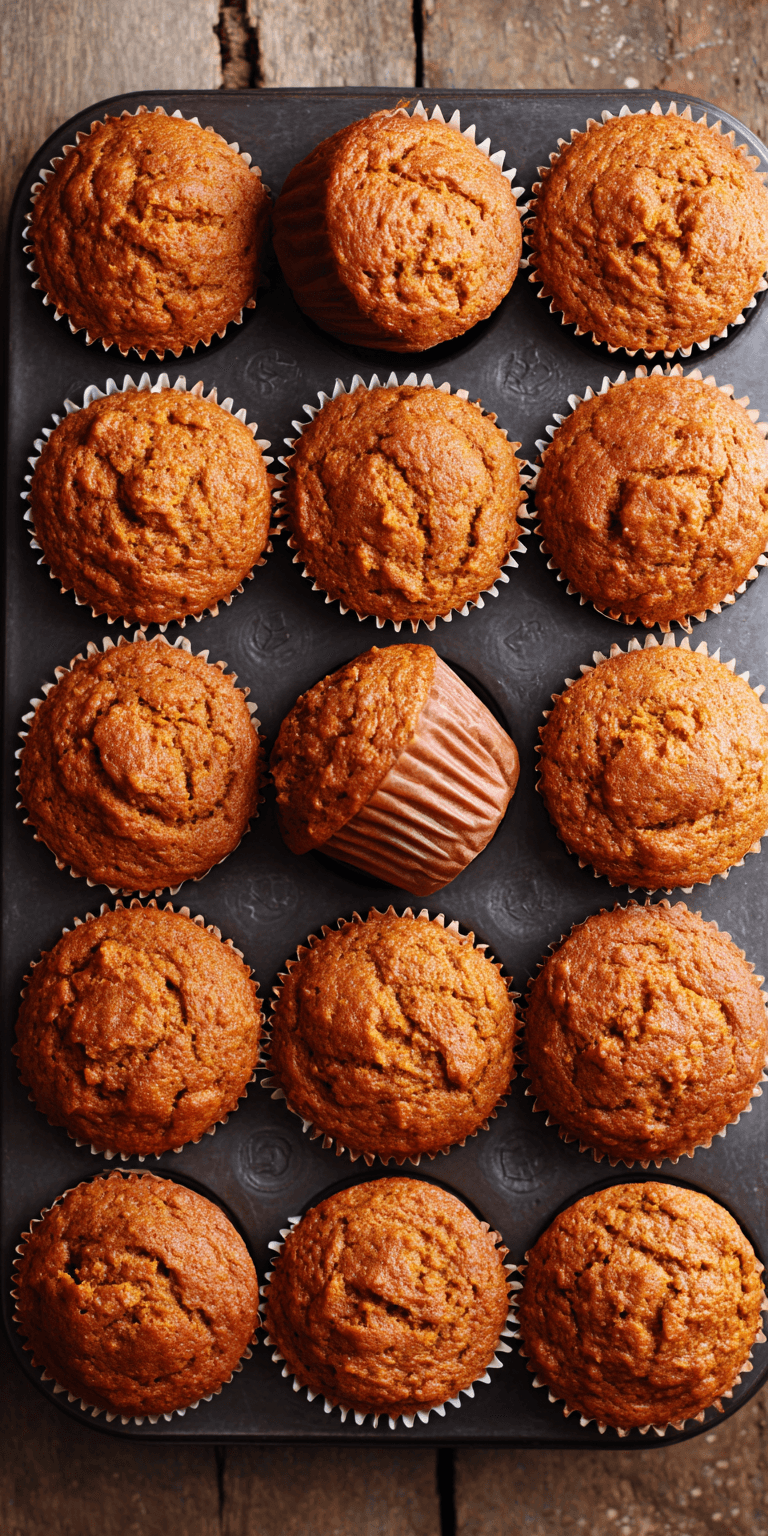
- Divide the batter evenly among the 12 muffin cups. They should be about 3/4 full.
- Bake for 18-22 minutes. They’re done when the tops are golden and a toothpick inserted comes out clean.
- Let the muffins cool in the pan for 5 minutes. Then, transfer them to a wire rack. I know, the waiting is the hardest part!
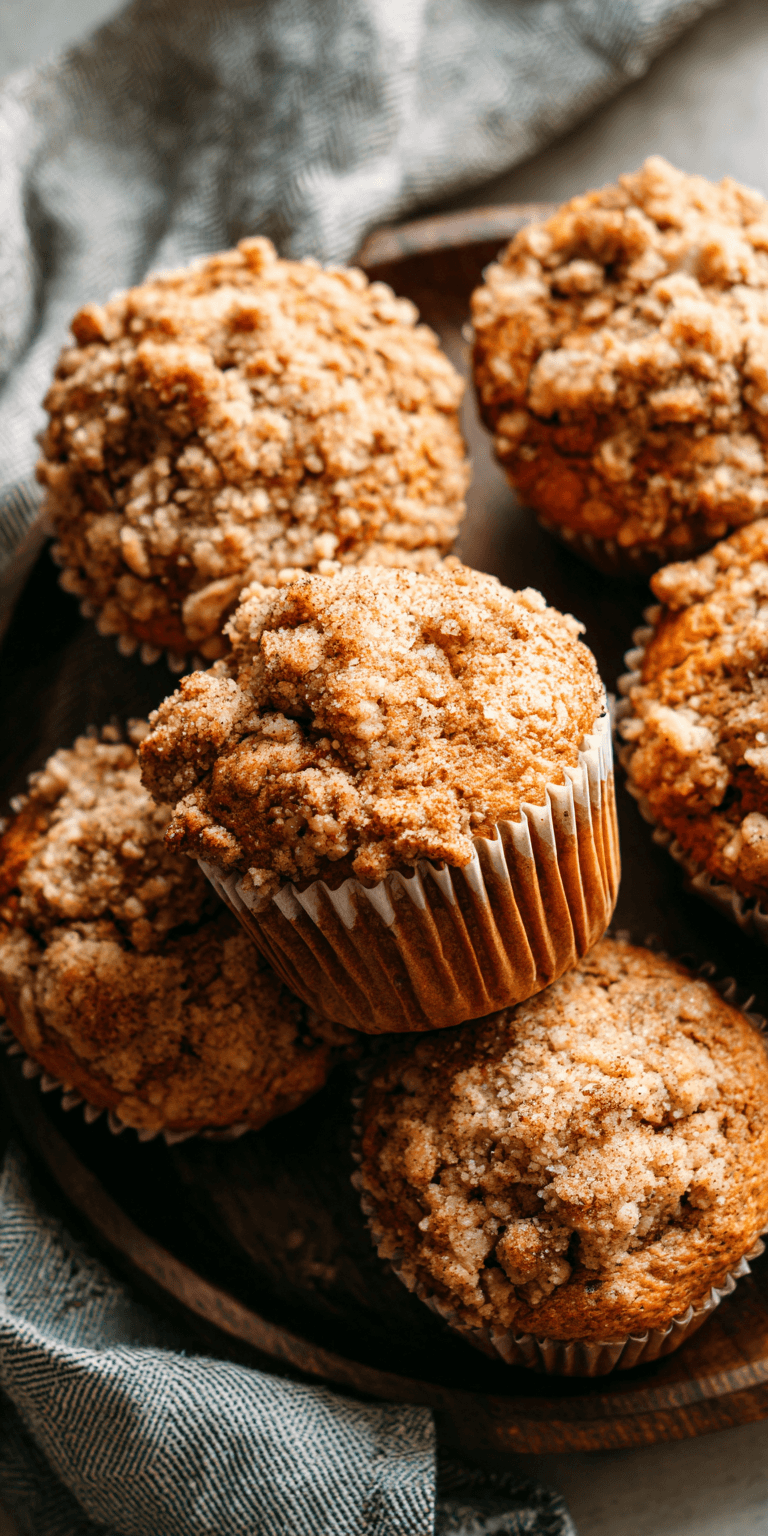
Fun Twists for Different Tastes
One batch can cater to everyone’s preferences. It’s my favorite way to avoid being a short-order cook.
Here’s how we mix it up. You can even split the batter and make a few of each!
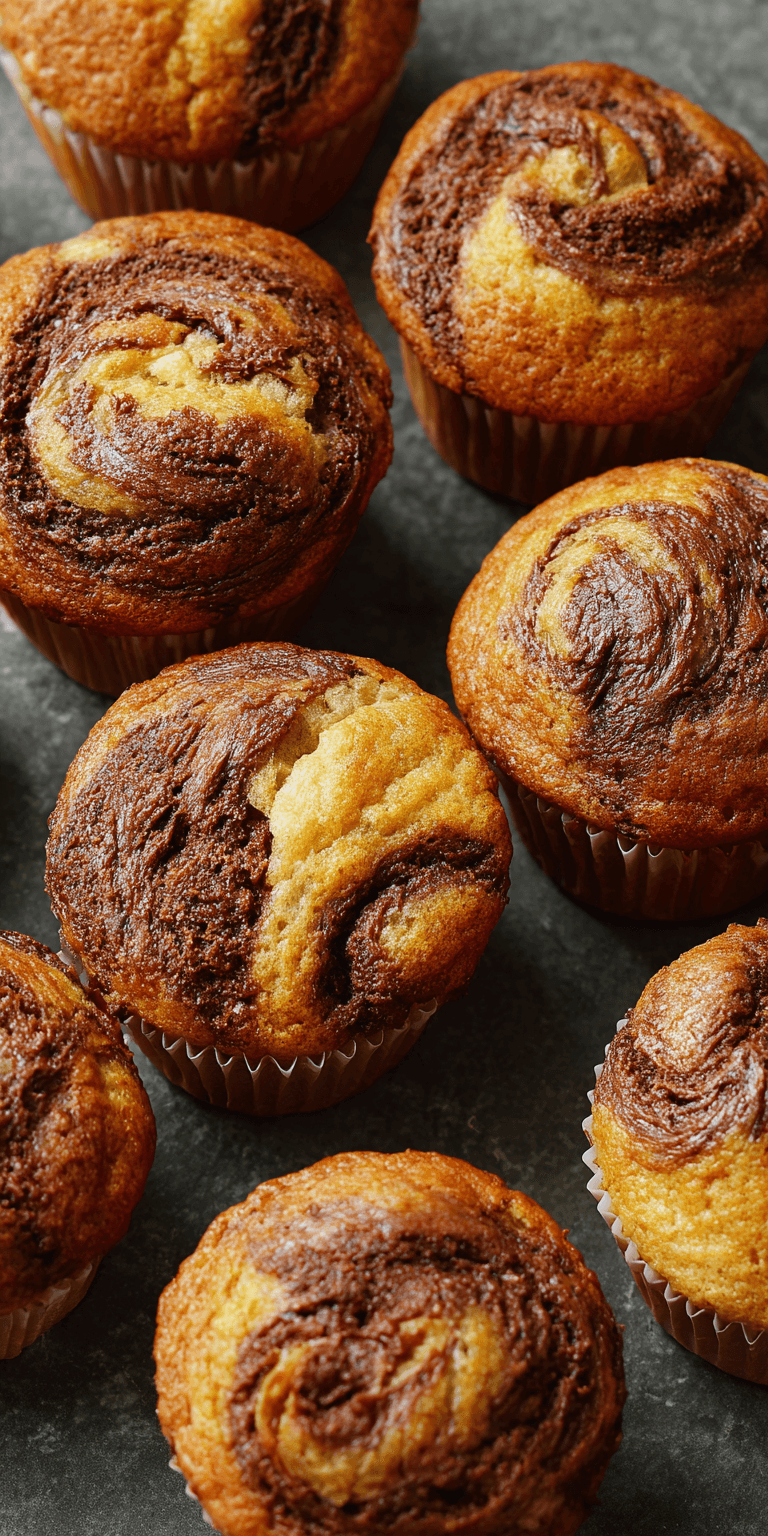
Chocolate Lover’s Batch: Stir 1/2 cup of mini chocolate chips into the batter. For the ultimate treat, press a few extra chips on top before baking.
Berry Blast: Gently fold in 1 cup of fresh or frozen blueberries or raspberries. The berries create little bursts of juicy flavor.
“Fancy” Grown-Up Version: Add a tablespoon of orange zest and a handful of chopped walnuts to the batter. It tastes like a sunshine-filled bakery treat.
Storing & Reheating (Perfect for Busy Nights)
These muffins are meal-prep heroes. Making a double batch is always a good idea for the week ahead.
Let them cool completely first. Then, store them in an airtight container at room temperature for 2 days.
For longer storage, pop them in the fridge for up to 5 days. You can also freeze them for up to 3 months in a freezer bag.
To reheat, a 15-second zap in the microwave brings back that fresh-from-the-oven warmth. For a crispy top, use a toaster oven for a few minutes.
Nutrition Notes
While we eat them because they’re yummy, it’s nice to know the good stuff inside. This is a healthy alternative to many store-bought snacks.
- Naturally Grain-Free & Gluten-Free: Perfect for sensitive tummies or celiac diets.
- Protein & Fiber: Thanks to the almond flour, these have more staying power than a standard muffin.
- Lower in Sugar: The bananas provide natural sweetness, reducing the need for added sugar.
- Healthy Fats: Almonds provide good fats that help kids feel full and focused.
FREQUENTLY ASKED QUESTIONS
Can I use a different flour?
Almond flour is key here for moisture and structure. I don’t recommend substituting it 1:1 with coconut or oat flour, as the results will be very different.
For a nut-free option, try a certified gluten-free sunflower seed flour. Just know it may give the muffins a slight green tint (harmless but surprising!).
My bananas aren’t ripe enough. What can I do?
No problem! Place whole, unpeeled bananas on a baking sheet. Bake at 300°F for 15-20 minutes, until the skins are black.
Let them cool, and you’ll have perfectly soft, sweet bananas for mashing. It’s a fantastic kitchen hack.
Why did my muffins turn out dense?
The most common culprit is overmixing the batter. Once you add the almond flour, stir just until you no longer see dry patches.
Also, make sure your baking soda is fresh! An old leavener won’t give them the proper lift.
There you have it—a recipe that’s become a true lifeline in our home. It’s proof that gluten free baking can be simple, delicious, and a crowd-pleaser for all ages.
I hope these muffins bring as much peace (and happy munching) to your table as they have to mine. Now, go rescue those bananas!
I’d love to know if this was a hit with your family! Did you add chocolate chips or try a fun twist? Please leave a comment and rating below!